Honey Bucket and My First Honey Collection

Subscribe to The BeeKeepers Digest

Last year I left all the honey in the hives for the bees to use over the winter. This year however, early in the season I found almost a whole box of honey plus some more stored in the box below....so, some for me and some for the bees.

Typically beekeepers use a langstroth type of hive with frames that either have wax or plastic foundation on them. To collect the honey they use a hot knife to slice off the thin cappings on both sides of the frame, then put several frames in a spinning machine to use centrifugal force to spin the honey out of the comb.

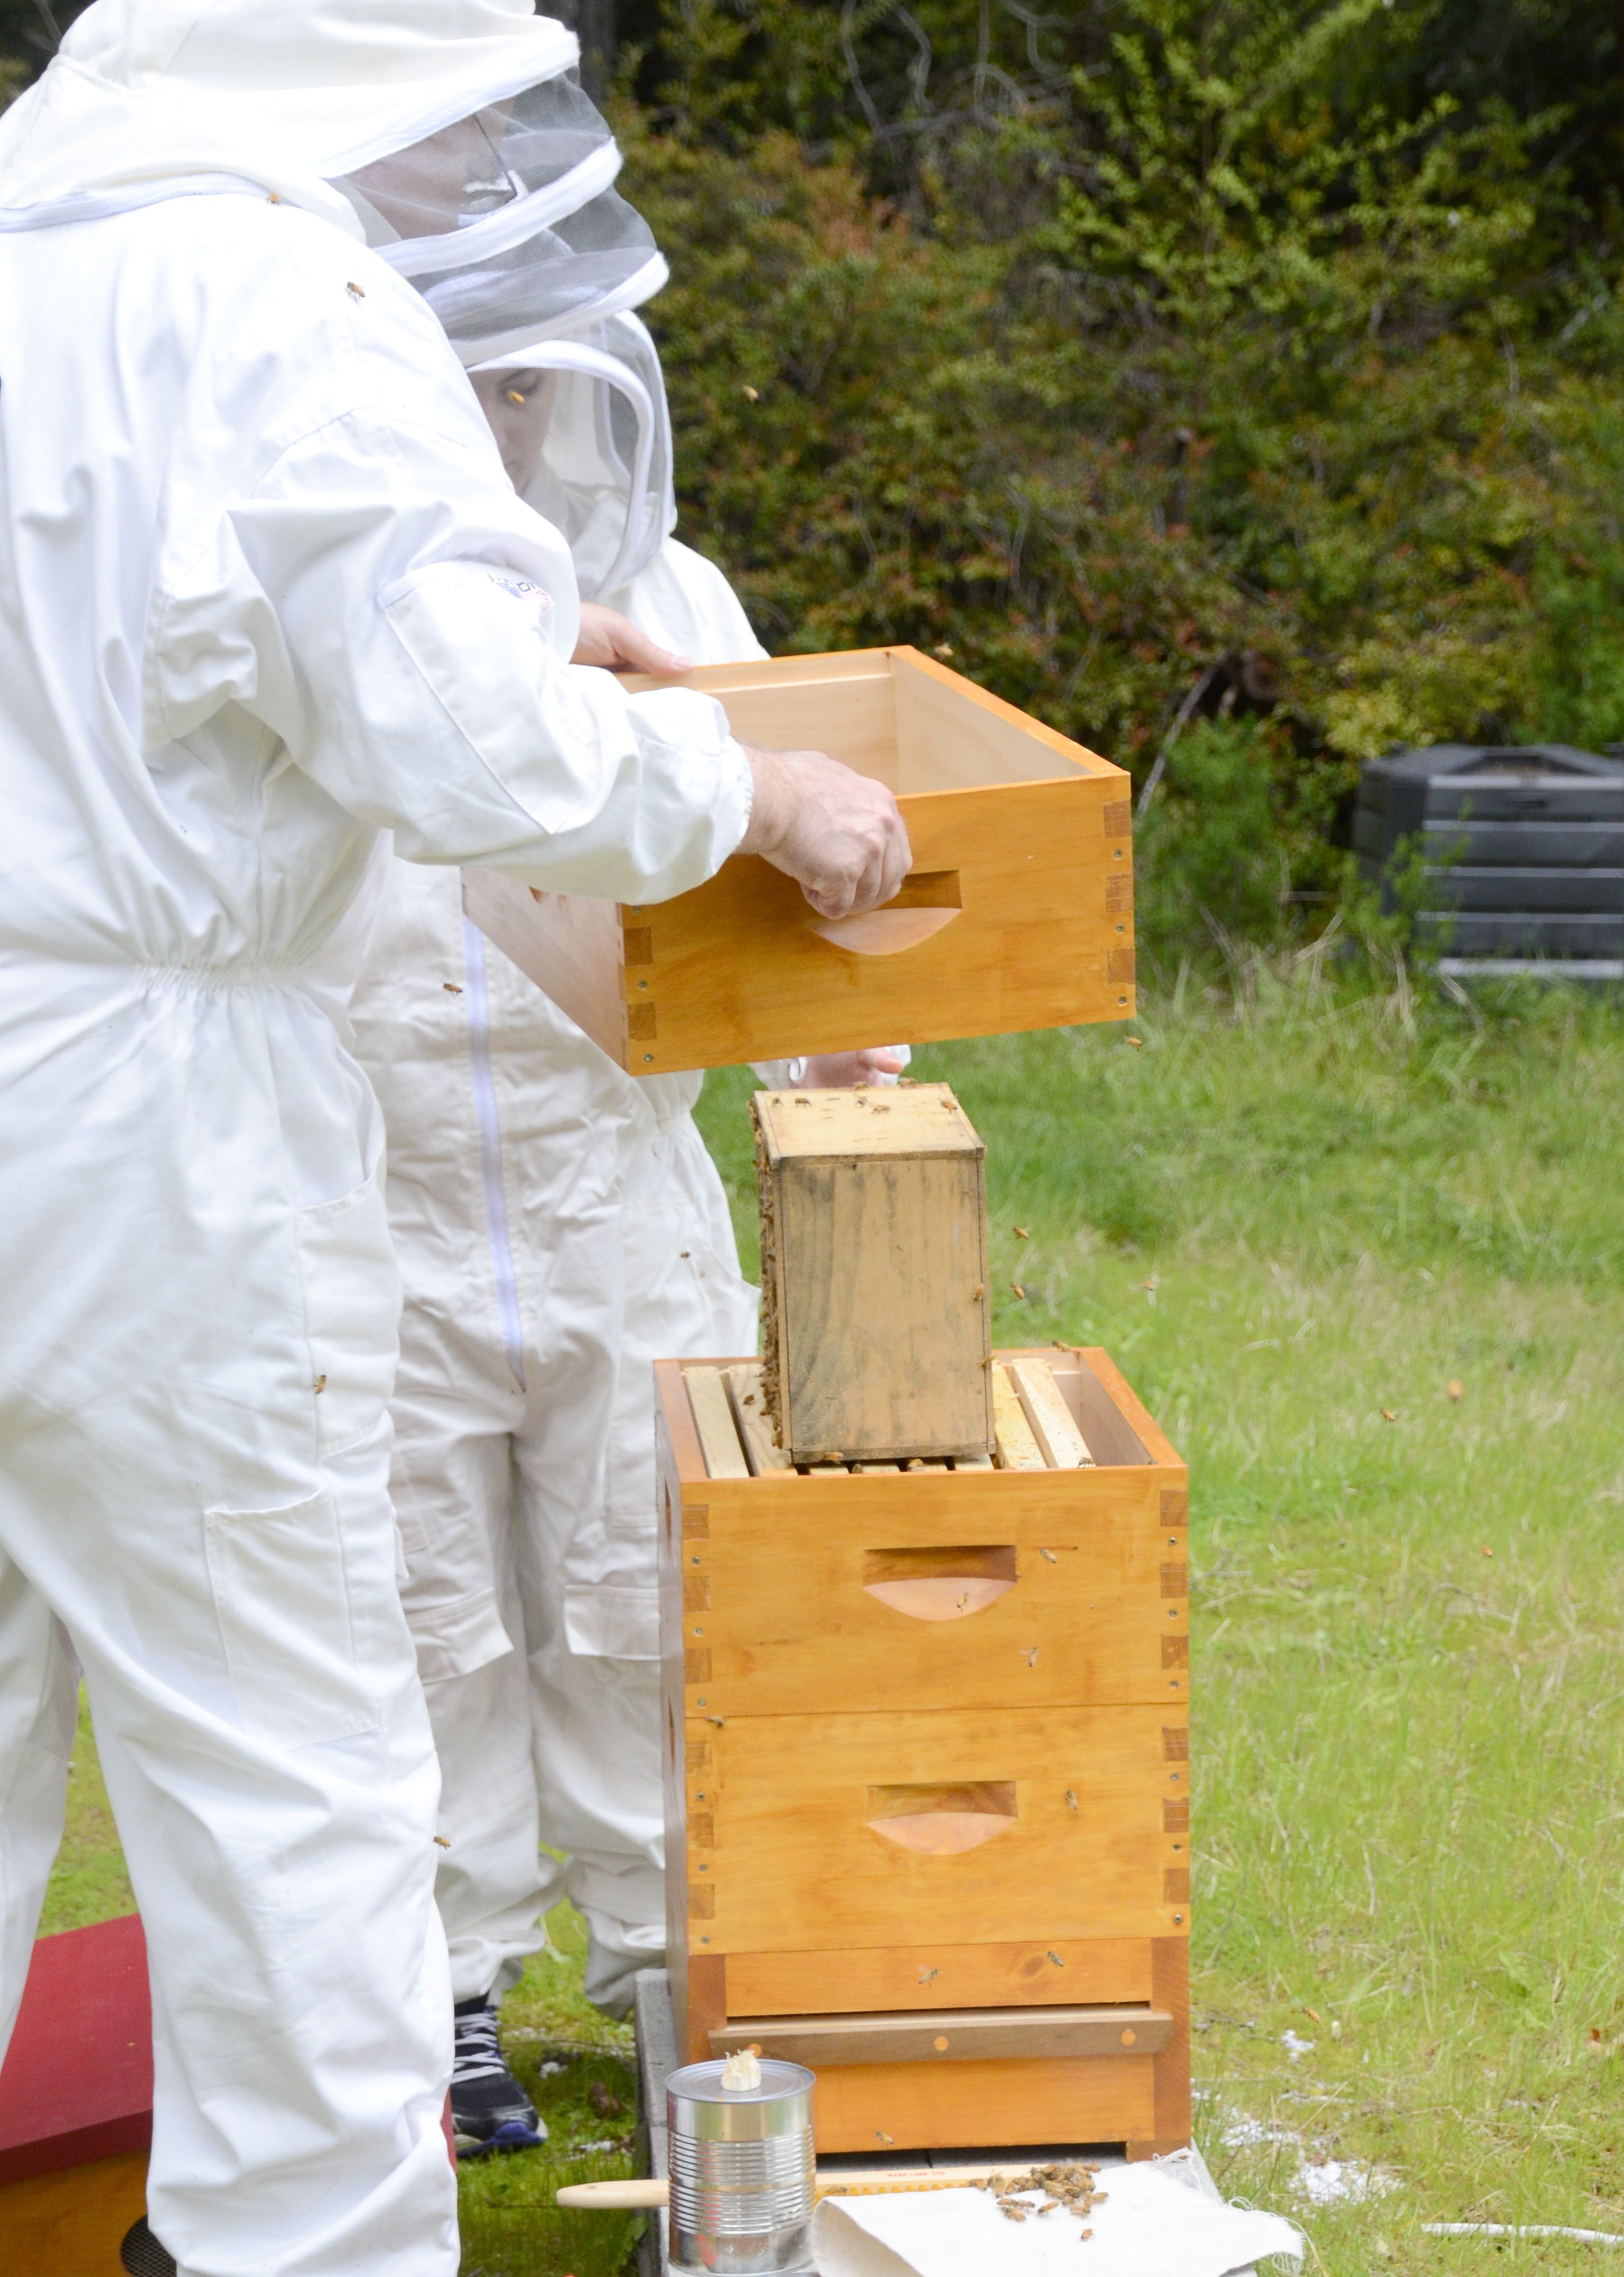
In my case however I'm using Warre hives. The bees start with nothing more than a top bar from which to hang their comb, so I use the crush and strain method to separate the honey from the comb, not nearly as pretty but it gets the job done.

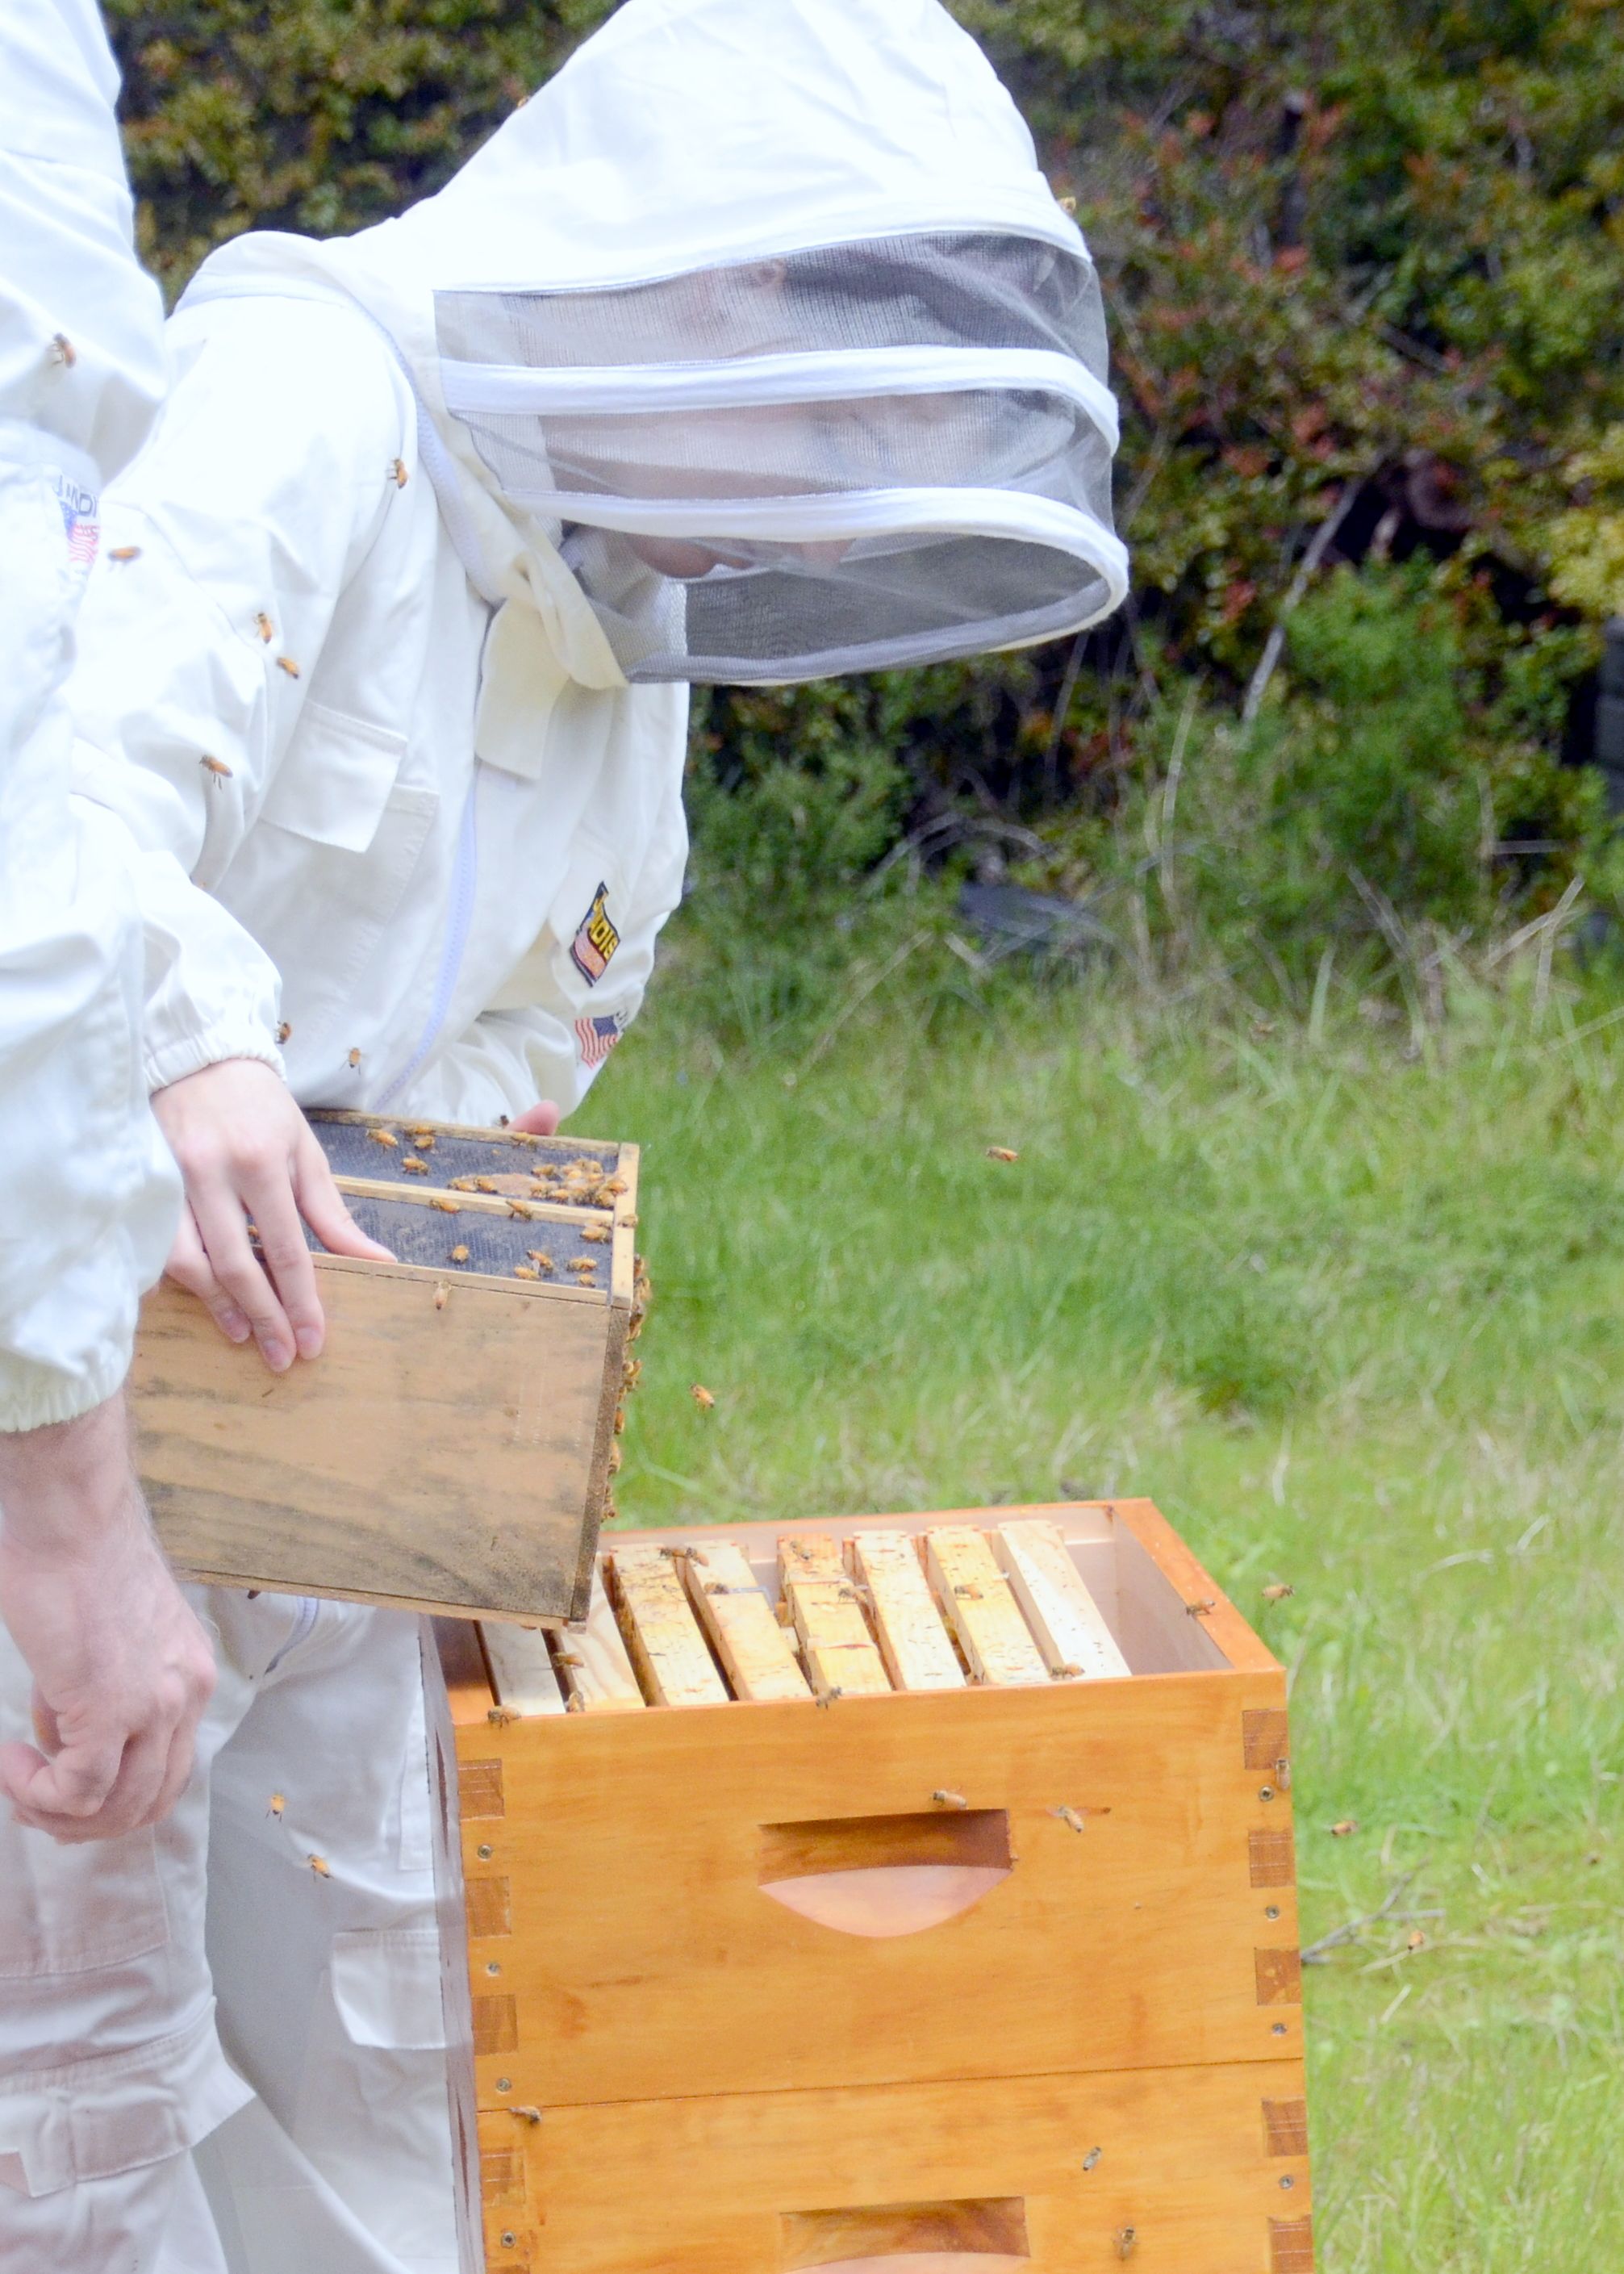
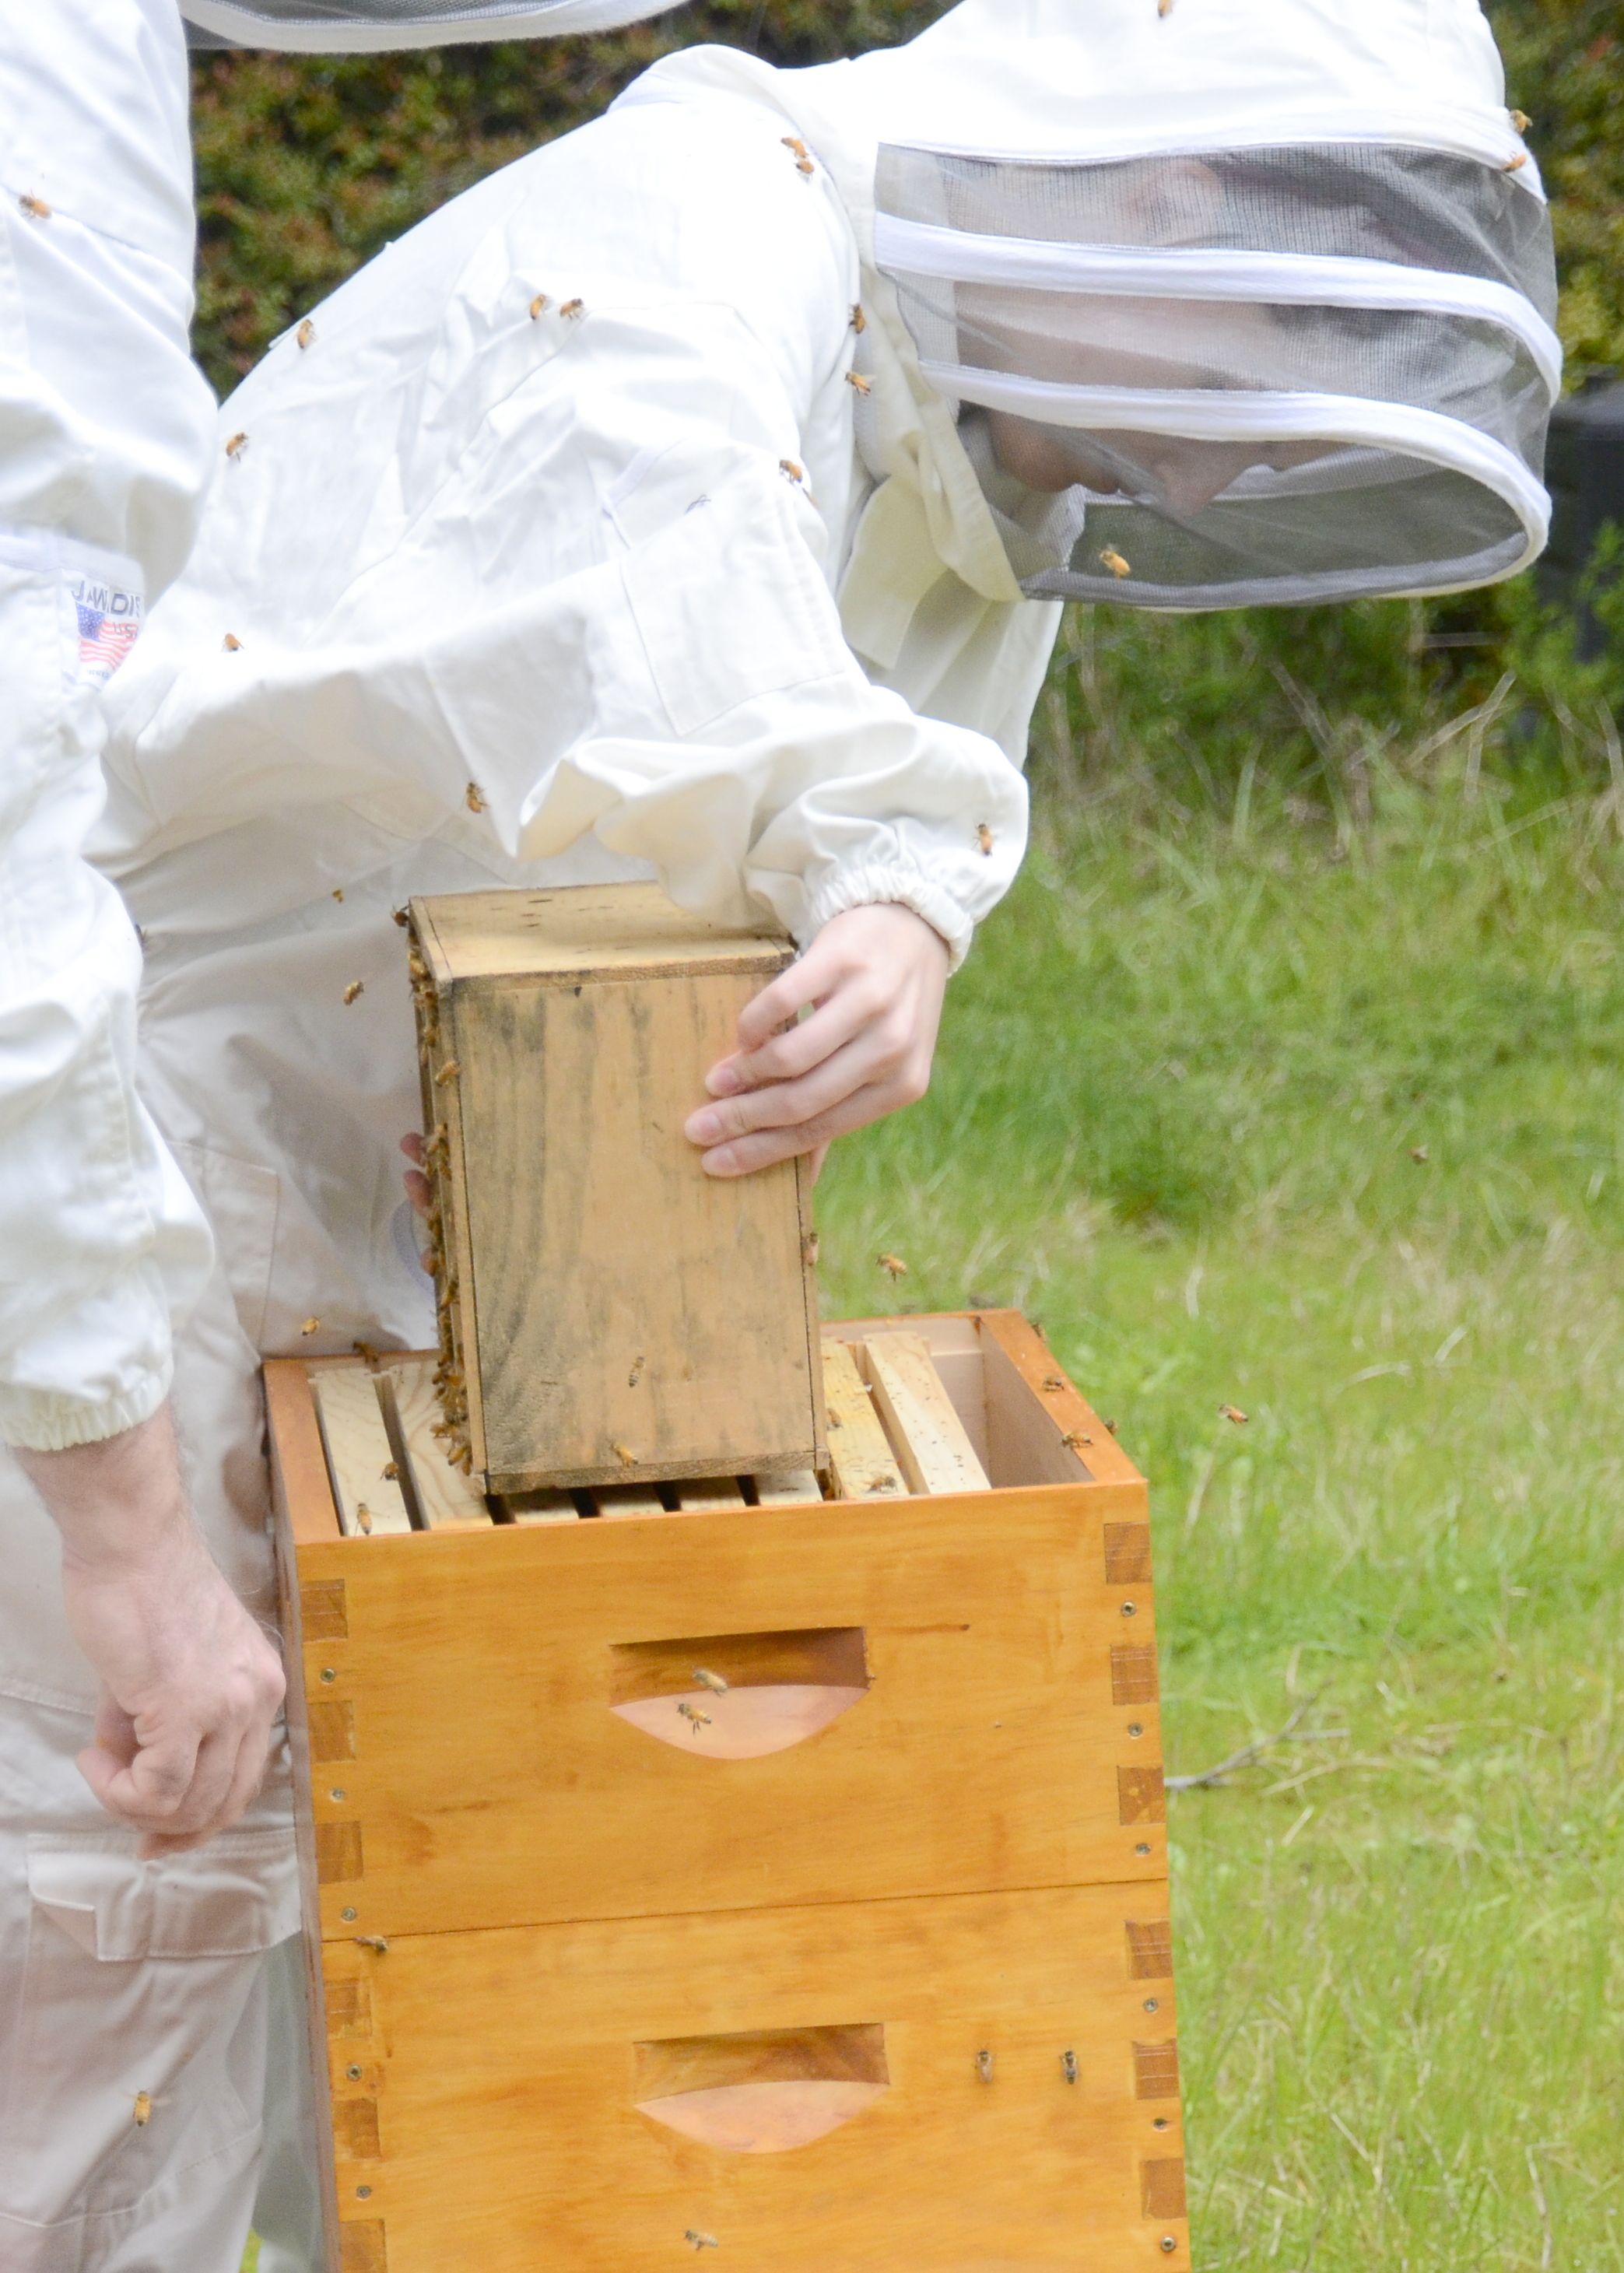
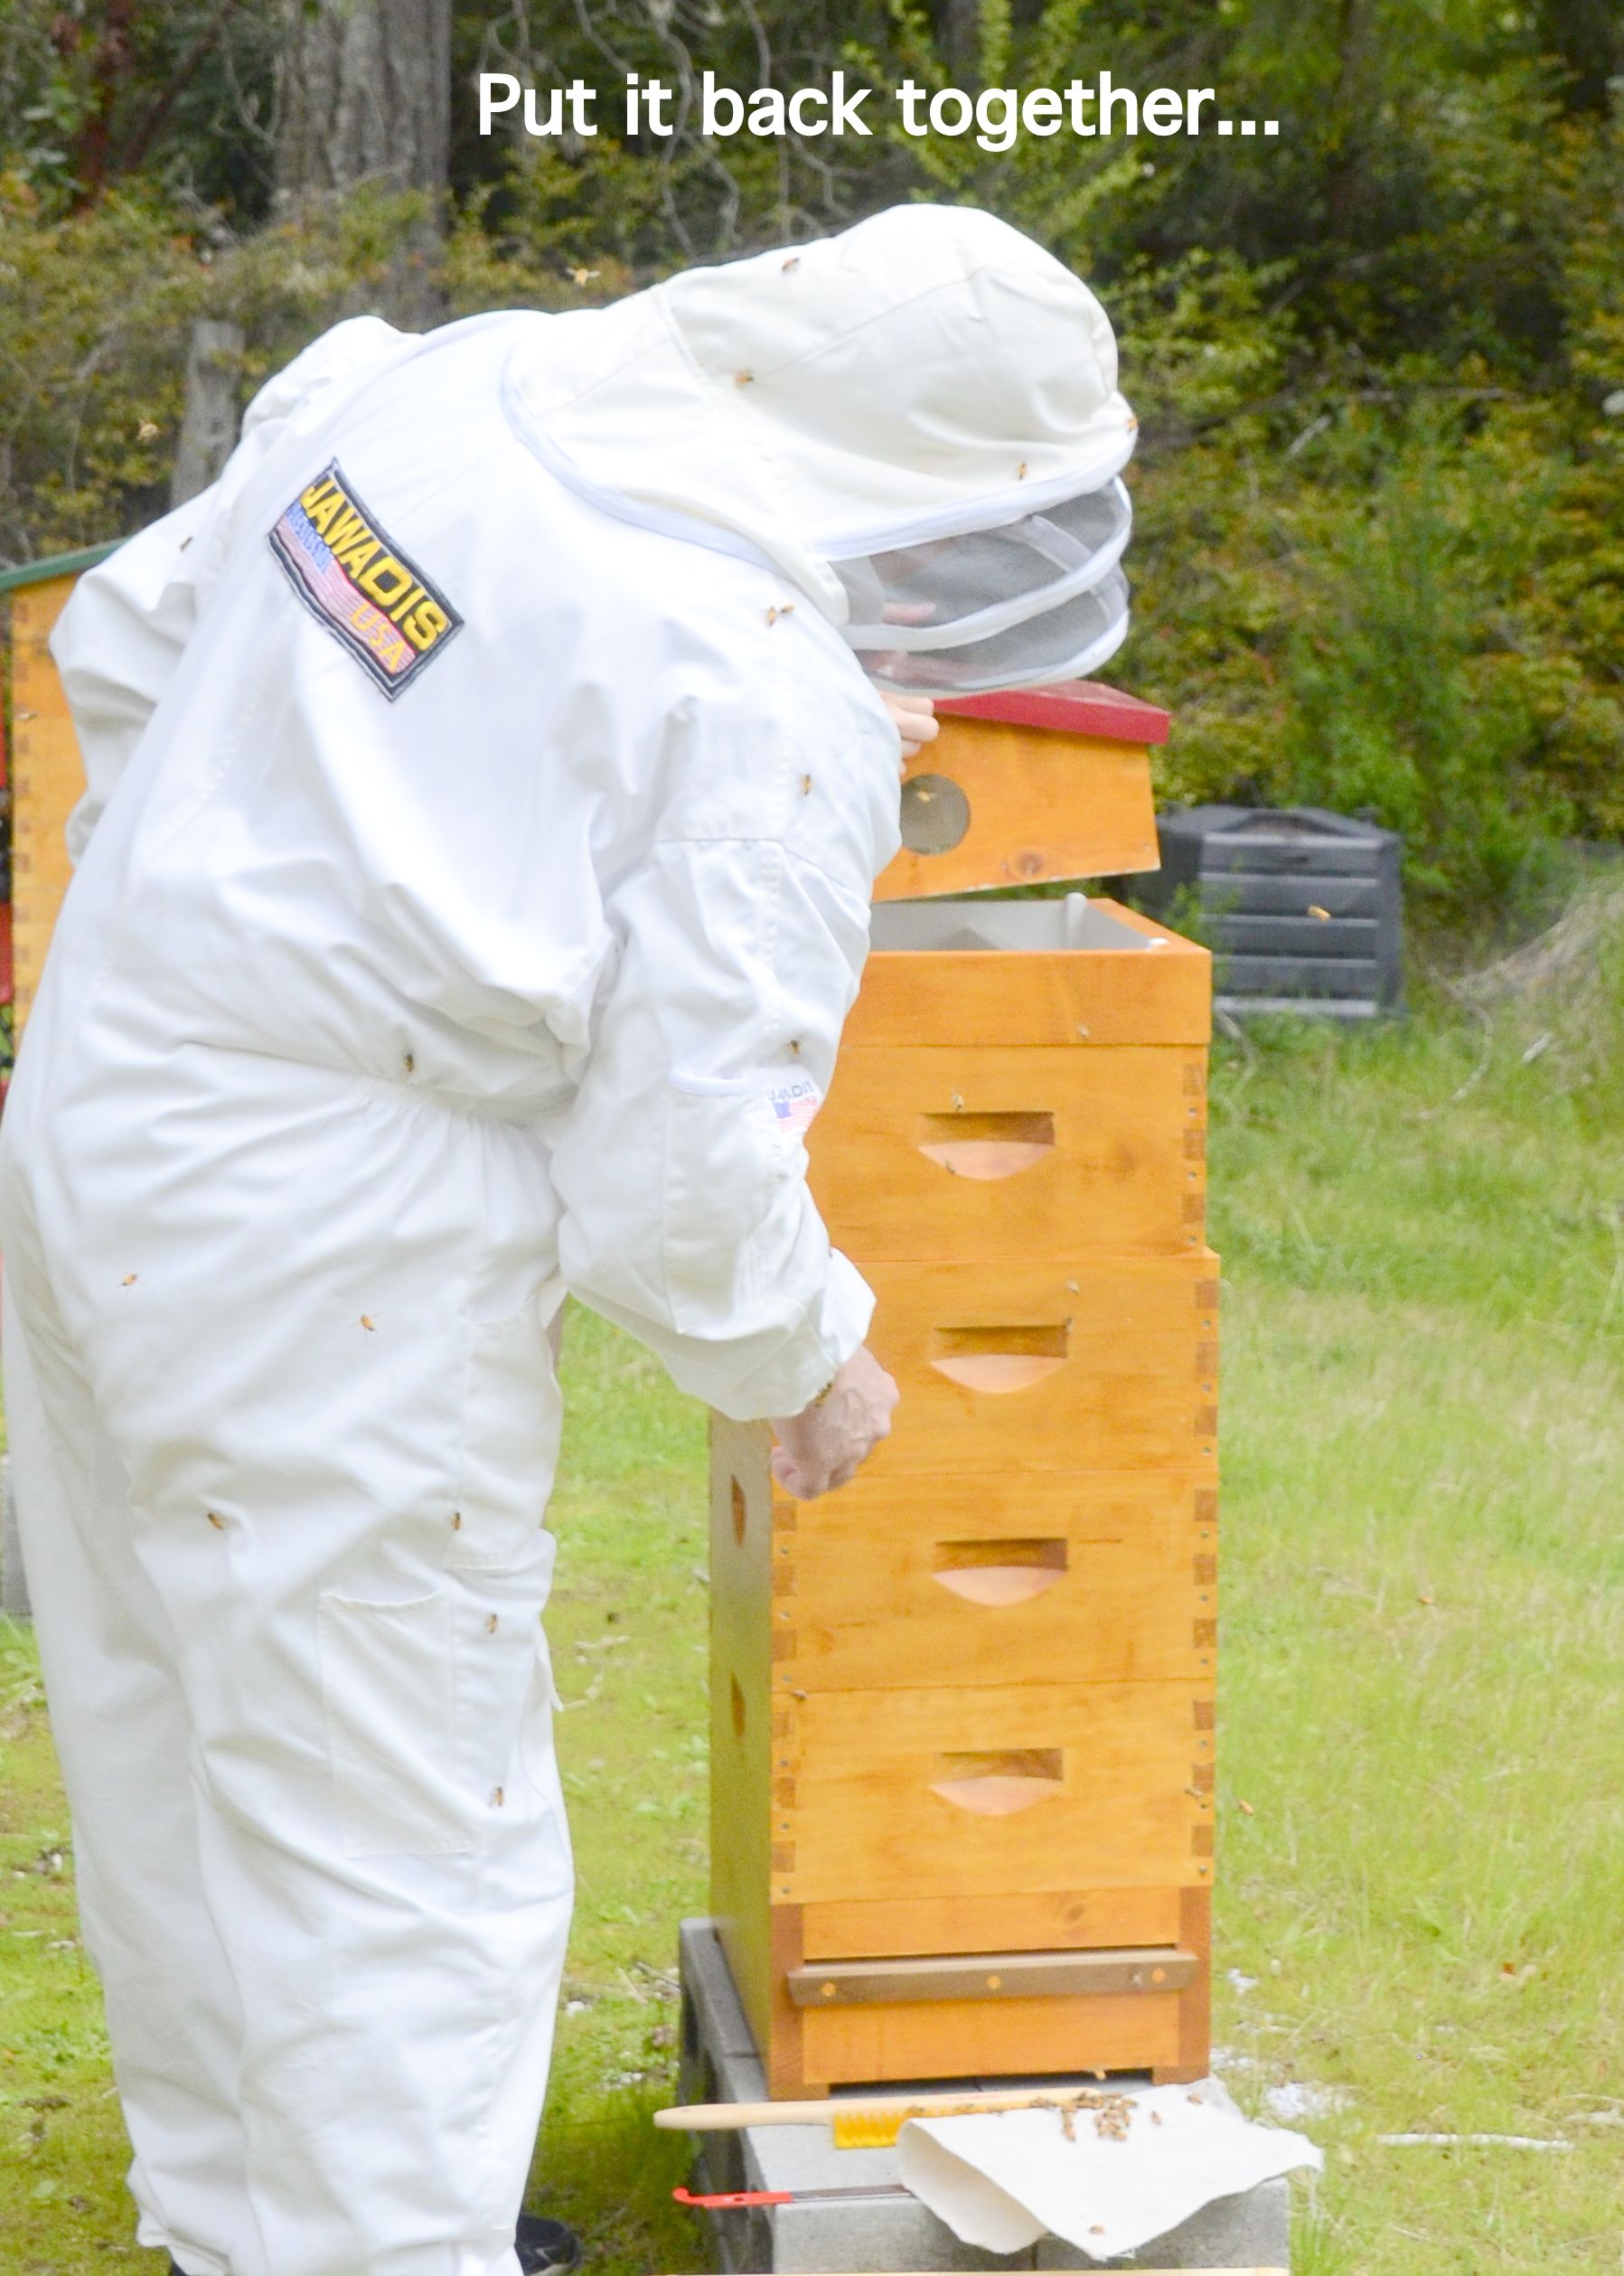
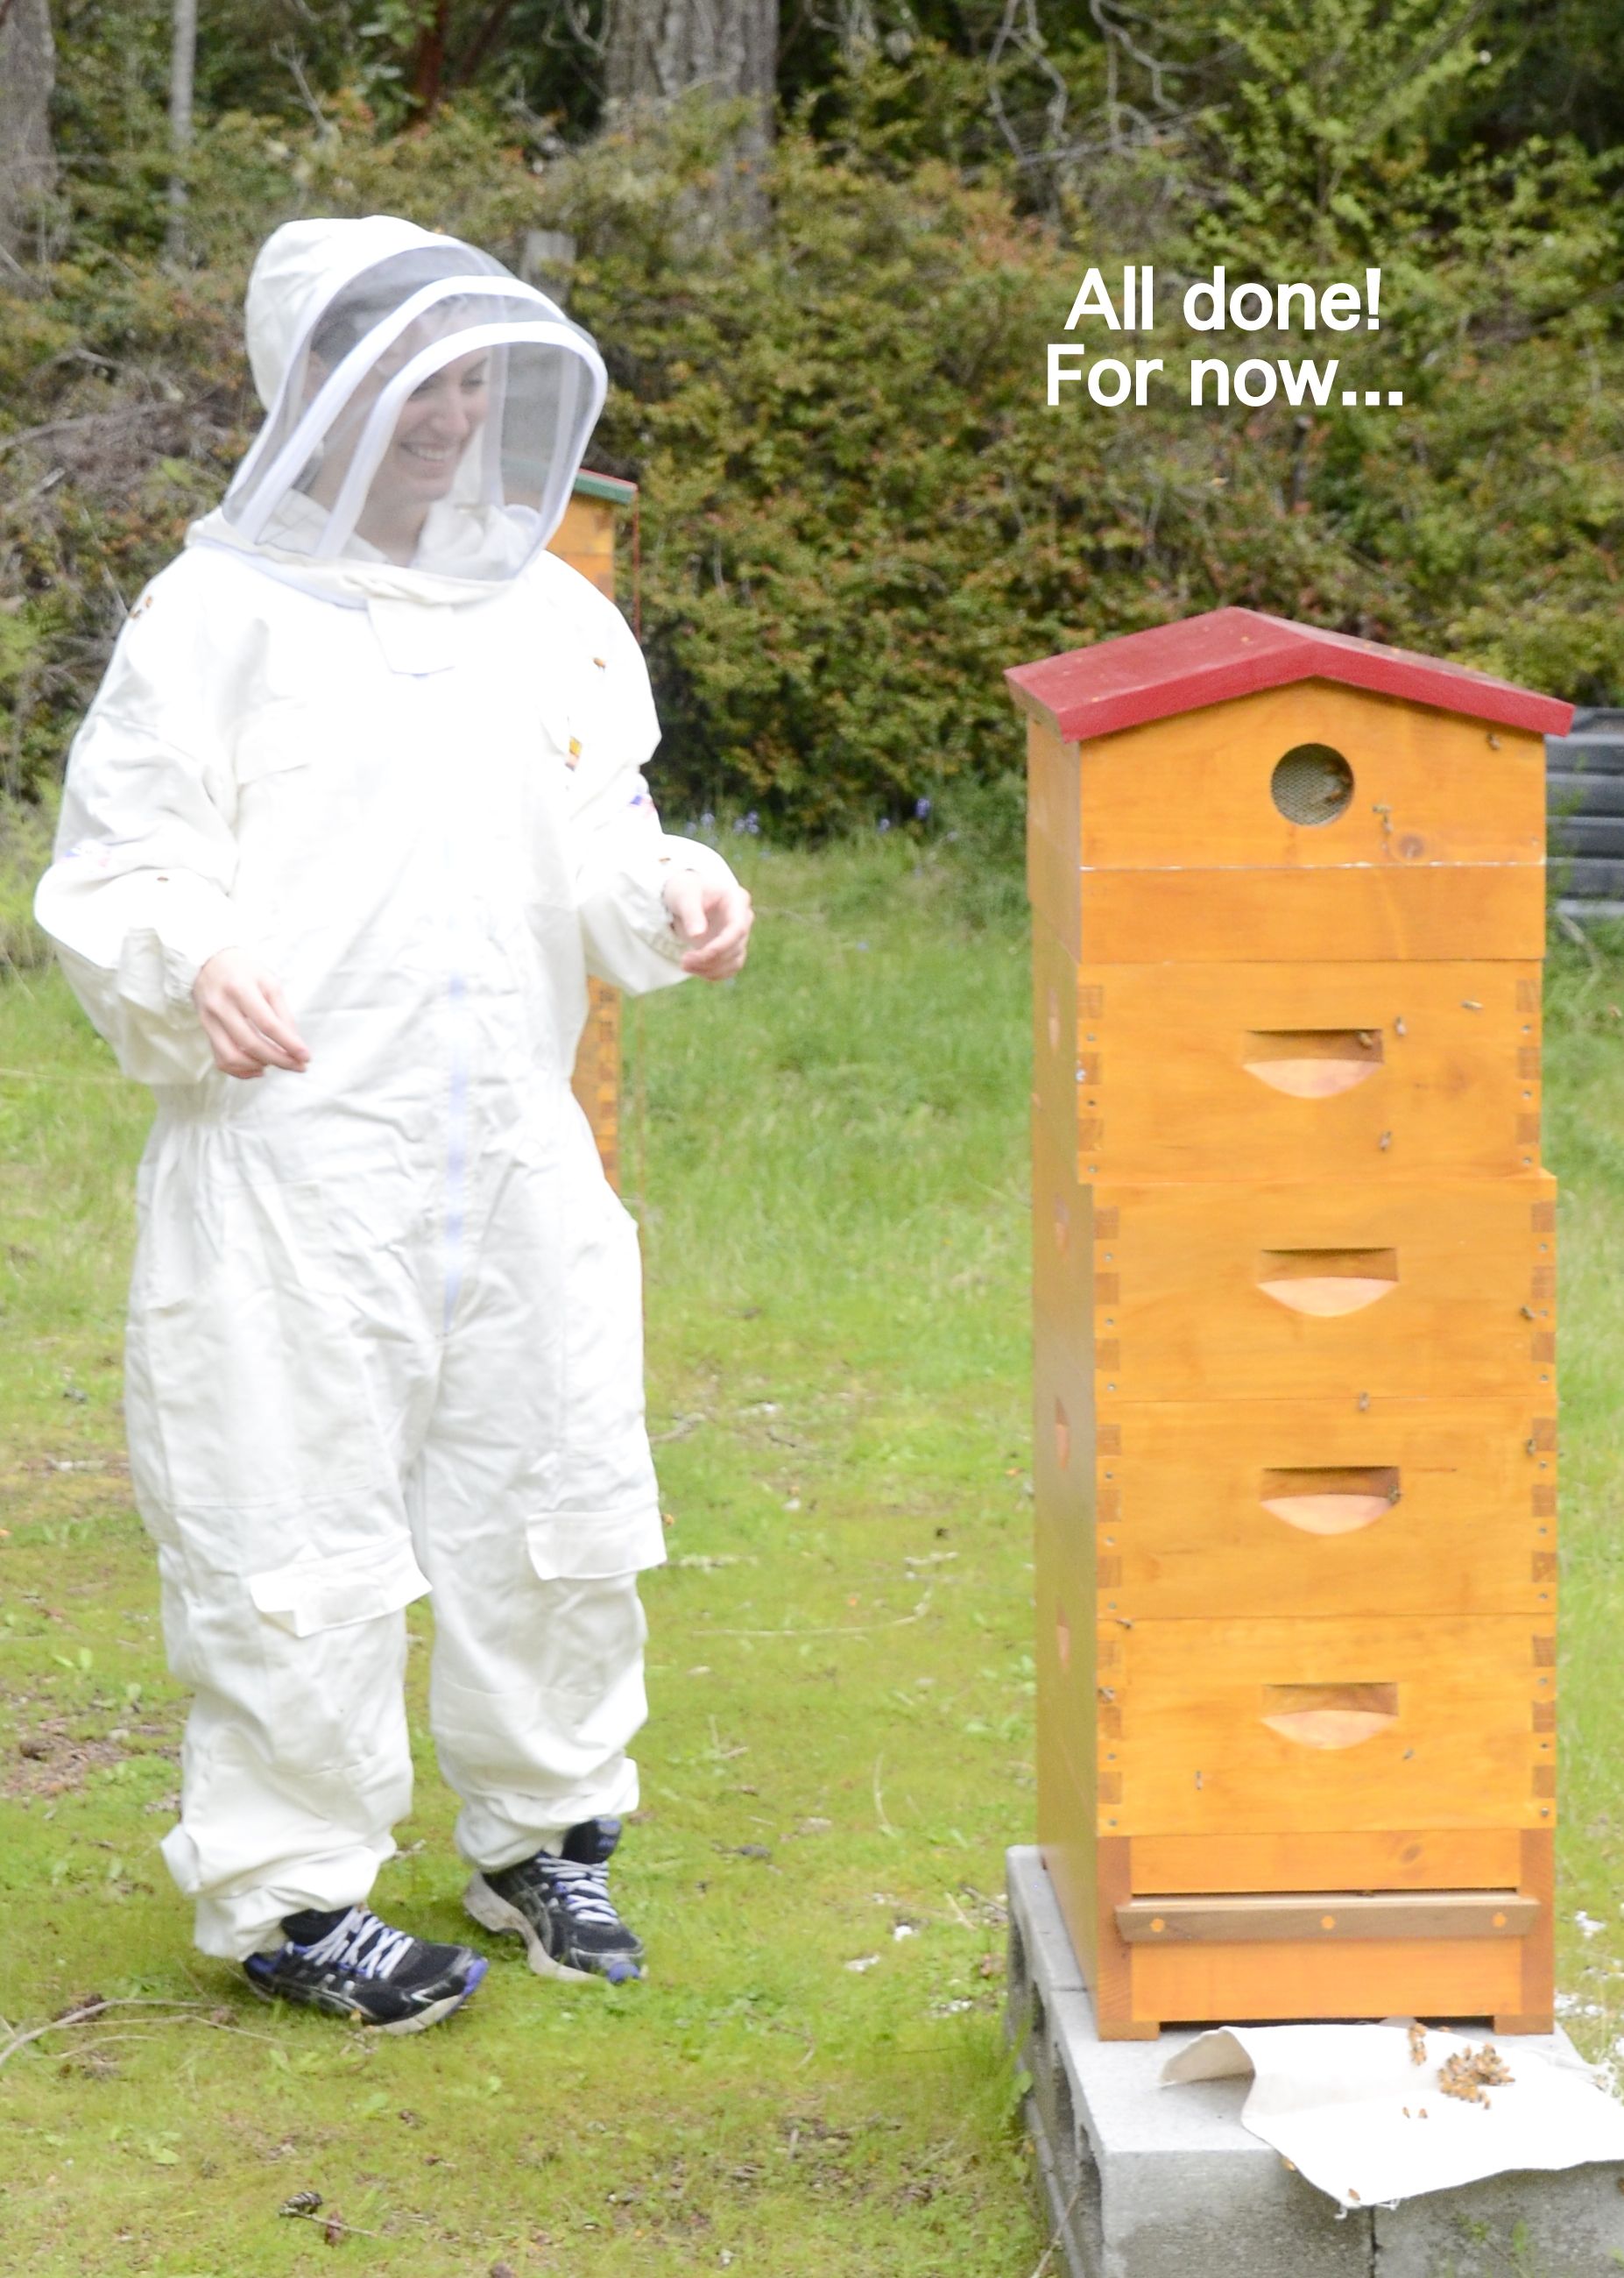
Step one is getting the bees out of the box of honey you want to collect. I put a bee escape below the box I wanted to collect. Check out this blog post for more details on that. I left it in place for about 10 days. Most of the bees were gone but there were some die hards that just would not give up the honey. No worries I was able to gently encourage them out as I pulled the frames.
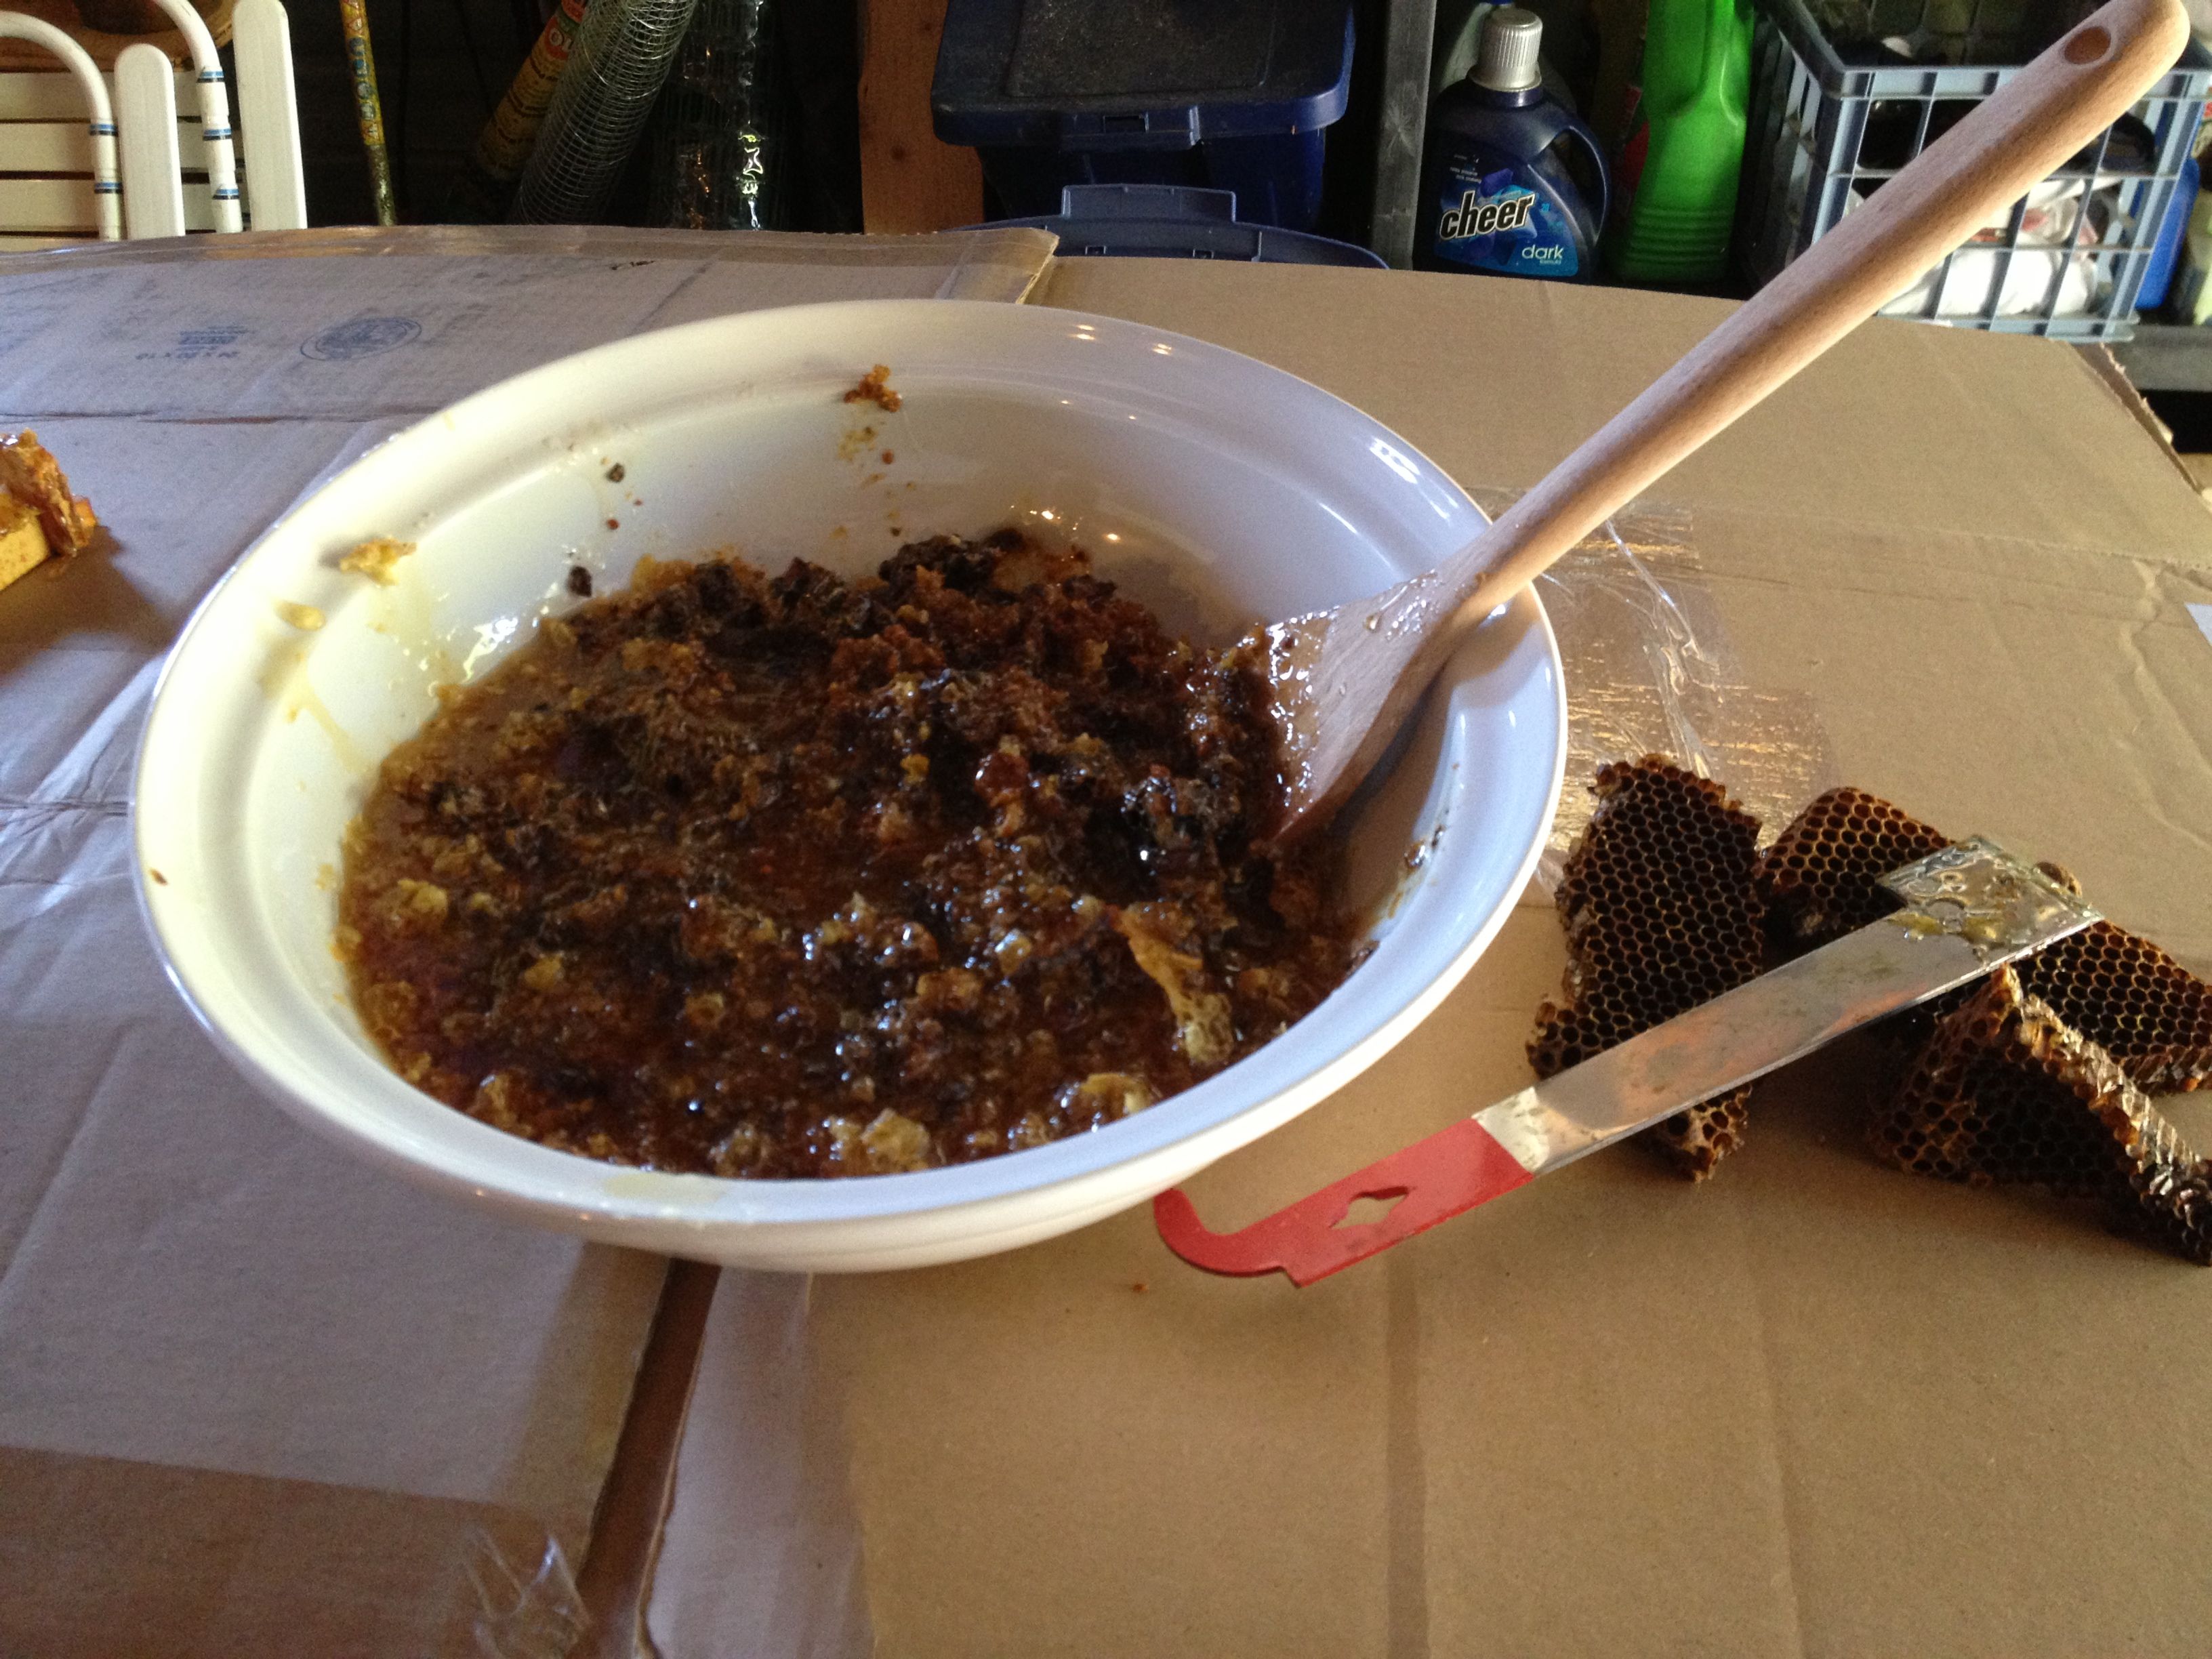
honey comb smashed up

smashed comb

Next I found a big white bowl (color doesn't really matter) and a wooden spatula to do the smashing. I cut the comb off into the bowl (I did this away from the apiary as once the bees get the scent of honey you will be over run.) and began smashing it up. It really looks like a mess.....this is the "Crush" part of crush and strain.

Next I poured this sticky mess of honey and smashed wax into my separating system or you could also call it a Honey Bucket, not the kind you see on a construction site.....a real....honey.....bucket. This is two buckets stacked on one another. The top bucket has a nylon straining bag in it and has holes drilled in the bottom. the bottom bucket has a lid with the center section cut out of it to allow the honey from the top bucket thru. It also has a honey gate....or valve at the bottom. This system is the most natural way to collect honey as there is no filtering of the honey which could filter out pollen or other great nutrients the honey might contain. Here is a link to a couple of similar systems: Mann Lake - Brushy Mountain Bee FarmBeeThinking. I got mine from BeeThinking.

Honey Straining Bucket

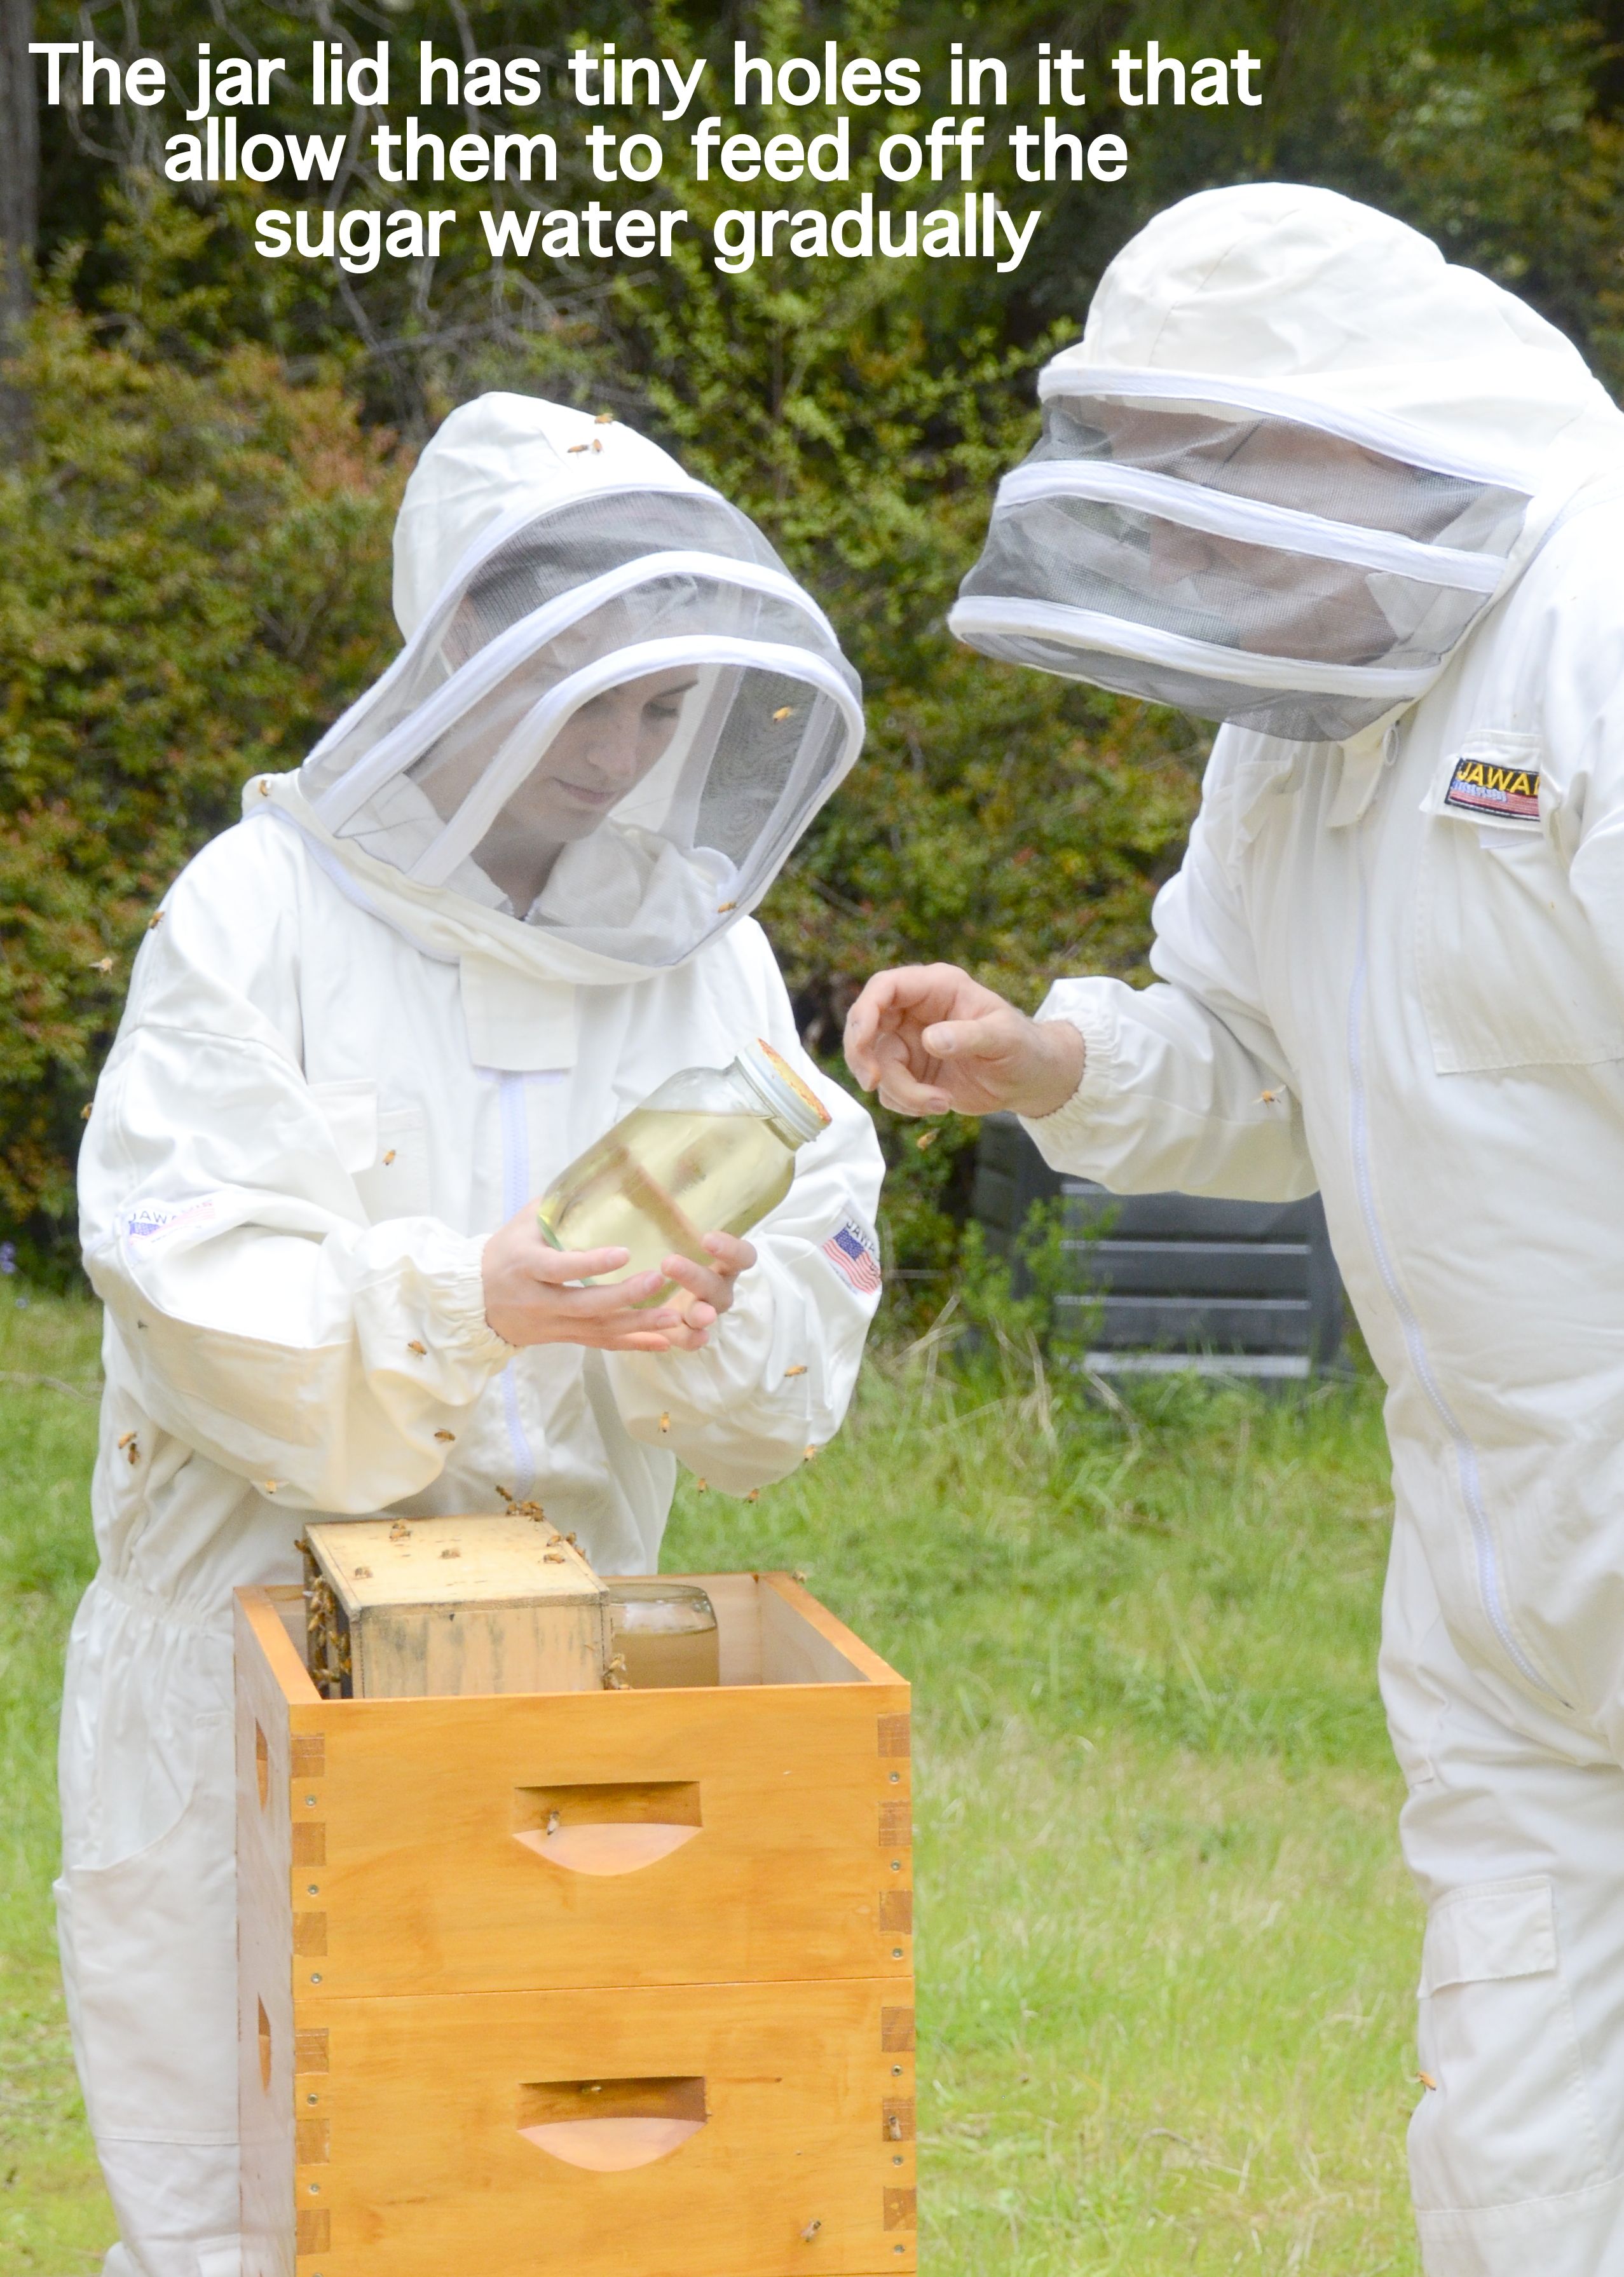
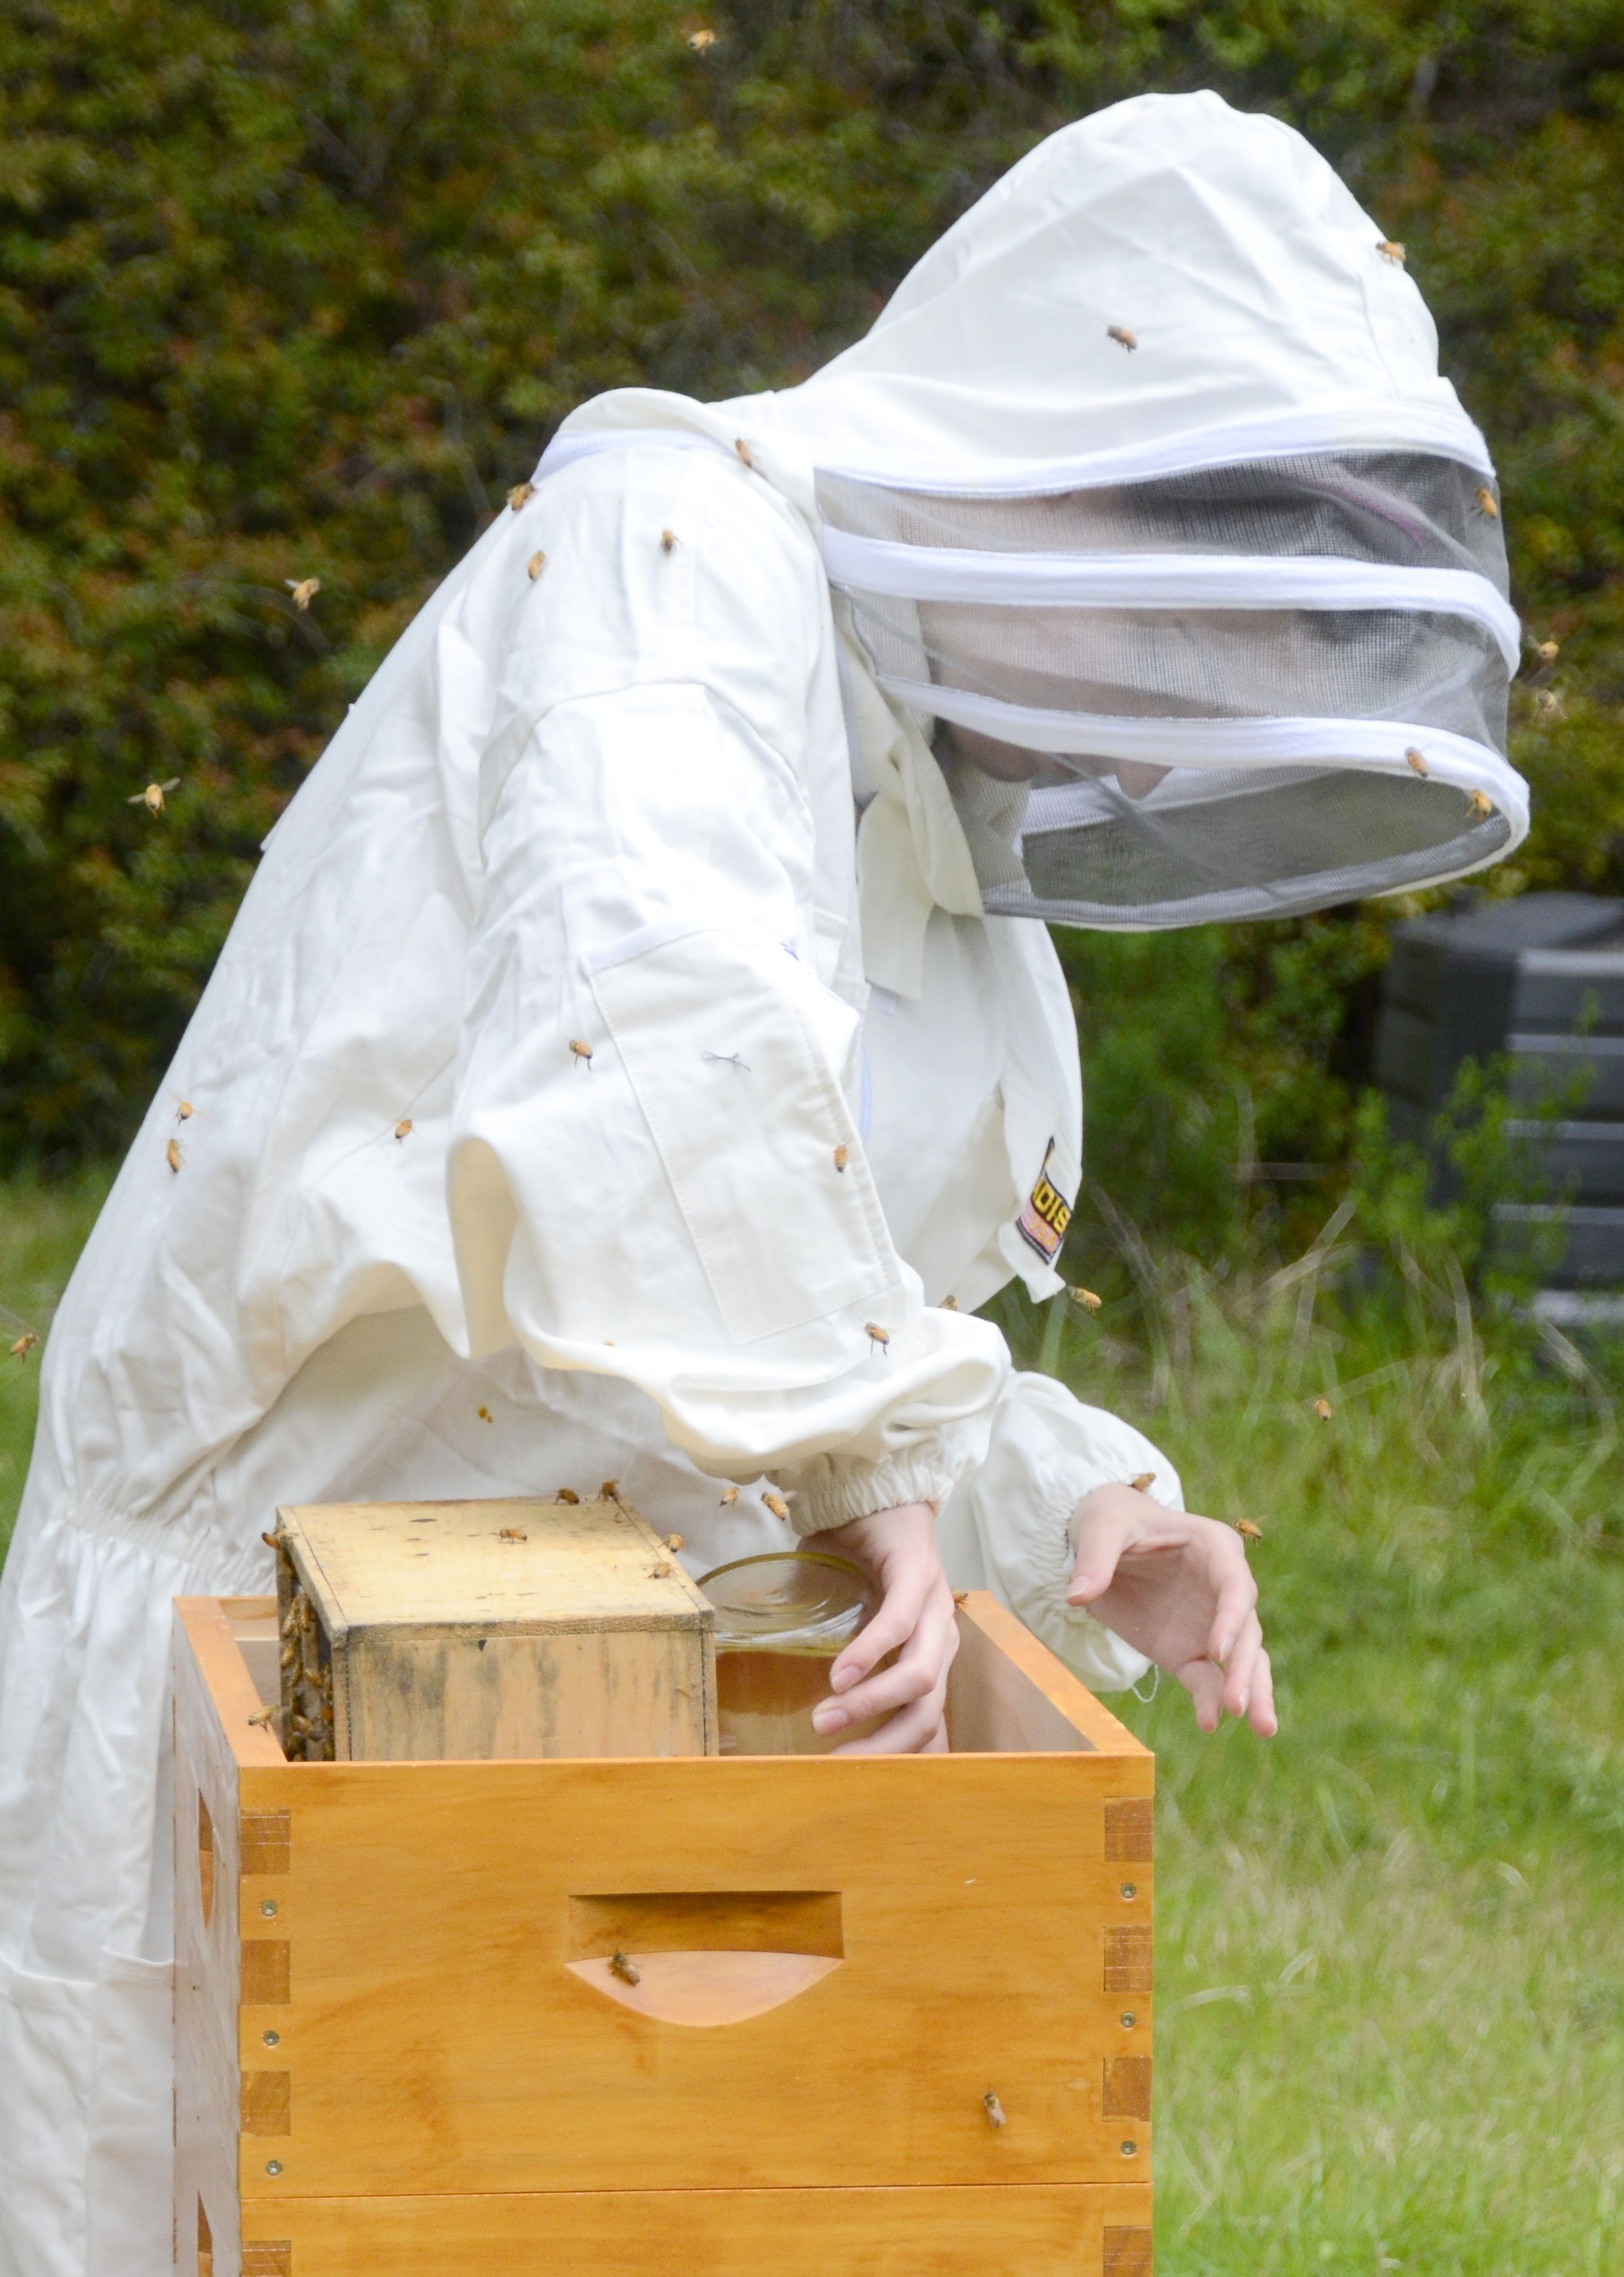
Now, time to put the buckets out in the sun. Warm honey flows much better to the bucket below. ***Big note here --- When I do this again I'm going to wrap saran wrap around the seam between the two buckets. There is just enough space for bees to get in and I had to scoop several out who got in and could not get out**** By the next day all of the honey had moved to the bottom bucket leaving all of the crushed wax....and other goodies in the mesh bag above.crush and strain honey collection

Honey Bucket in the sun
Filling jars of honey the best part of beekeeping

Filling the jars

Now the fun part, pouring the honey into the jars. There are lots of choices when it comes to honey containers, jars and bottles which you can buy from most of the beekeeping suppliers. From here just make sure each jar has its cap screwed on tight and wiped down so there is no stickiness on the outside. Design and place a cool looking label on the outside and we are ready to roll.

Couple of notes; I did wash all of the jars before using them. Honey attracts moisture so if you can do much of the work in an air conditioned space the better. Too much moisture in your honey and it will spoil.

All told this first harvest was about 17 pounds of honey. The first of the jars filled with honey from seabeck farms
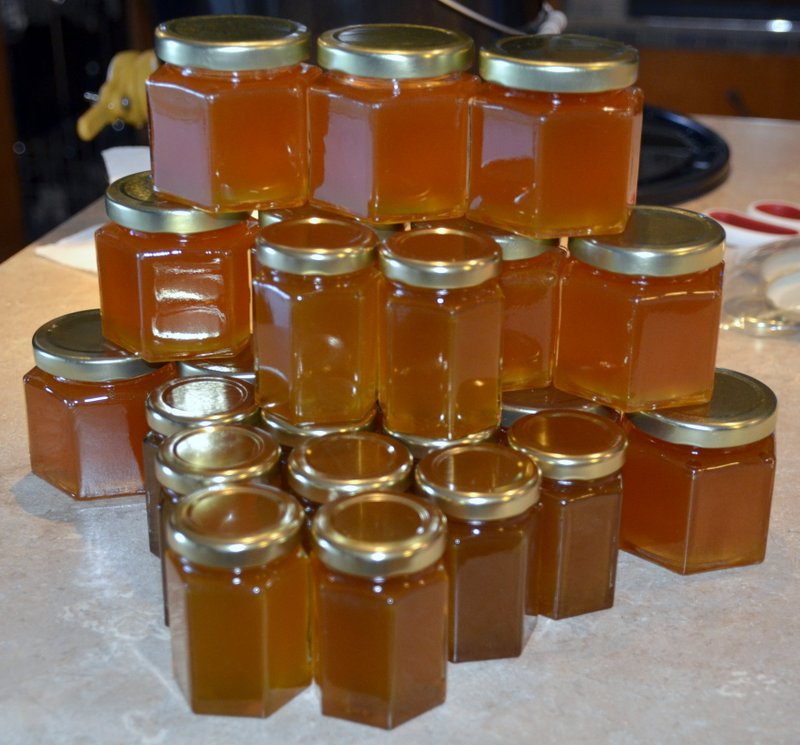
honey went to our bee friendly neighbors. That sounds like a lot of honey but as you can see not many jars.

I took the wax and melted it down and turned it into candles....I'll share that process in my next blog post.


Subscribe to The BeeKeepers Digest


Importance of Water and Good Neighbors to your Apiary

water feeder, bees, beekeeping

Easy inexpensive water feeder

This is the time of year when it gets hot in our area. Availability of water is critical to the health of your bee hives. I found that an easy inexpensive water system involves a simple poultry water bucket that you can get from your local feed store. I find that this small one works great and I just put small rocks in the base to give the bees a place to perch as they get a drink. Because the top is somewhat clear I can see when it is getting low so that I can fill it up again.

Why do bees need water? When bees leave the hive they are collecting several raw materials; nectar, pollen, water and plant resin. Nectar is the carbohydrate, pollen the protein and the resin is turned into propolis and used to seal off the hive from the weather. The pollen, nectar and water are mixed together with bee saliva to form bee bread. The bee bread is what the bees eat and what is fed to developing bees. Many humans also collect and eat bee bread for its reported medicinal properties. Bee bread is comprised of:

55% Carbohydrates, 35% Protein, 3% Minerals & Vitamins, 2% Fatty Acids, 5% other stuff.

So, back to the water, we went on a short vacation. Before leaving I made sure everything was squared away in my apiary. Each hive was strapped down (in case a wind storm came up while I was away), set up a swarm trap, made sure the water bucket was full.

While I was away either it was really hot and the water evaporated….or a racoon or other wild animal drank the water. In any event when I came back the first thing I noticed was that the bucket was dry.

A few days after having filled up the watering can I noticed that there were no bees drinking from it. Earlier in the year I would always see a dozen or so bees at a time getting a drink….but now nothing…..odd.

A week or so later I was talking with my bee friendly neighbor across the fence. She noted that she loved seeing my bees drinking from a plant saucer that they have near a window at her house. I was at first concerned that my thirsty bees might be intruding, but she reassured me that both she and her husband liked watching them and that they happily kept the saucer full.

bees drinking water

Bee water park

So….two morals to the story; 1) Always keep an ample supply of water close by for your bees. In this case I was lucky, had it been a swimming pool or deck fountain even the best of neighbors might not be happy. 2) Keep your neighbors happy about your bees. Keep them informed when you are going to be getting them and let them know how they are doing…and of course they should always get the first of the honey when you collect it.

A cool bee escape for the Warre bee hive

I have a Warre hive that overwintered this year. As a result the bees came into this season strong and ready to collect honey. The top box in my Warre stack is heavy with honey so I hope to have my first honey harvest. The challenge at hand is how to get the bees to move out of the box that I want to harvest.

Warre Bee Escape

Warre Bee Escape

There are several ways to encourage the bees to move. One is the use of a fume board. This is a cloth covered board onto which you spray or pour a chemical that really smells bad to bee noses. This drives them down the stack into the box below. Another way that I’ve read about is using a power blower. Remove the box and send a stream of air through the box blowing the bees south. Neither of these really appealed to me.

Darren from House of Bees, the craftsman that built my Warre hives, made some cool bee escapes. These give the bees a way down but due to the little maze he has made they don’t know how to get back. I’m placing the bee escape under the top box and hoping the bees will go down and out of the hive and then not come back into the box I want to harvest. Right now it is packed with bees so it will be interesting to see what happens.


The Trap is Set…….Bee Fishing

Jess and I put out a swarm trap this year. Hard to say if it will work but here are the specifics.

Swarm season in the Pacific Northwest starts in May and runs through August depending on the weather and the nectar flow. Since this is the season we figured it could not hurt to try. We used one of the swarm traps that is available from several places…we got ours from Brushy Mountain. It is made of a wood pulp type product so will wear out over time and weather. We mounted it to a piece of 2′ x 2′ plywood that I cut a handle into the top and some strap notches in the sides. The goal here is to be able to hang it from a nail (if driving a nail is appropriate) or using nylon straps to strap it around a tree trunk.

Swarm Trap in SeabeckI read lots of opinions on how to place the trap, which direction to face and how high it should be off the ground. You can get frozen in the thought process….my recommendation is just pick a place and run with it. There is always next year to try a new location. I’ve also had several stories within our club, West Sound Beekeepers Association, in which a swarm decided to move into a hive that happened to be empty but still in the yard…so I think the bees pretty much figure things out on their own.

Our hive is facing south east, so the morning sun hits the entrance and it is hanging from a nail on a post about 5 feet off the ground. I did put a piece of comb on the inside so that the smell would permeate the trap.

Stay tuned, if we catch a swarm I’ll let you know.

As you can see based on the post date it is July, we actually hung the trap the first part of June, I just didn’t get around to making a post until now. As the season wears on I’m less excited about a swarm…an old poem tells the tale:

A swarm in May is worth a rick of hay.

A swarm in June, worth a silver spoon.

A swarm in July isn’t worth a fly

I think the sentiment here is the later in the season a swarm sets up shop in a new home, the less time there is for them to draw out new comb and stock pile resources for the winter. If we were to catch one now I might just combine it back into a weaker colony.

The language of bees

For the past 9 or 10 years we have been sponsoring a girl by the name of Kadiatou, who lives in Mali Africa. We make a small monthly donation through World Vision which helps to improve her quality of life and the overall program supports schools in her village. We receive updates and pictures a couple of times a year and we are encouraged to send her items that will fit in a small envelope as well as to write letters to her.

World Vision, Mali Africa, Beehives, Beekeeping, African Bees

World Vision helped me get hives to a family in Mali.

We often find these letters a bit difficult to write. We have very little in common and     are careful to not include a lot of detail about material items. Lets face it….the average American can not relate to the daily struggles that the average African villager has to face, nor could an average 14 year old girl from Nonsombougou, Mali have any concept of what it is like to live in our world. We are not only separated by half a world but by language (she speaks French), religion, polotics, currency, life style, terrain, weather, education and basic daily concerns. As a result our letters are pretty generic. She writes to update us on her education, what her interests are and usually draws a picture….our letters include topics about the weather, animals, and encouragement. Each letter from us has to be translated from English into French…..and each letter from her needs to be translated from French into English. We did learn, however, that her Dad is a farmer. They plant sourgum and have a goat and a cow……which leads me to why this story is on my bee blog.

A couple of months ago I sent over an inquiry through World Vision asking if Mr. Traore, Kadiatou’s Dad, would be interested in adding bees to his farm. To my delight his answer was yes. A phone call and a couple of months of waiting we just learned that their bee equipment has arrived. I immediately sent out a letter to Mr. Traore congratulating him on his new arrivals. As I wrote the letter it occurred to me that now we have something in common, something we can both relate to on every level. We will have the same concerns, want to know the same things and will try to solve the same mysteries. We now share a common language……the language of bees.

If you are interested in sharing the investment in a hive click here….or you can click the beekeeper below to donate/invest in the whole set up for a new beekeeper. Your investment will change lives.

As I get updates from Mali I’ll post them here. In this way you can get a glimpse into beekeeping in the Pacific Northwest from me….and beekeeping in Mali Africa from Mr. Traore…..the newest beekeeper in our family.

World Vision Beehives

World Vision Beehives to Donate Click Here


Swarm Stories May 2013

West Sound Beekeepers Association, WSBA, George Purkett, Swarms, Beekeeper, Bees

George Purkett WSBA

On Friday a swarm came down from the sky and went into a top bar hive I was going to put a package into on Saturday. Kiva started drumming on the deck railing when she saw it swirling in the air. It quickly went into the hive. Not sure if it was already headed there or not. I spent Saturday evening and most of Sunday looking through my hives looking to see where it came from. It didn’t come from any of them.

Sunday afternoon another swarm showed up in my driveway and settled as a double clump in a fir tree. I checked all the entrances, and it also did not come from my hives. I then took the field glasses and looked at the neighbors tree. Lots of activity at that bee tree. I wonder if both swarms came from that tree?

Last year in June, I was about to set up a large colony with a cloak board for rearing queens. Unfortunately, the hive was more eager to grow queens than I. It swarmed and landed high in a tree above the apiary. The next day I watched the swarm leave and move into a hollow in a very large tree in the neighbors yard. I was saddened that the swarm left, but then realized that a WSU daughter queen just went feral in my neighborhood.

I wonder if one of the swarm queen will be marked when I check in a few days. I am also going to keep checking the sky and the trees. Maybe more previous year wayward swarms will return home.

The double clump swarm landed as two clumps and stayed as two clumps.

Usually a swarm will gather into a single clump after initially landing in a tree in multiple clumps. this one did not. Knocking two clumps of bees into buckets 15 feet straight up did not work so well. One clump went into a bucket, the other clump came raining down, oops, minor setback. All in a days fun.

Keep looking up for swarms.

George

Note: George Purkett is a key member of our bee club, West Sound Beekeepers Association. He teaches several classes and has designed this years hands on beekeeping class that over 40 beekeepers have signed up for. He posted this story on our clubs bulletin board and with his permission I’m reposting it here.

Frank


Bees going into their new beehive

A quiet bee installation

April 20th was bee day at Stedman Bee Supplies in Silverdale. The members of our bee club, West Sound Beekeepers Association, were out in force, helping to carry bee packages, answering questions and doing live bee installation demonstrations throughout the day…..a bunch of busy bees.

This year I ordered 1 package of bees to bring me back up to two hives. The Italians came in the earliest so I got those. With our short season even two or three weeks can make a big difference.

We decided to do what I call “a quiet installation”. Instead of turning the bee package upside down and dumping the bees into their new home, we instead gently turned the package upside down on top of the hive bars after having placed the queen cage between two frames in the middle of the hive. We added two boxes over the travel cage and then put the top on. It starts out looking really tall but once the travel cage is removed we are back to two boxes deep.

After 24 hours all of the bees had migrated out of their travel container and into the hive. Another 24 hours later I checked the queen cage and the marshmallow had been eaten and the queen had been released.

I think this method would work well in bad weather too……Granted, this method is not as dramatic as having a cloud of a thousand bees buzzing around you, but it worked just fine.

Bees going into their new beehive

The new package of bees

queen bee, Italian queen bee

Queen in her travel cage

queen cage, putting marshmallow in queen cage

Marshmallow in the end of the queen cage


Place queen cage in center

Place queen cage in center

Queen bee in her cage

Placing the queen cage between two frames

Turn travel cage over

Turn travel cage over


installing a package of bees into hive

Gently turning the travel cage over, hole down

Place an empty over travel cage

Place an empty over travel cage

feeding your bees, sugar water for bees, beehives

They need plenty of sugar water for now


place jar off to the side

place jar off to the side

Use up the rest from travel feeder

Use up the rest from travel feeder

Place the top on

Place the top on


Langstroth western beehive

All done for now


West Sound Beekeepers Association Hive Installation Demonstration

Joining a local beekeeping club provides lots of support, information and education….all making you a better beekeeper. The West Sound Beekeepers Association each year on bee arrival day puts on demonstrations throughout the day. This makes it easier for newer beekeepers to understand the process of moving their new packages of bees into their new home.

A 3 pound package of bees contains about 10,000 bees and one queen.

You will find other bee package installation videos here and here.

David Mackovjak does a great job not only installing this package of bees but also fielding questions from the onlookers.


The Distance a Bee Travels

It is truly amazing how far a bee will travel to find pollen, nectar, water and propolis. They will travel 3 to 5 miles in search of sustenance for their hive. When you have a bee hive you can’t think of what is blooming in your yard….rather you need to think what is in bloom in your part of the countryside. I live in Seabeck WA and as you can see my bees travel quite a bit of our zip code.

A 3 mile travel distance creates a 6 mile in diameter circle around your hives. A 3 mile radius covers 18,110 acres of ground. A farmer would be proud to be able to cover that many acres and as you know the honey bee is the fraction of the size of a human.