So I finally got to the point that I could hardly park my truck in our garage….and that breaks one of our prime directives….garages are for vehicles…not stuff. Deep boxes, warre boxes, frames, smokers, bee suits, empty feeding jars, smoker fuel, saved comb, cinnamon, vinegar, sugar, supers, swarm traps, nuc boxes, and a myriad of other bee related items were taking over my garage….add to this all of the garden equipment one collects over the years and it became apparent that I needed more space.
After much research we decided on a Tuff Shed from Home Depot. So we ordered and had built a 10 x 20 shed designated to be 1/2 garden shed and 1/2 bee house. We chose this size because in our area this was the biggest one we could get that did not require a permit. Here is a time lapse video of its construction.
One of the first places I went to for ideas was Pinterest. Here is the pin board I created. Not being a big wood worker I collected ideas that I thought I could accomplish. Here are some of the results, pictures of our new garden shed/bee house.

10 x 20 Tuff Shed
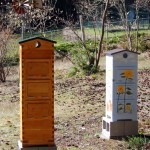
You can see my 4 hives off to the left. It is really great having everything close to where I need it when I’m working in my little apiary. It is also nice to have a place for everything and everything in it’s place.
I added this loft to allow me to store all of my unused boxes.

Shed loft
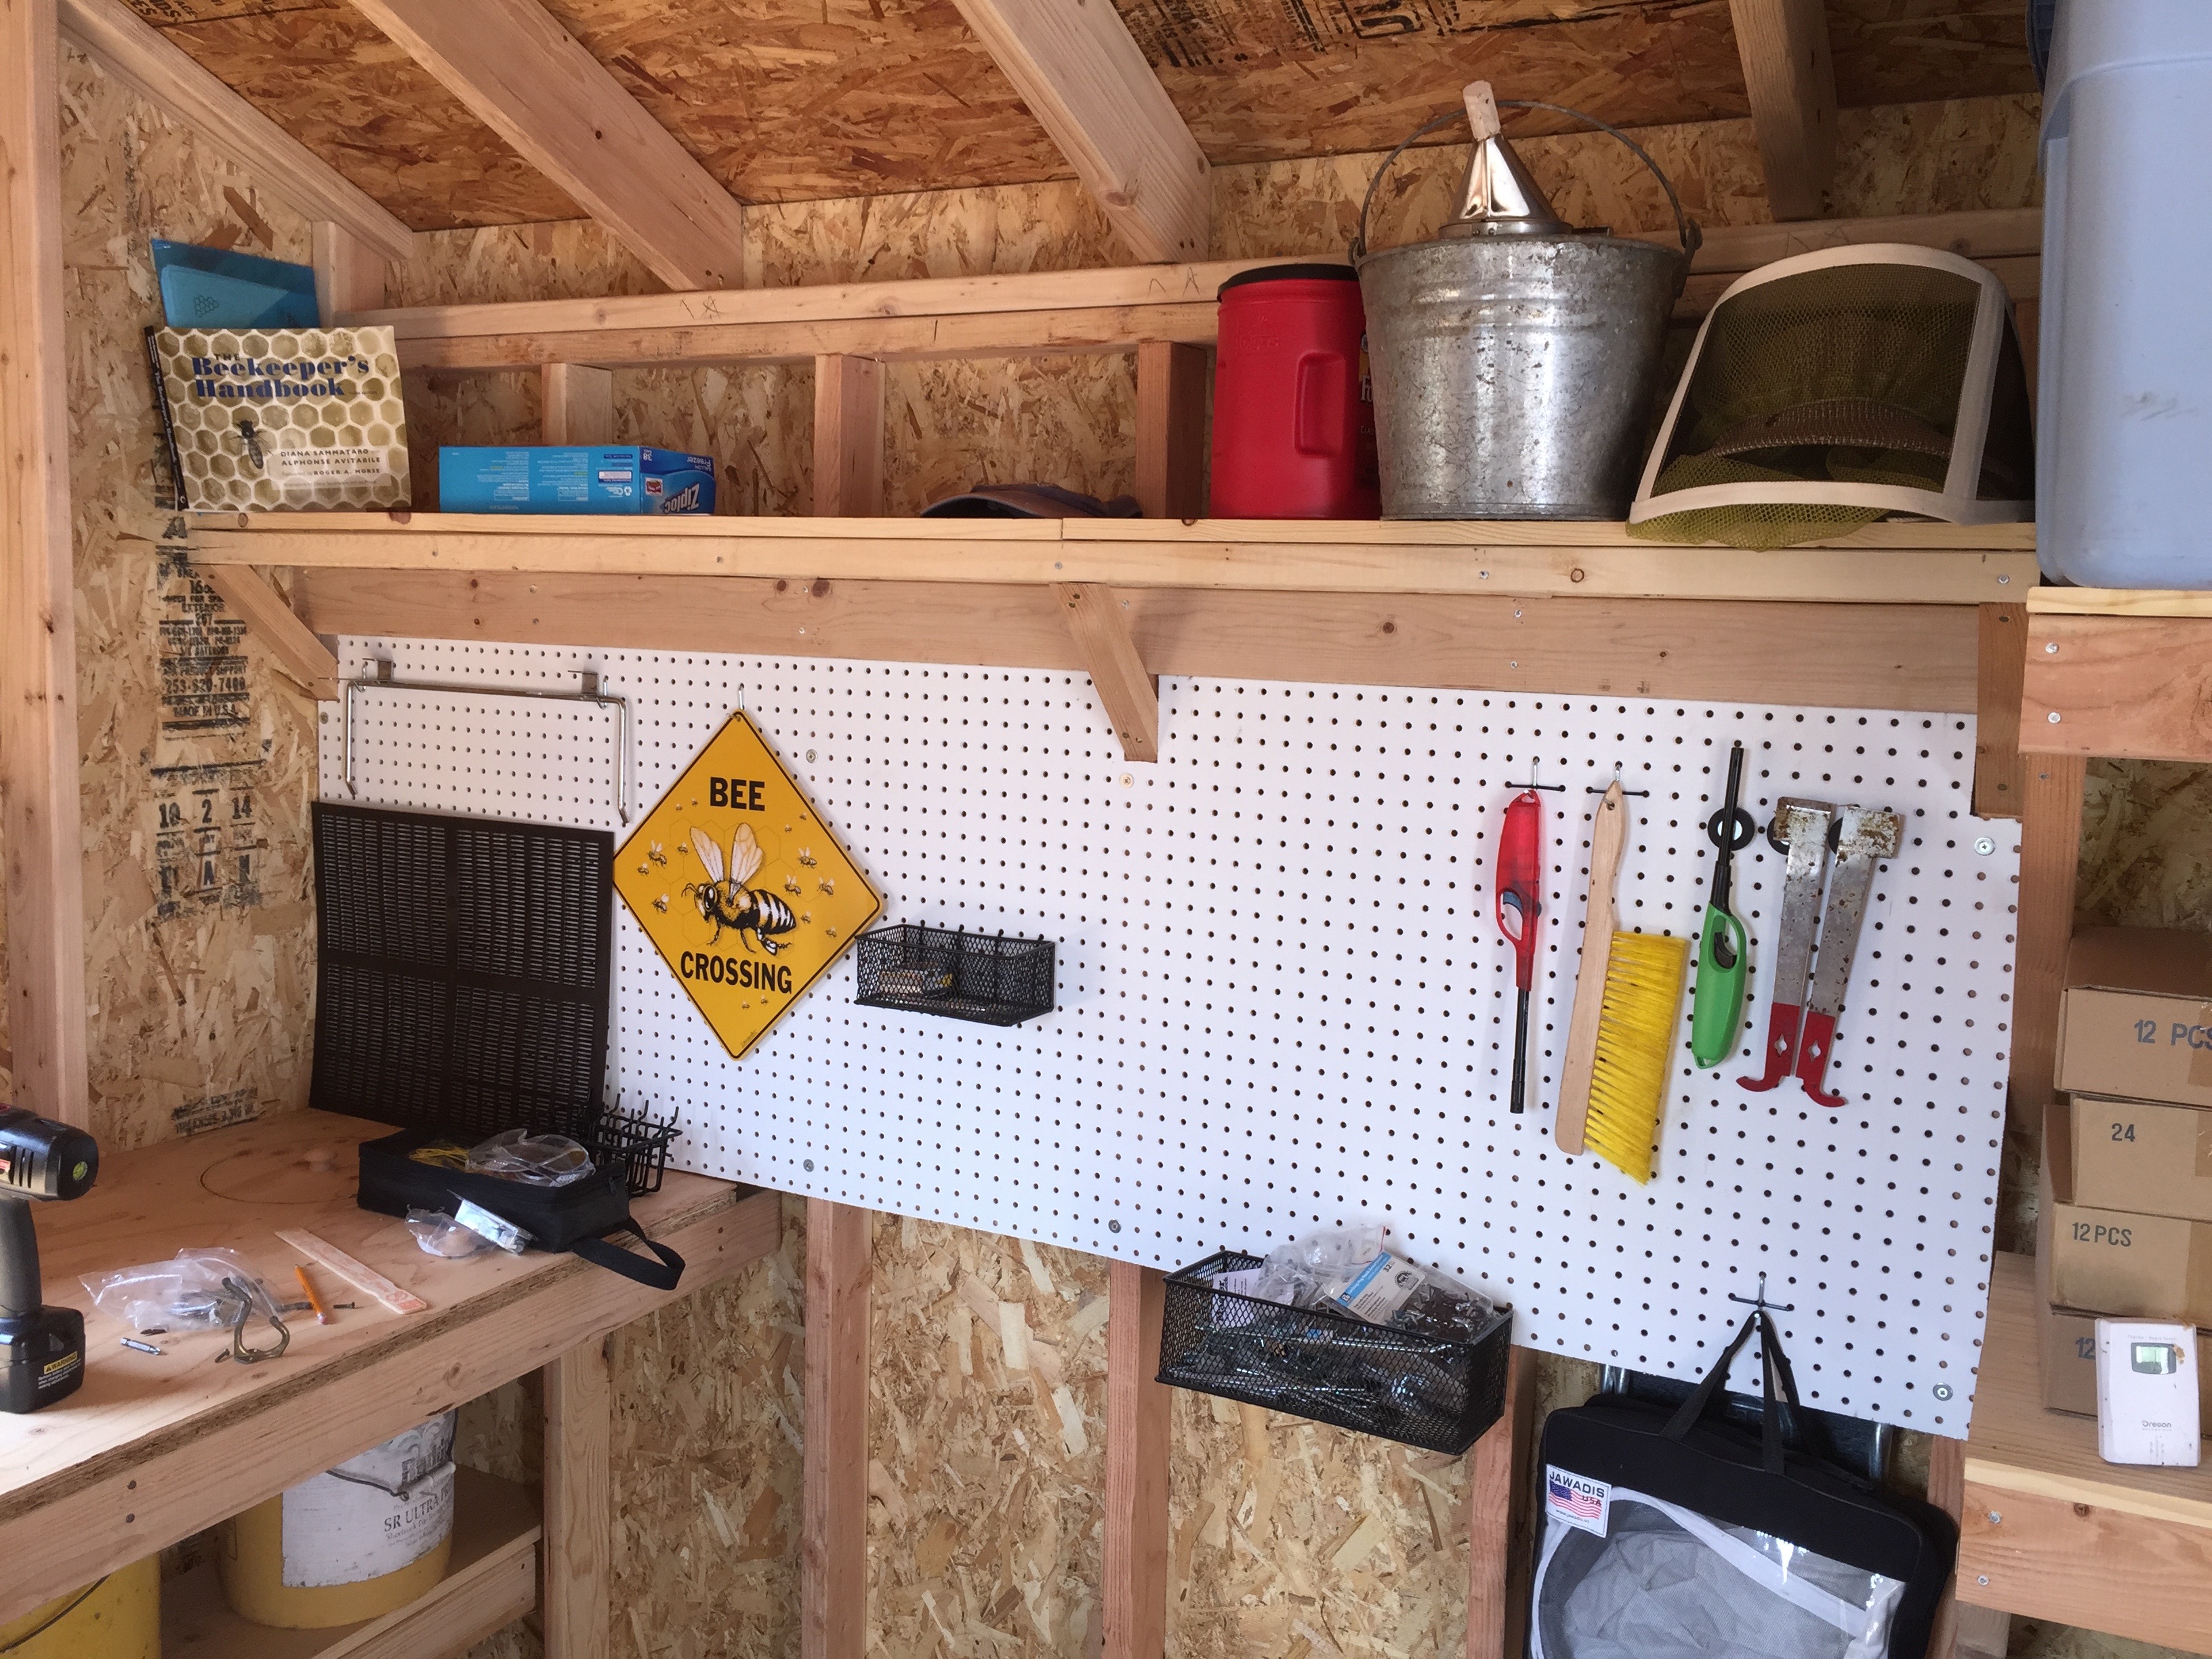
I used quite a bit of peg board so that every tool would have it’s own spot in the shed.
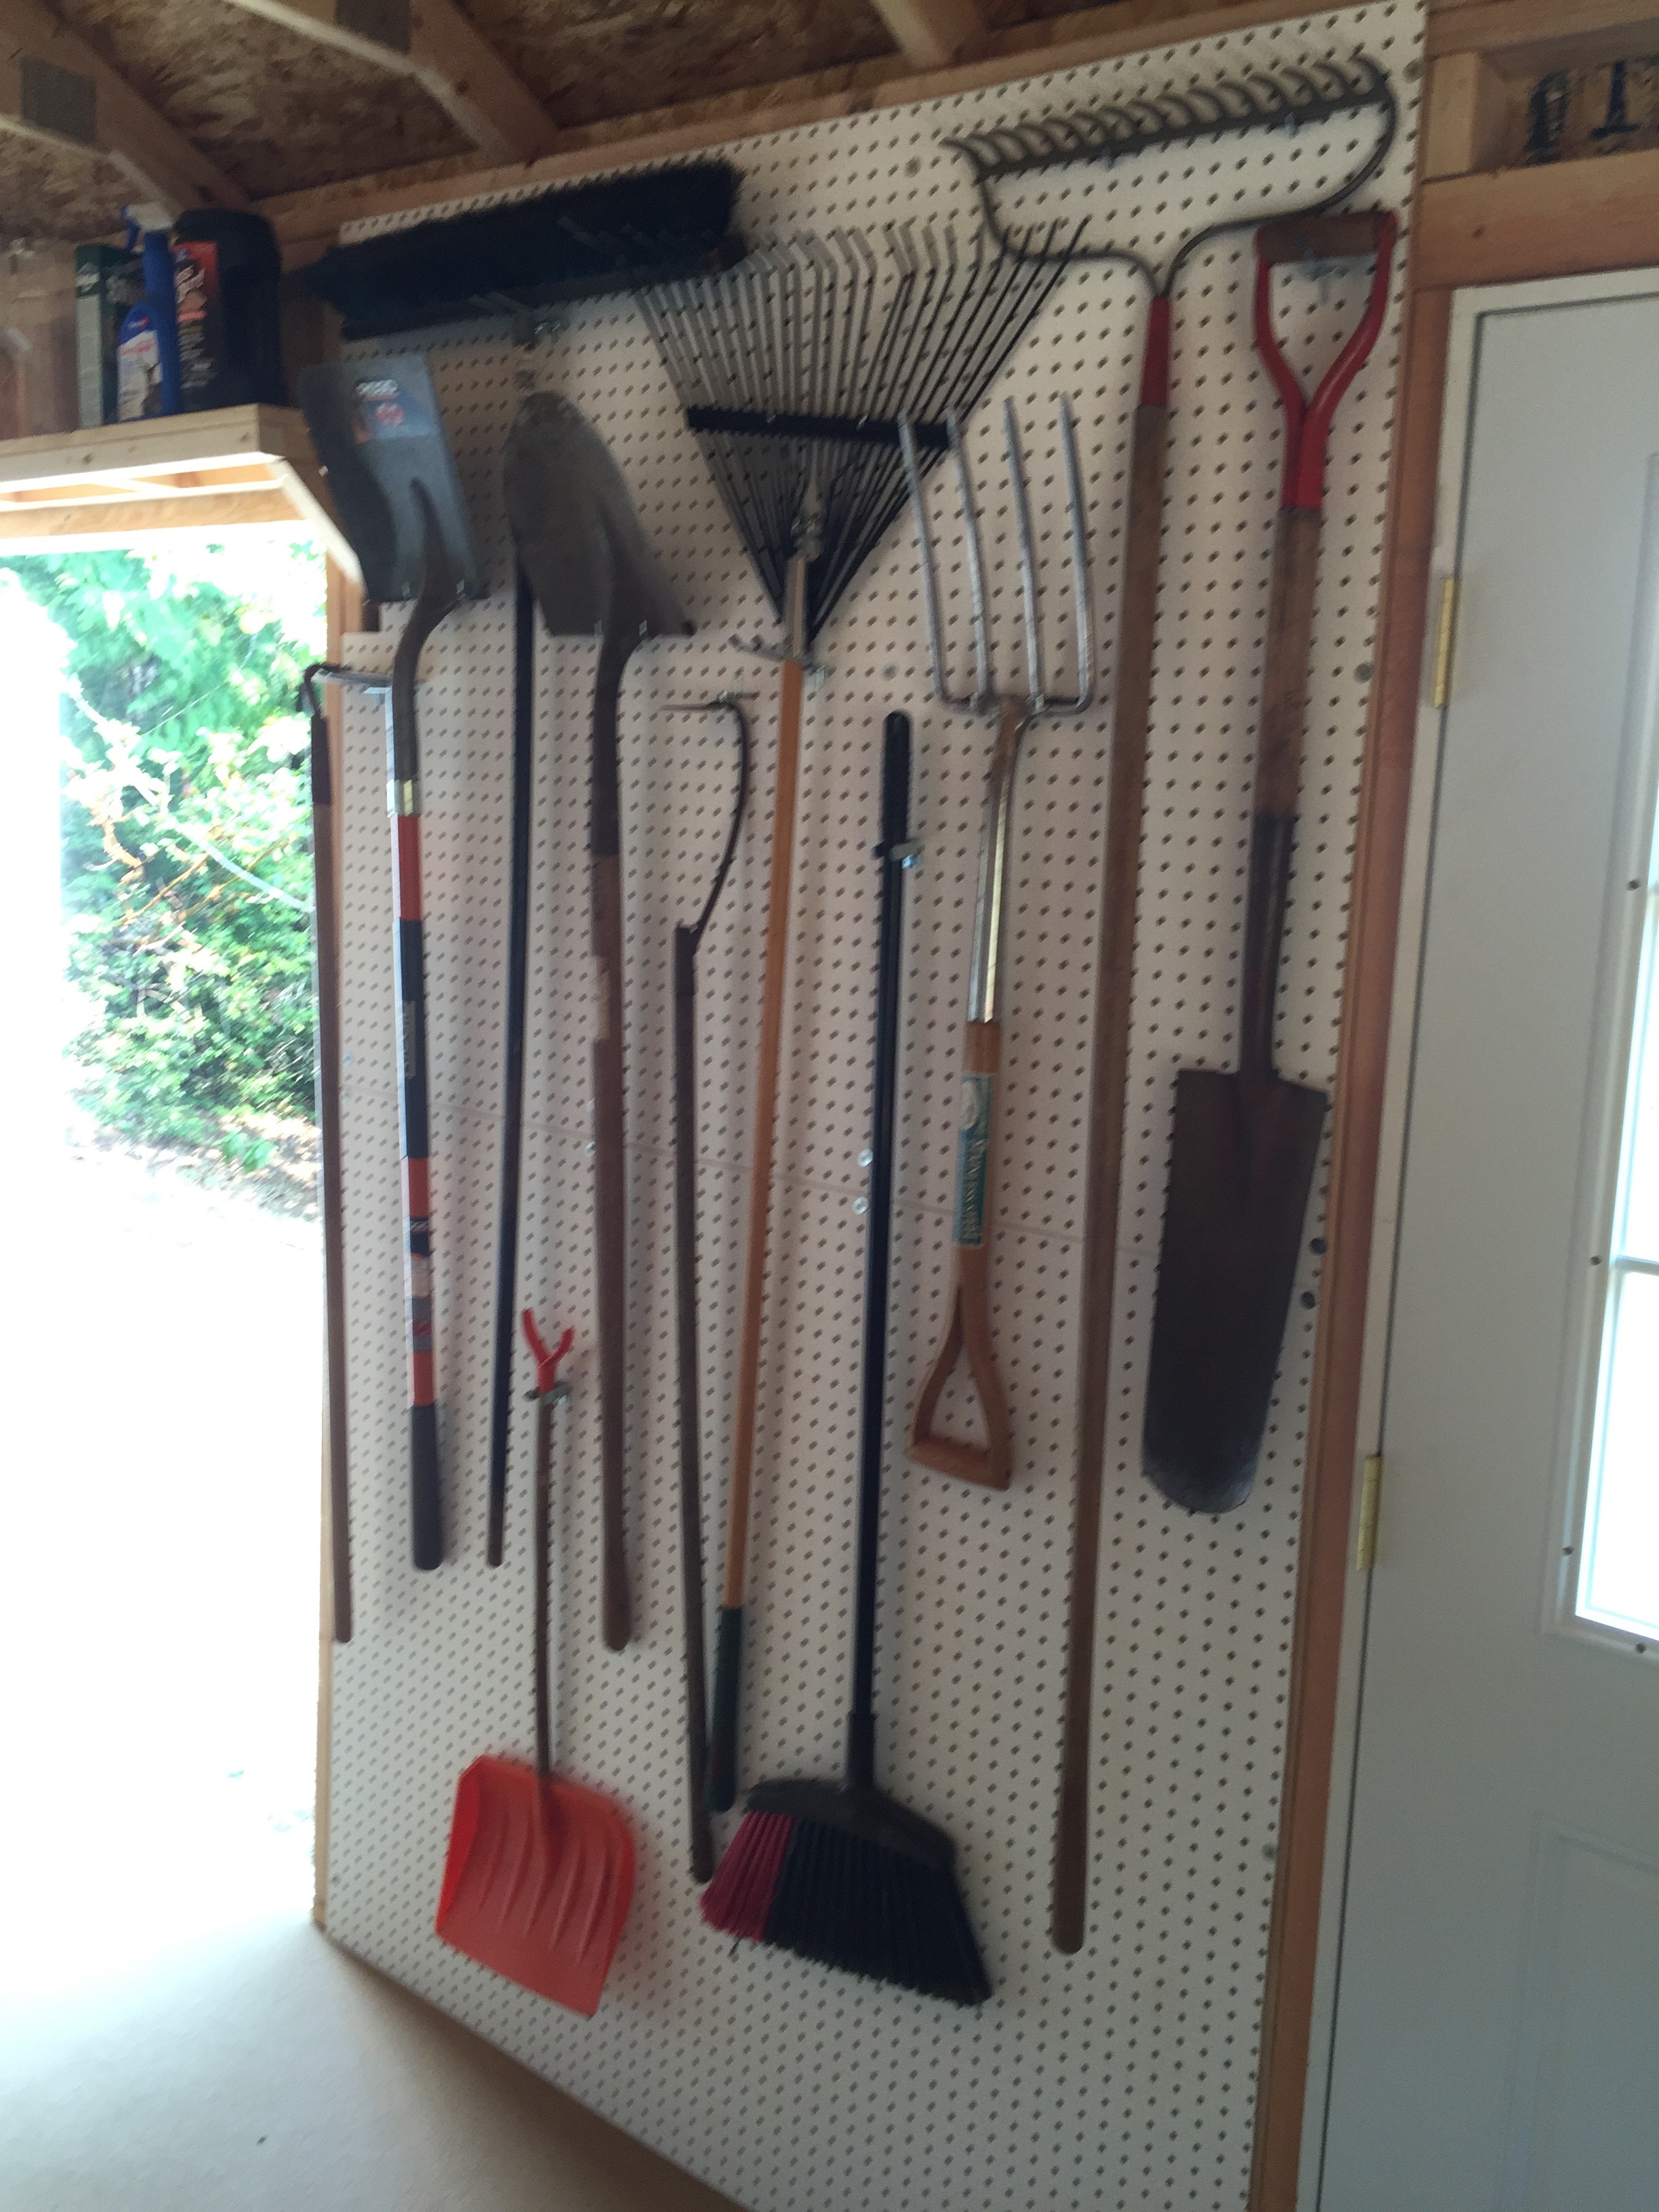
peg board helps to organize
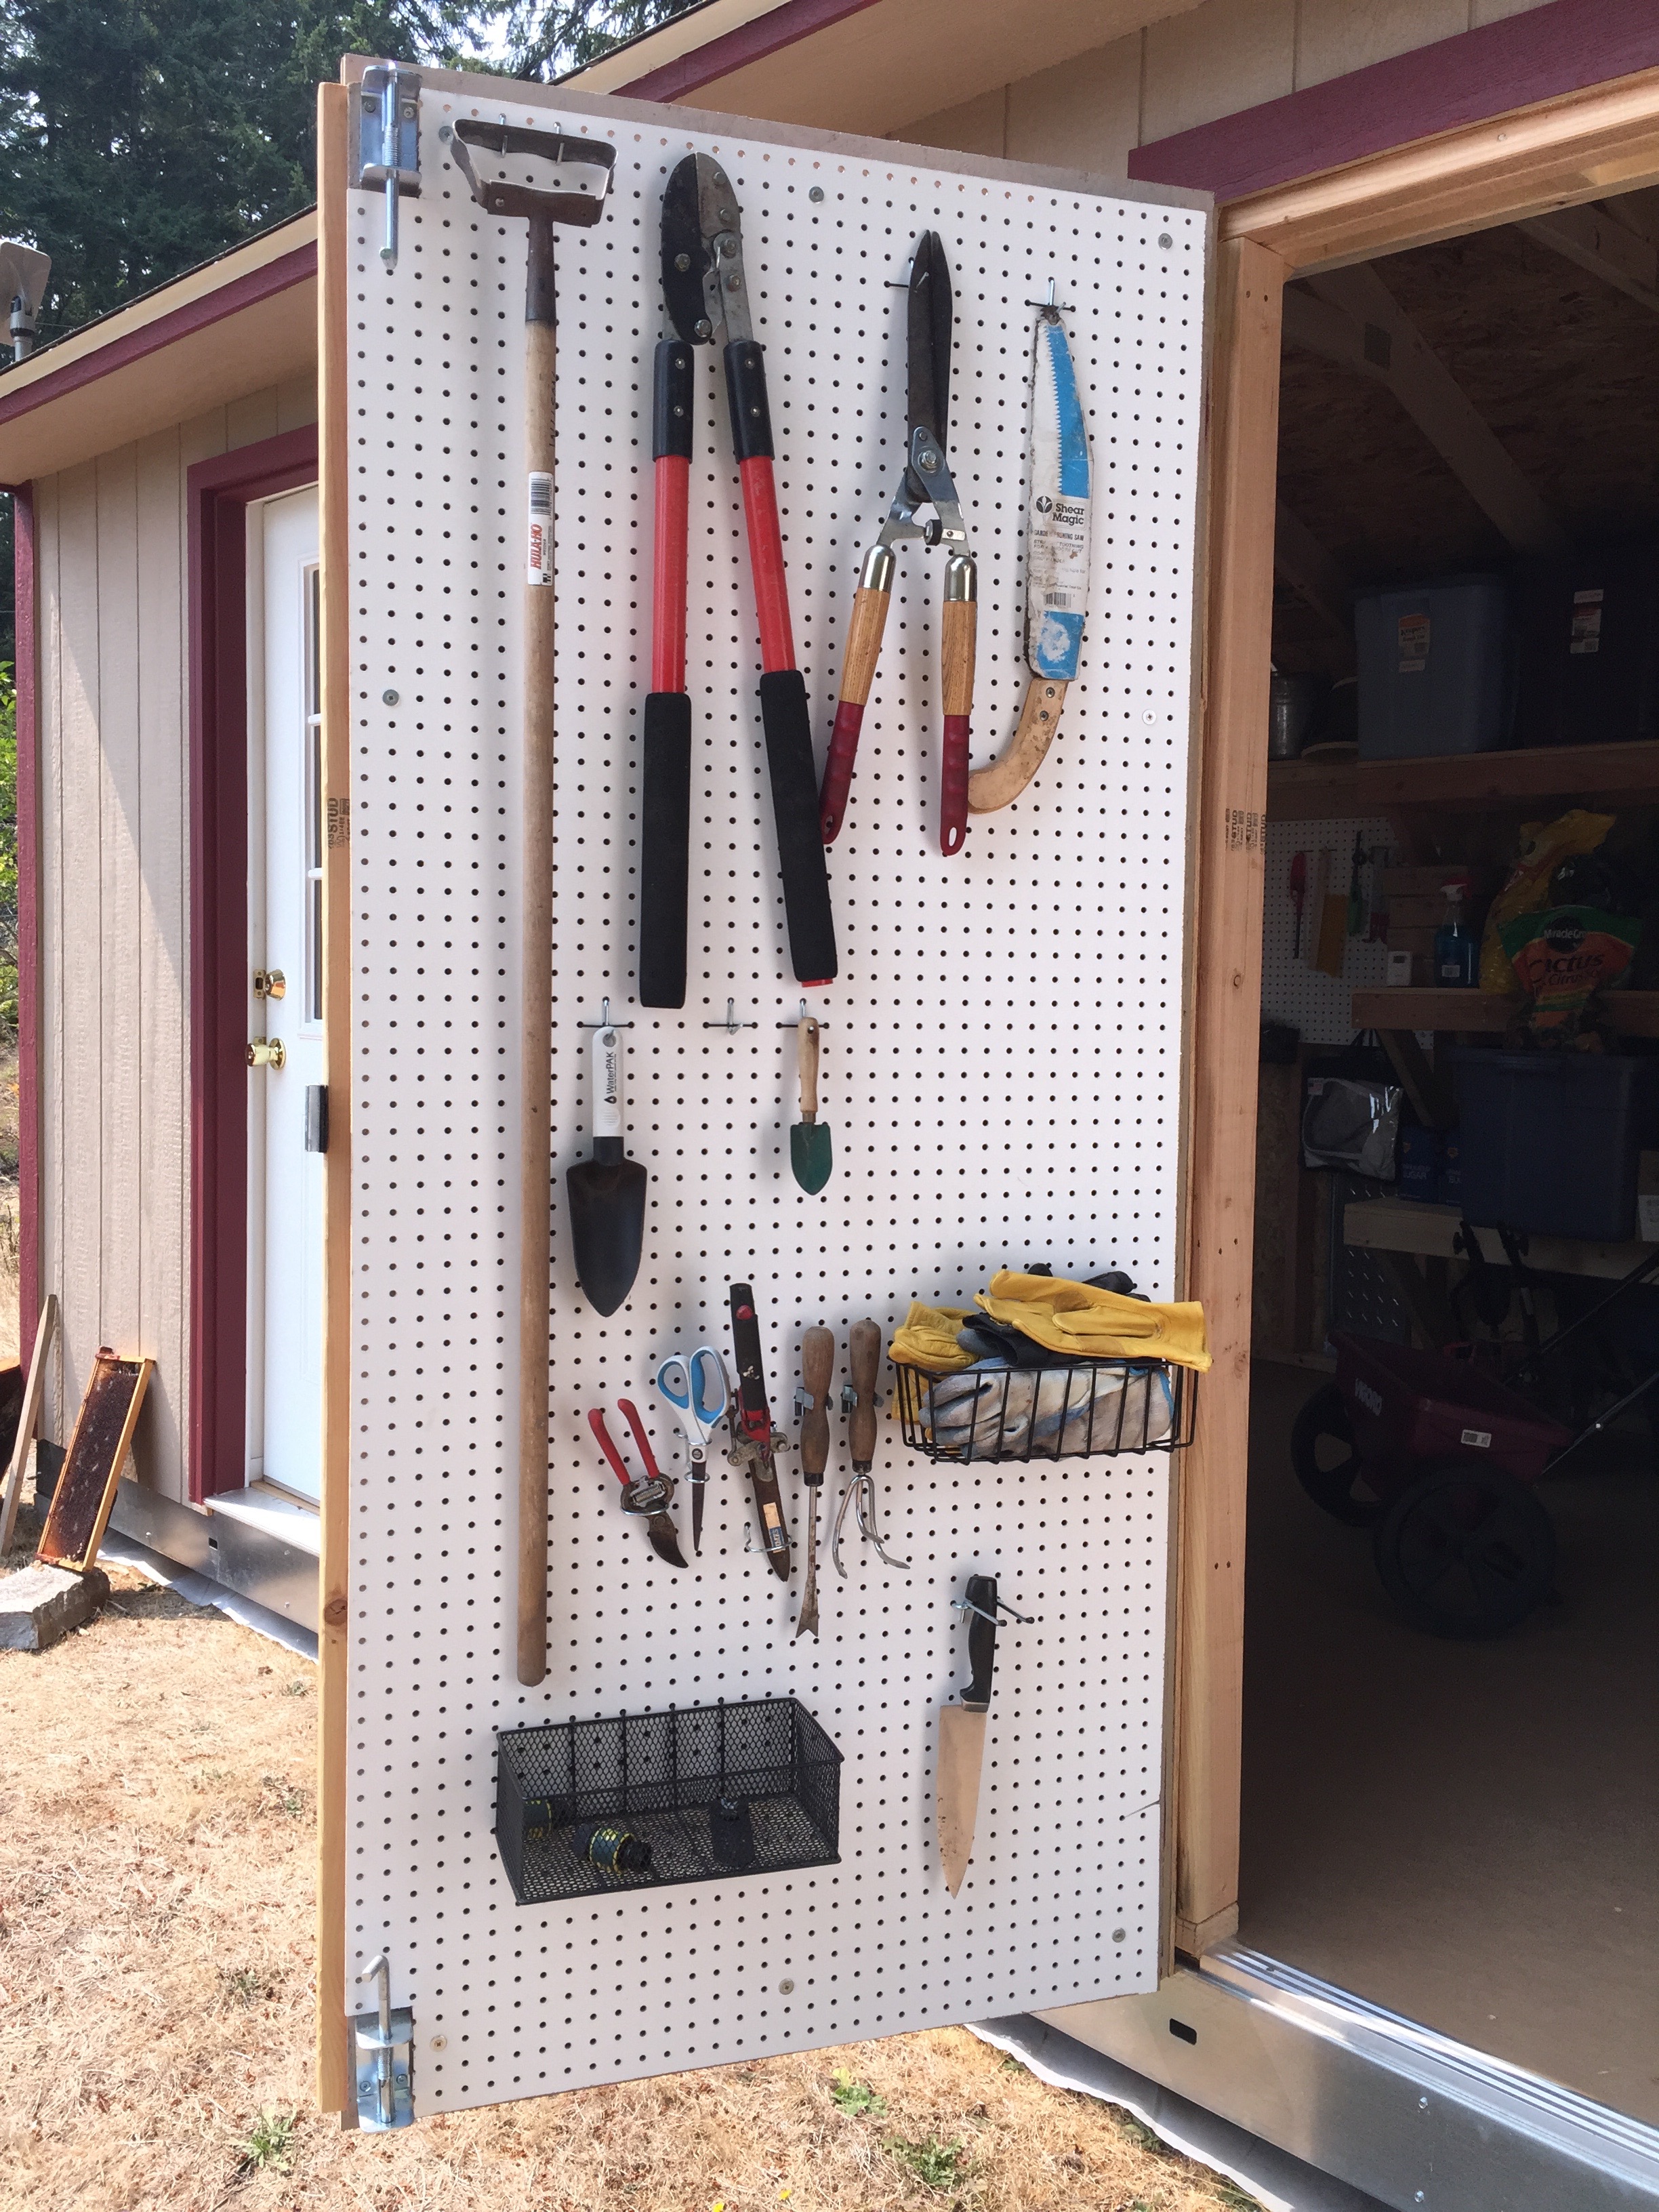
easy access, peg board on door
organize all your tools
 I found some cool plastic covered wire baskets that fit into the peg board that is great for small items: gloves, hose fittings, bee gadgets etc….
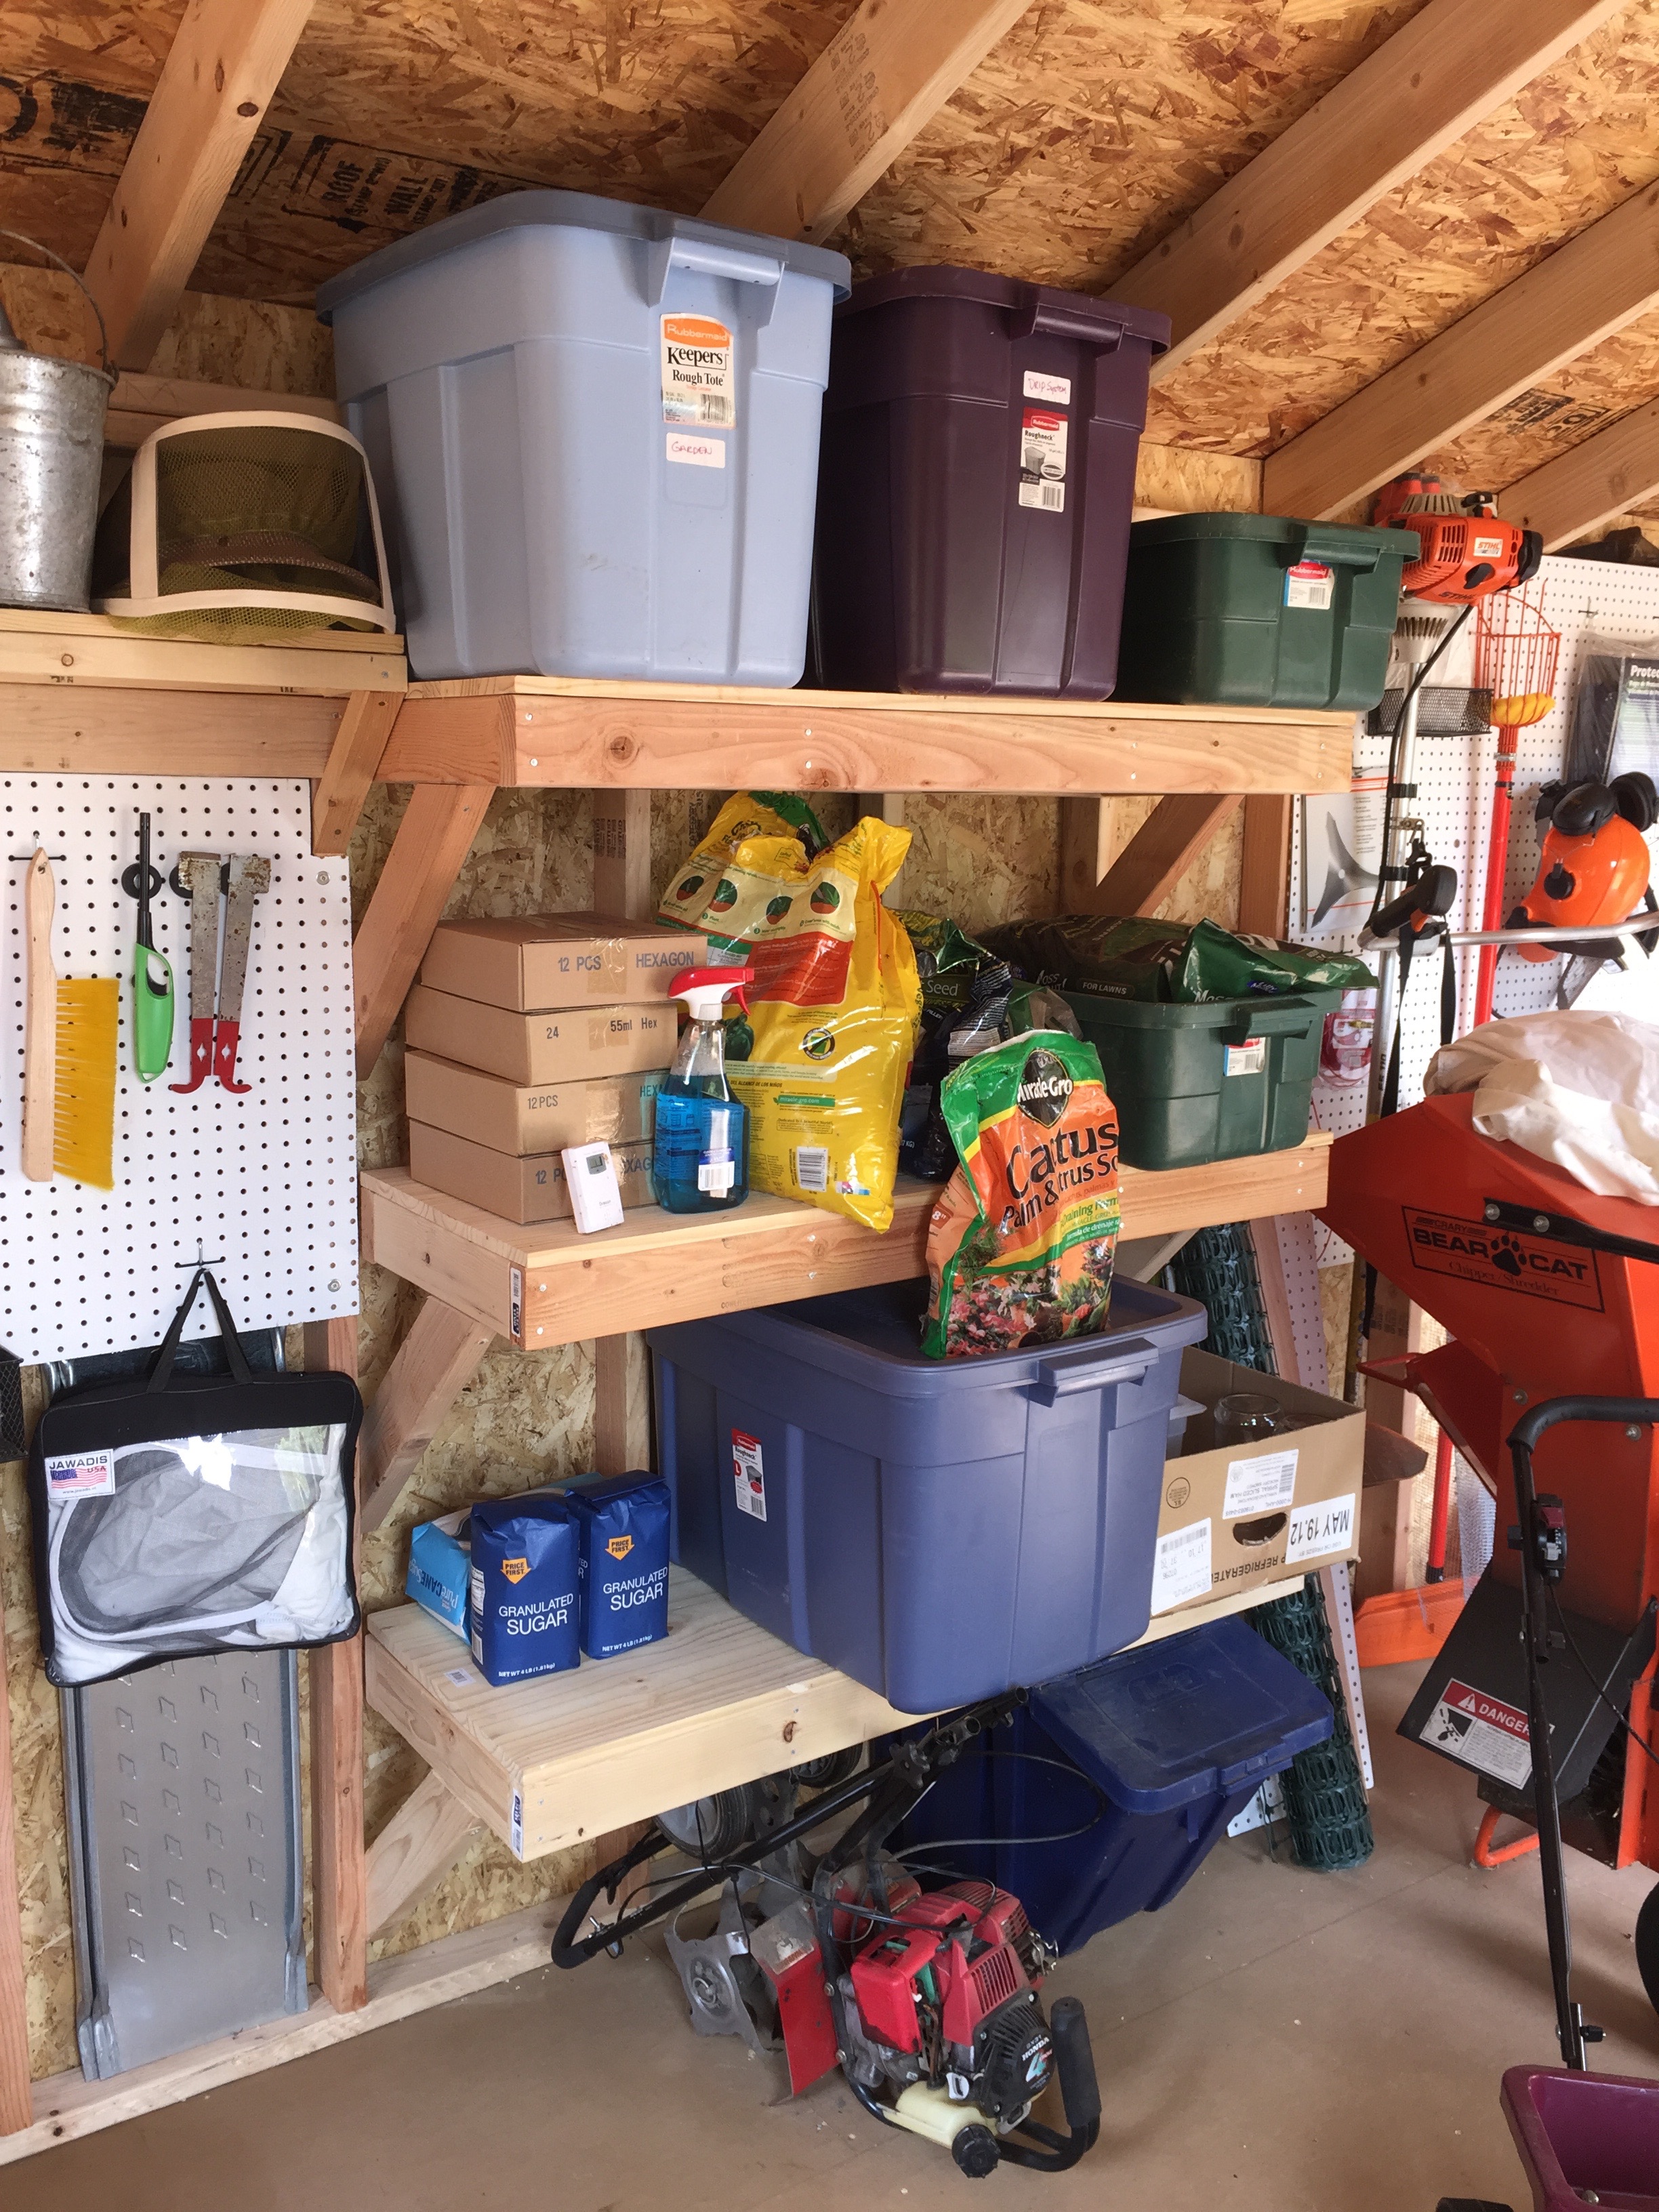
Shelves for garden shed
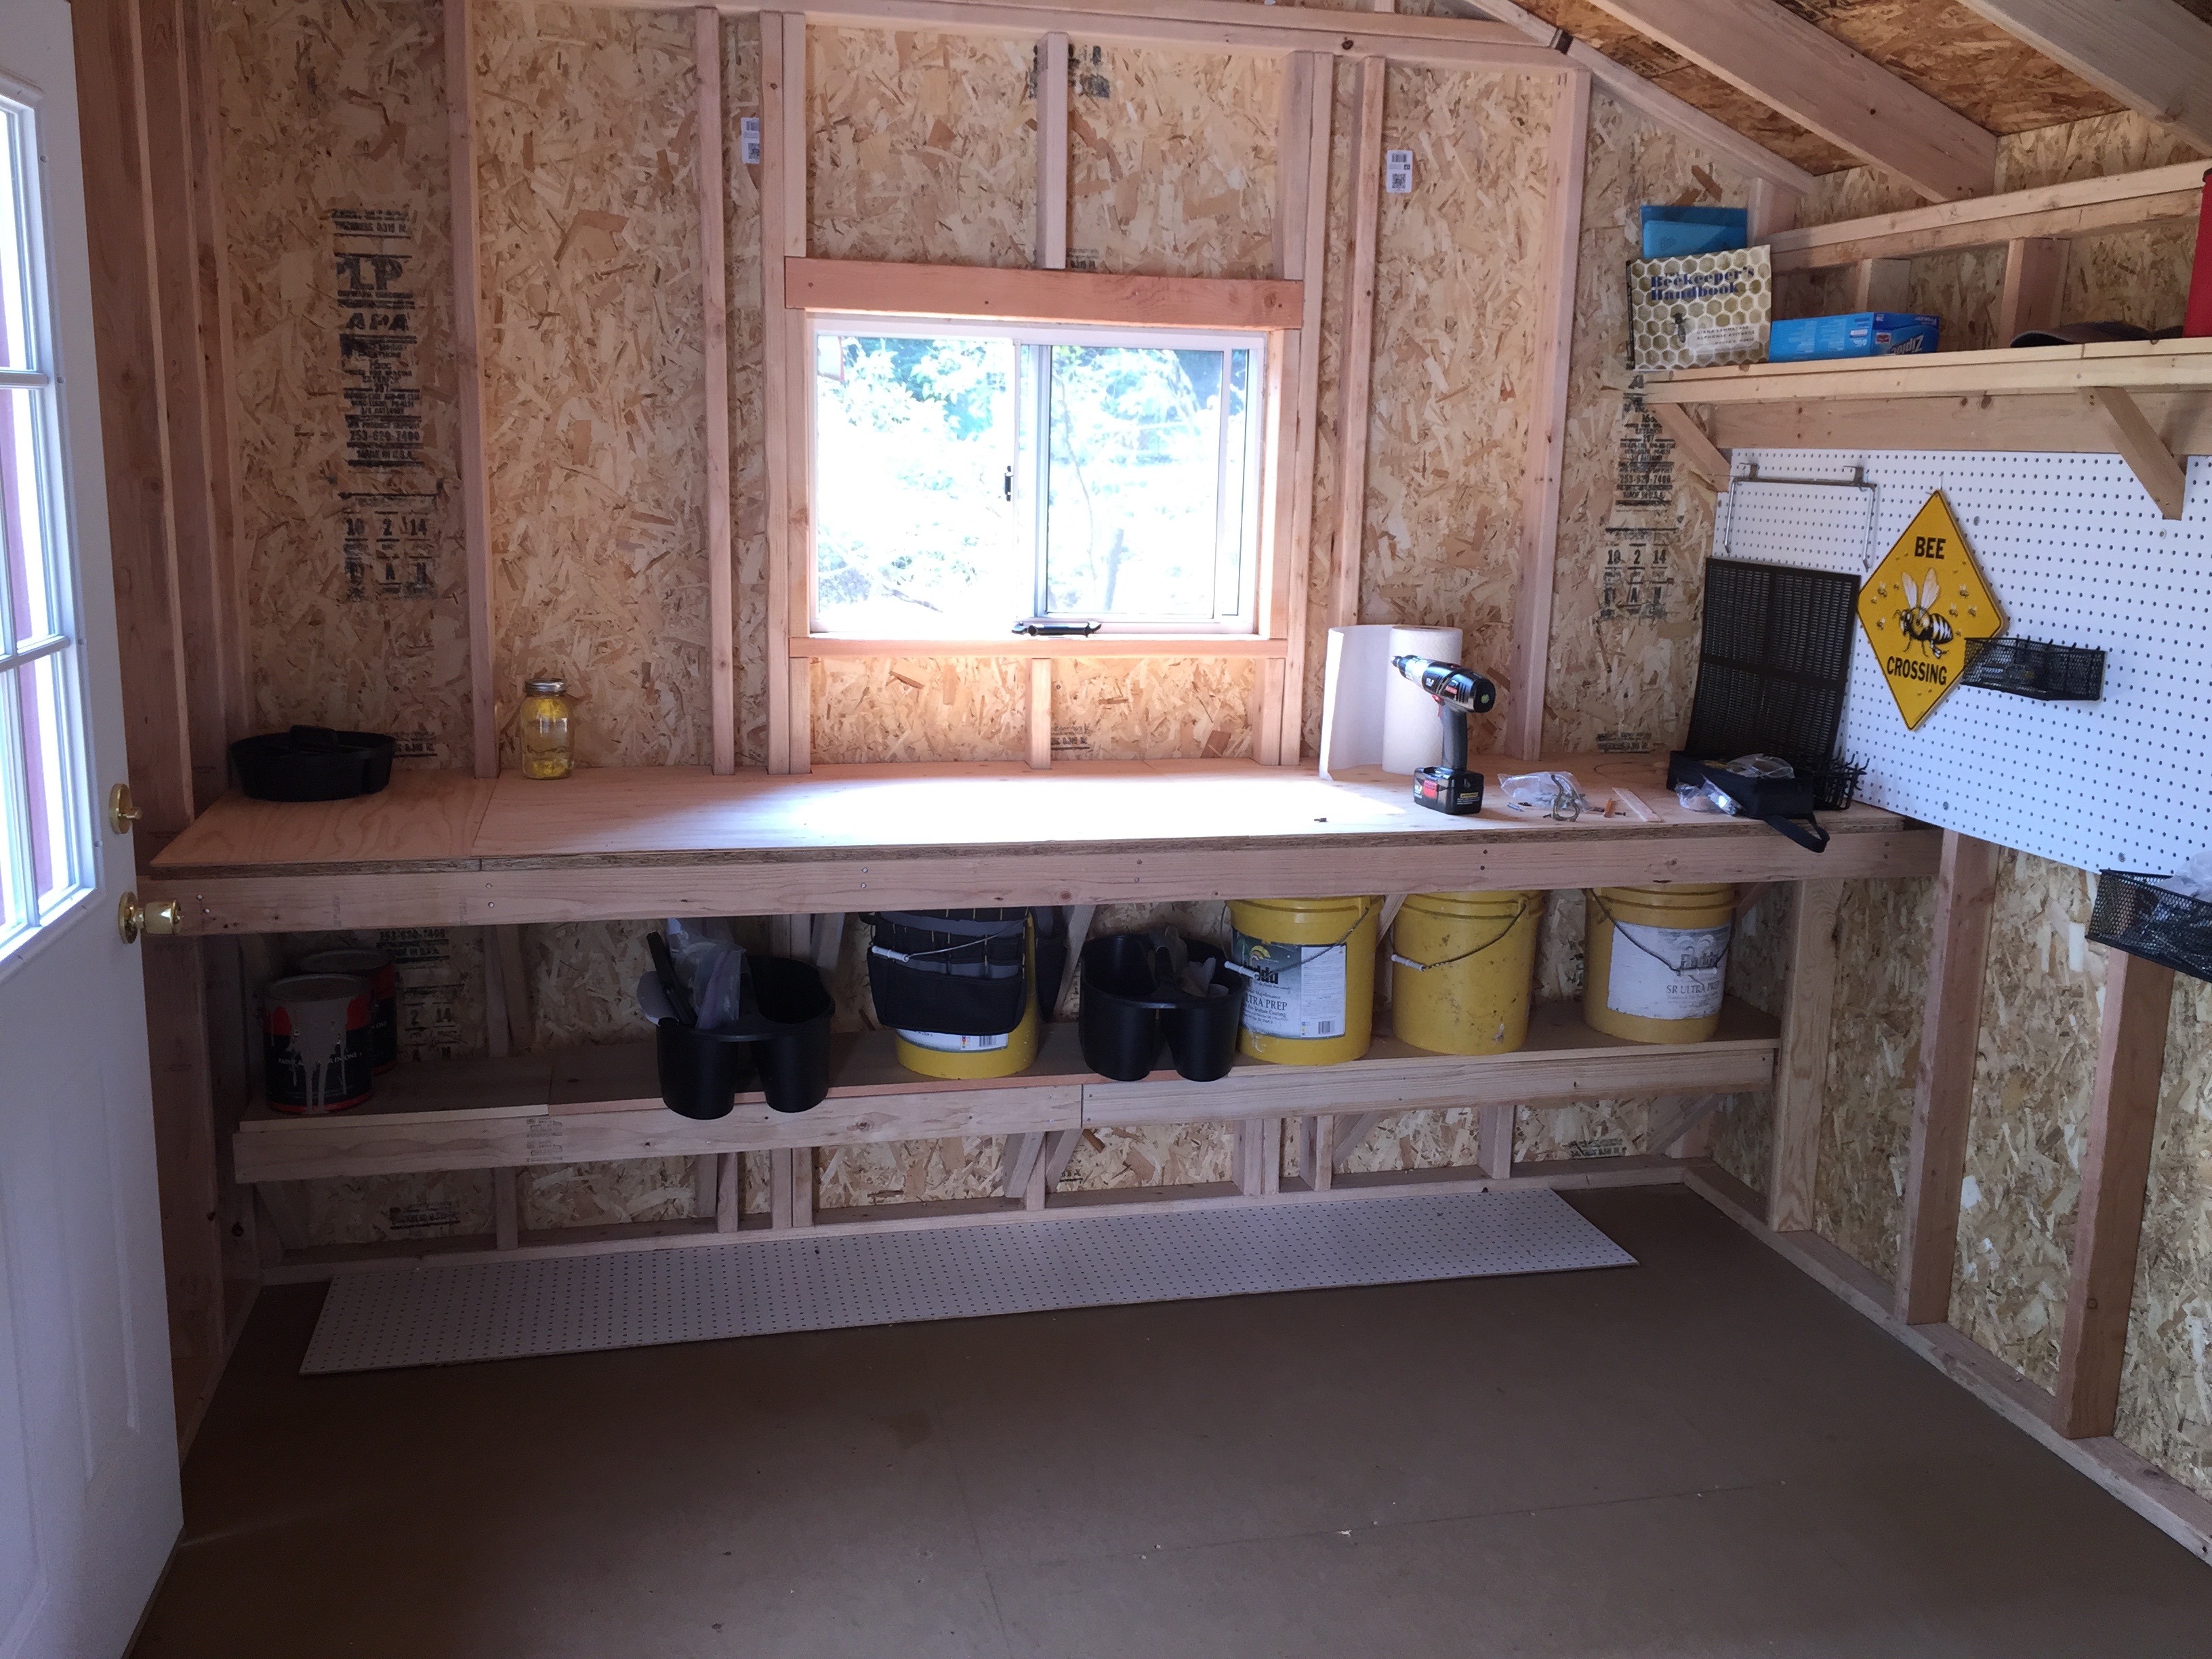
work bench and storage shelves
Building shelves, a work bench and shelves under the work bench was a lot easier than I thought it would be. The shelves are measured to accommodate the rubbermaid containers that are ideal for storing stuff.
I found this LED solar light that is perfect so that I don’t have to run electricity to the shed. Easy to mount solar panel on the outside and then a light on the inside that can be set for 48 lights or 24 lights. I leave it set at 48 LED’s and it lasts a good hour or so. My neighbor gave me a hard time, accusing me of setting up my large screen TV inside my “garden shed” LOL.
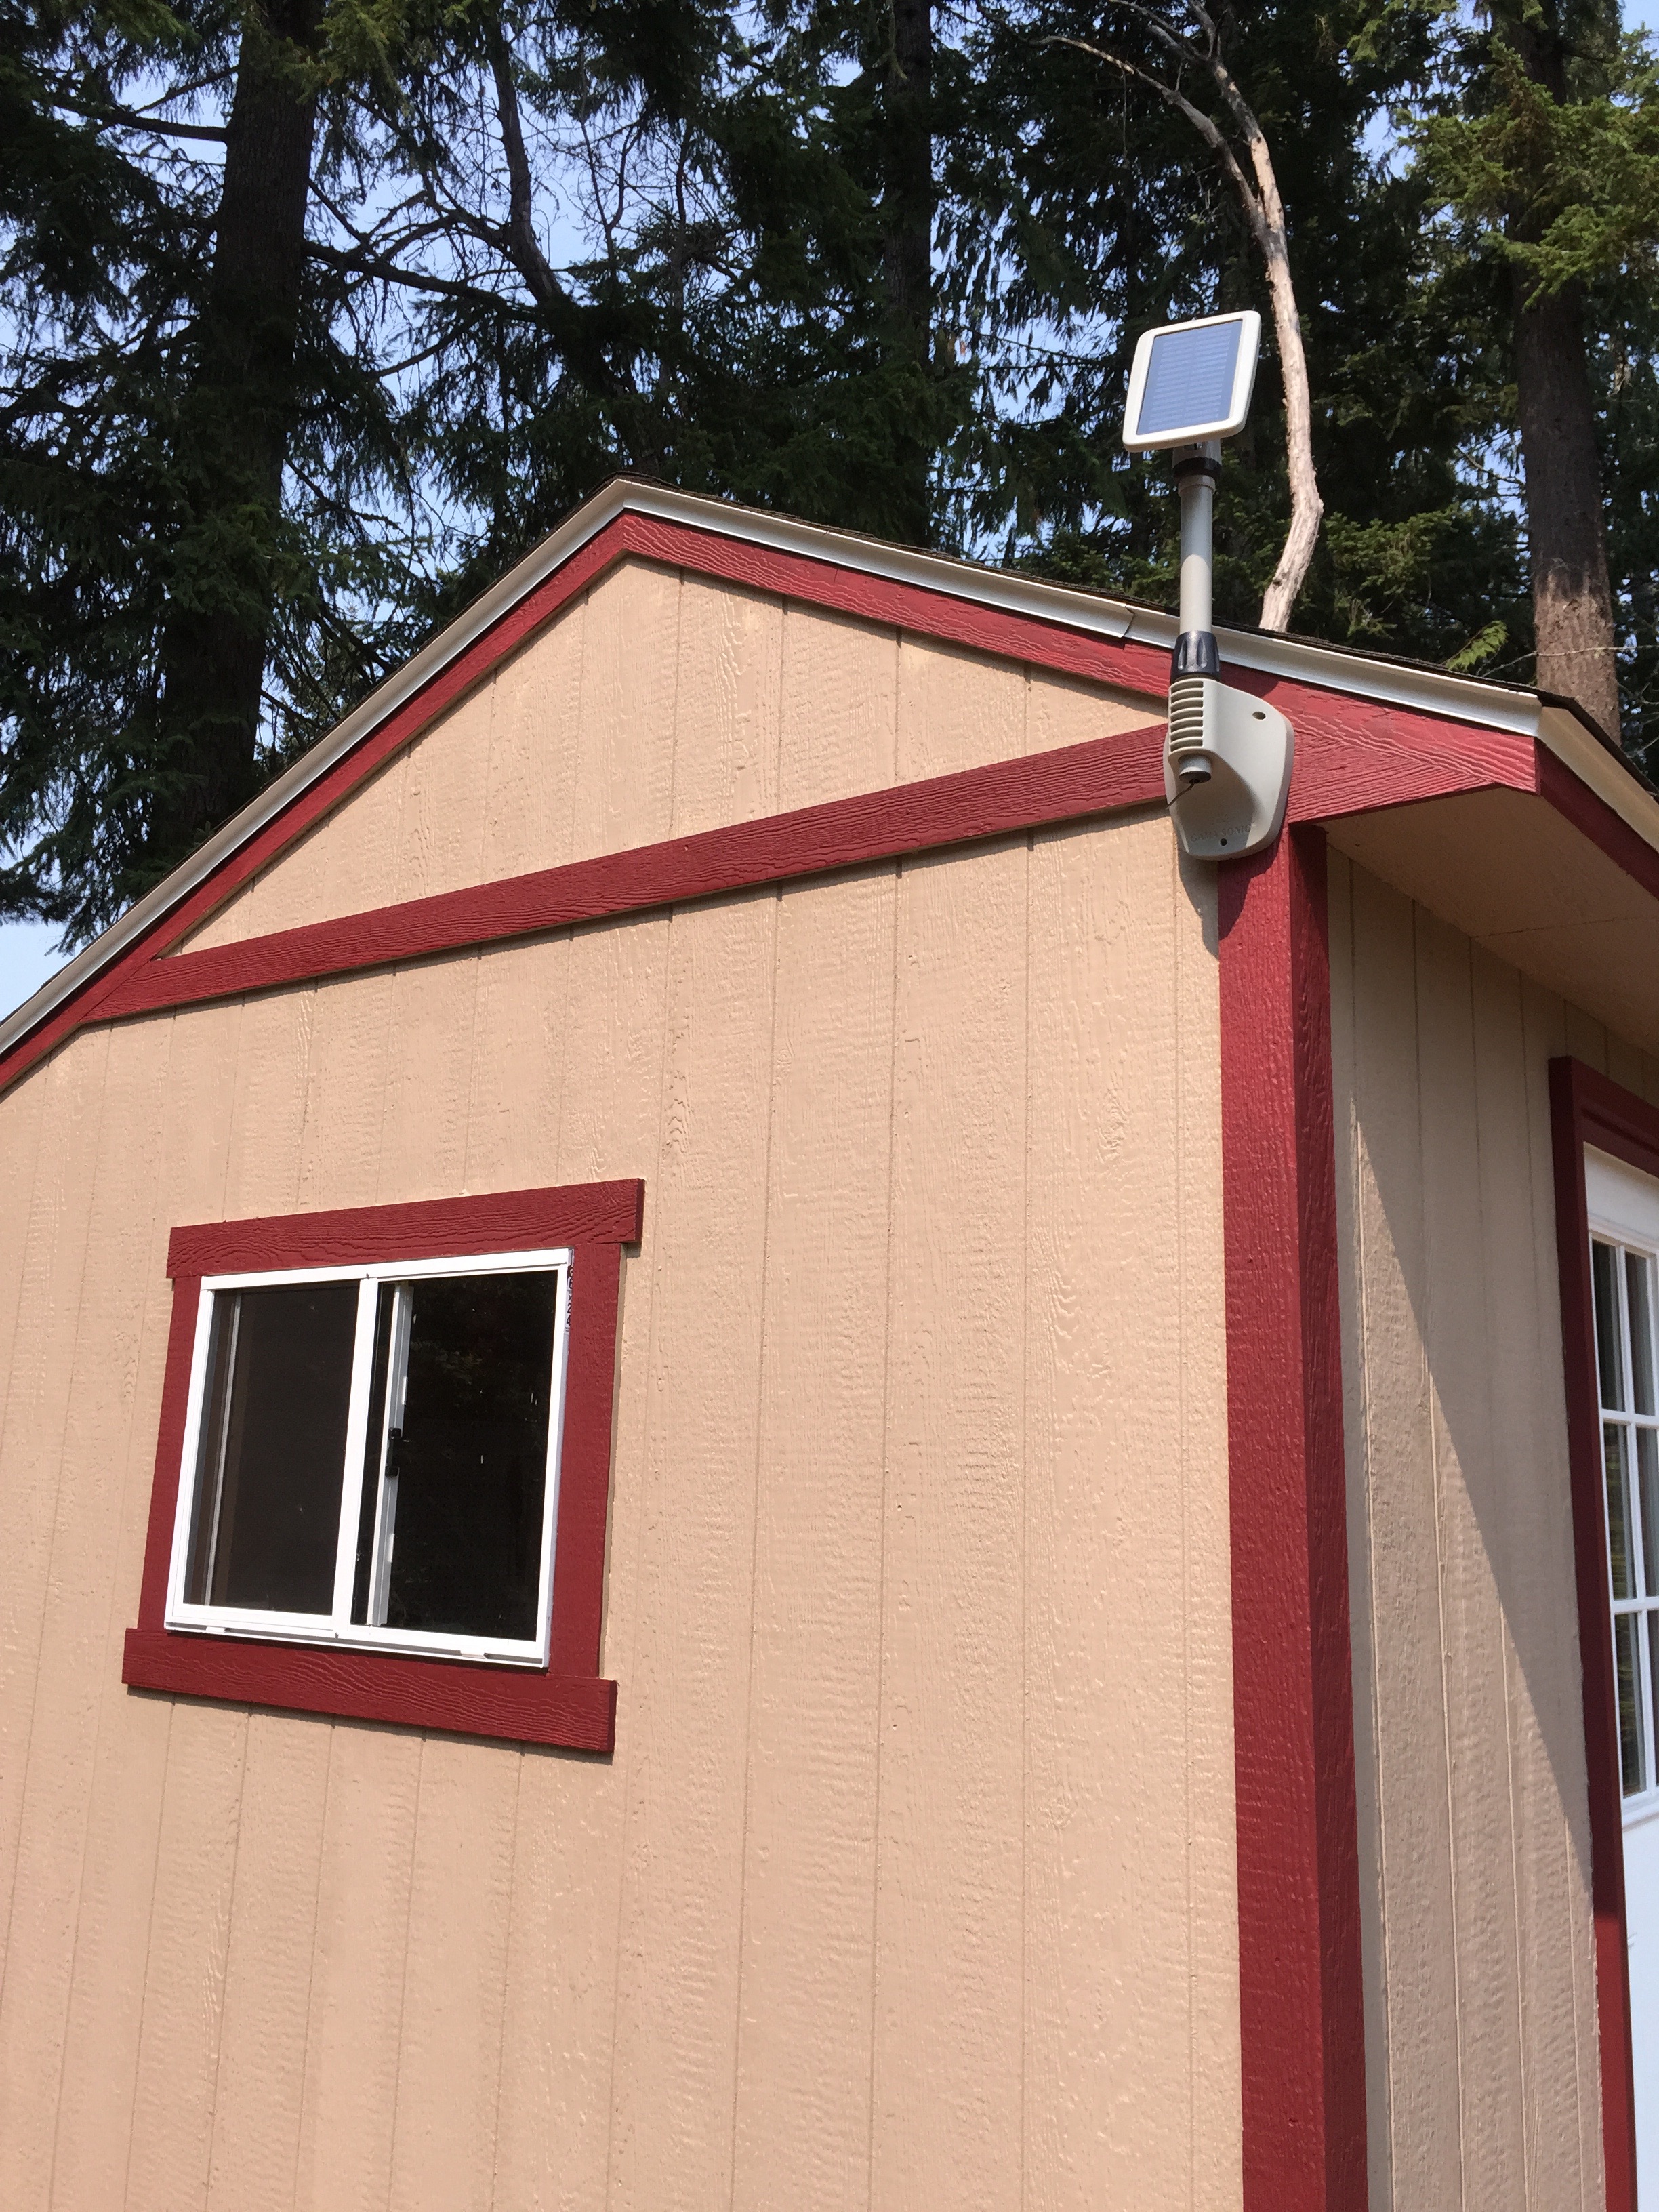
LED solar cell
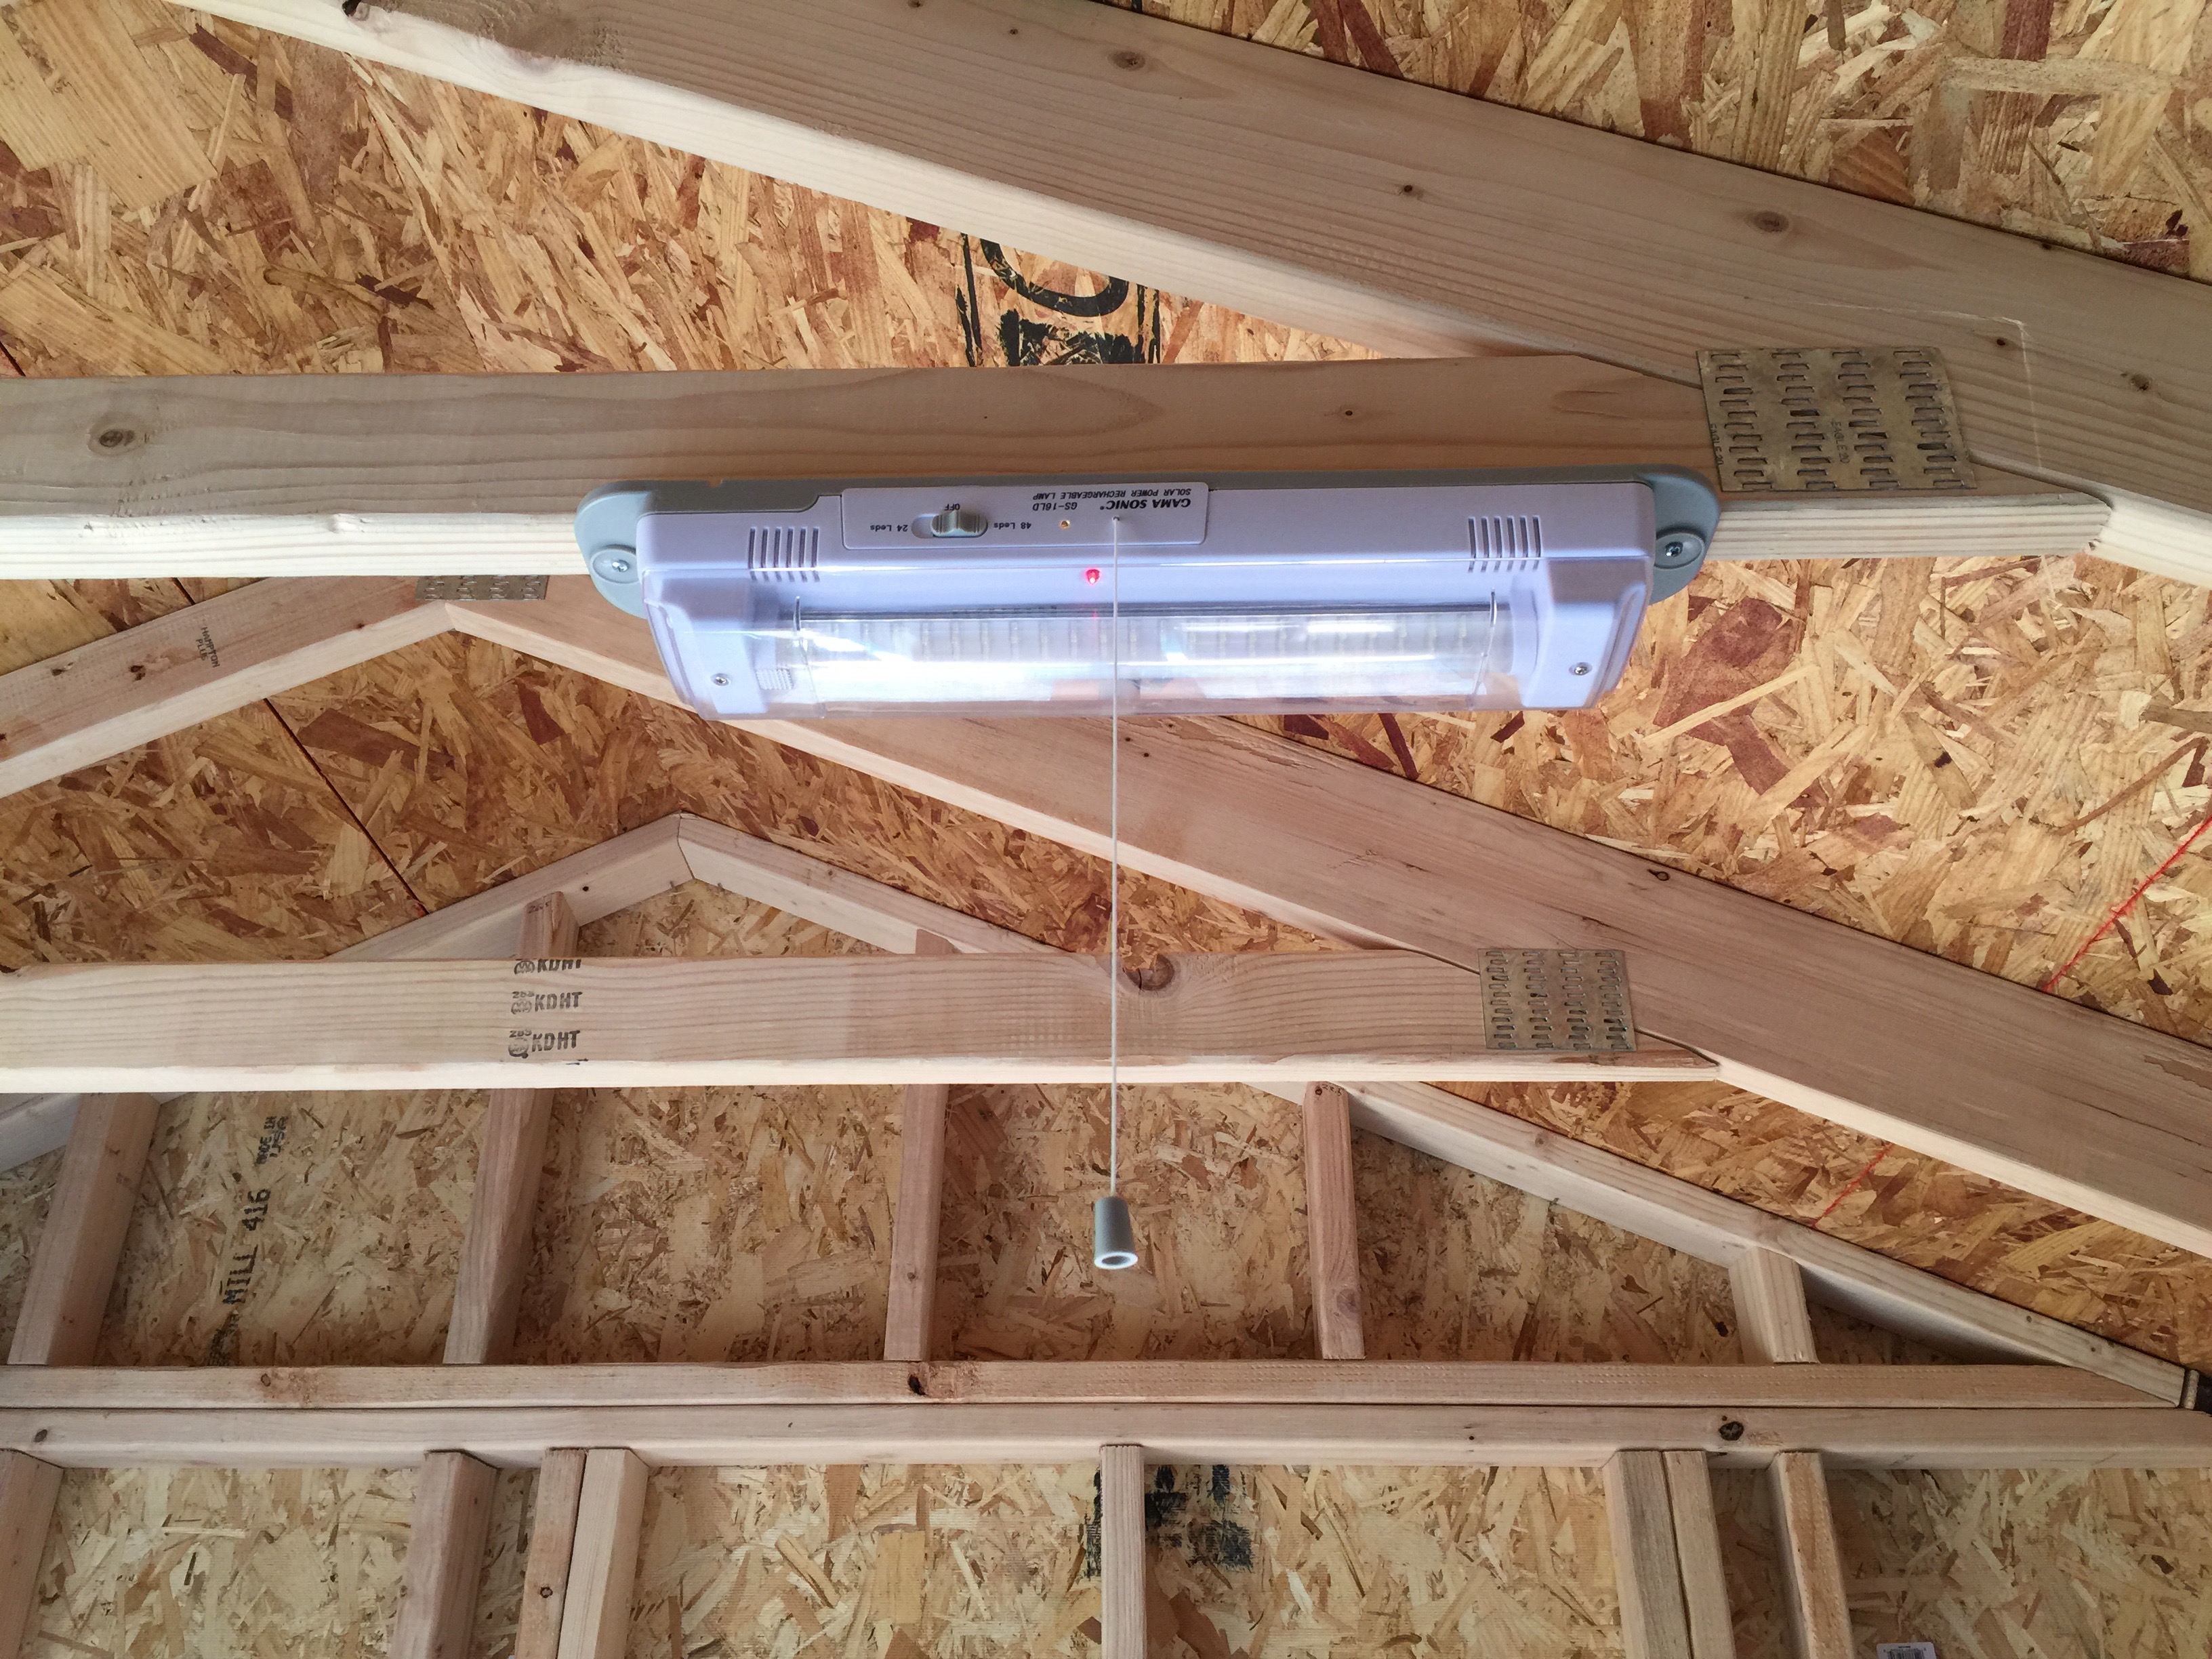
24 LED light
Couple of upgrades I’d recommend: 6 window pane man door, windows on each end, double swing door for larger stuff and an upgraded floor. This model, TRS-800 Sundance, came with a steal beam base which we really liked for durability and getting it up off the ground and provide ventilation under the building.
I still have a ramp to build and will put hardware cloth around the base, to prevent critters from getting under, and will put in some kind of block base to cover the steel frame….should look pretty good when it is done.
All in all I’d highly recommend having a building of some kind near you hives. It makes life a lot easier and more enjoyable.