April 20th was bee day at Stedman Bee Supplies in Silverdale. The members of our bee club, West Sound Beekeepers Association, were out in force, helping to carry bee packages, answering questions and doing live bee installation demonstrations throughout the day…..a bunch of busy bees.
This year I ordered 1 package of bees to bring me back up to two hives. The Italians came in the earliest so I got those. With our short season even two or three weeks can make a big difference.
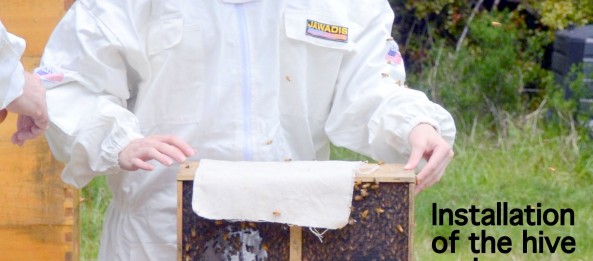
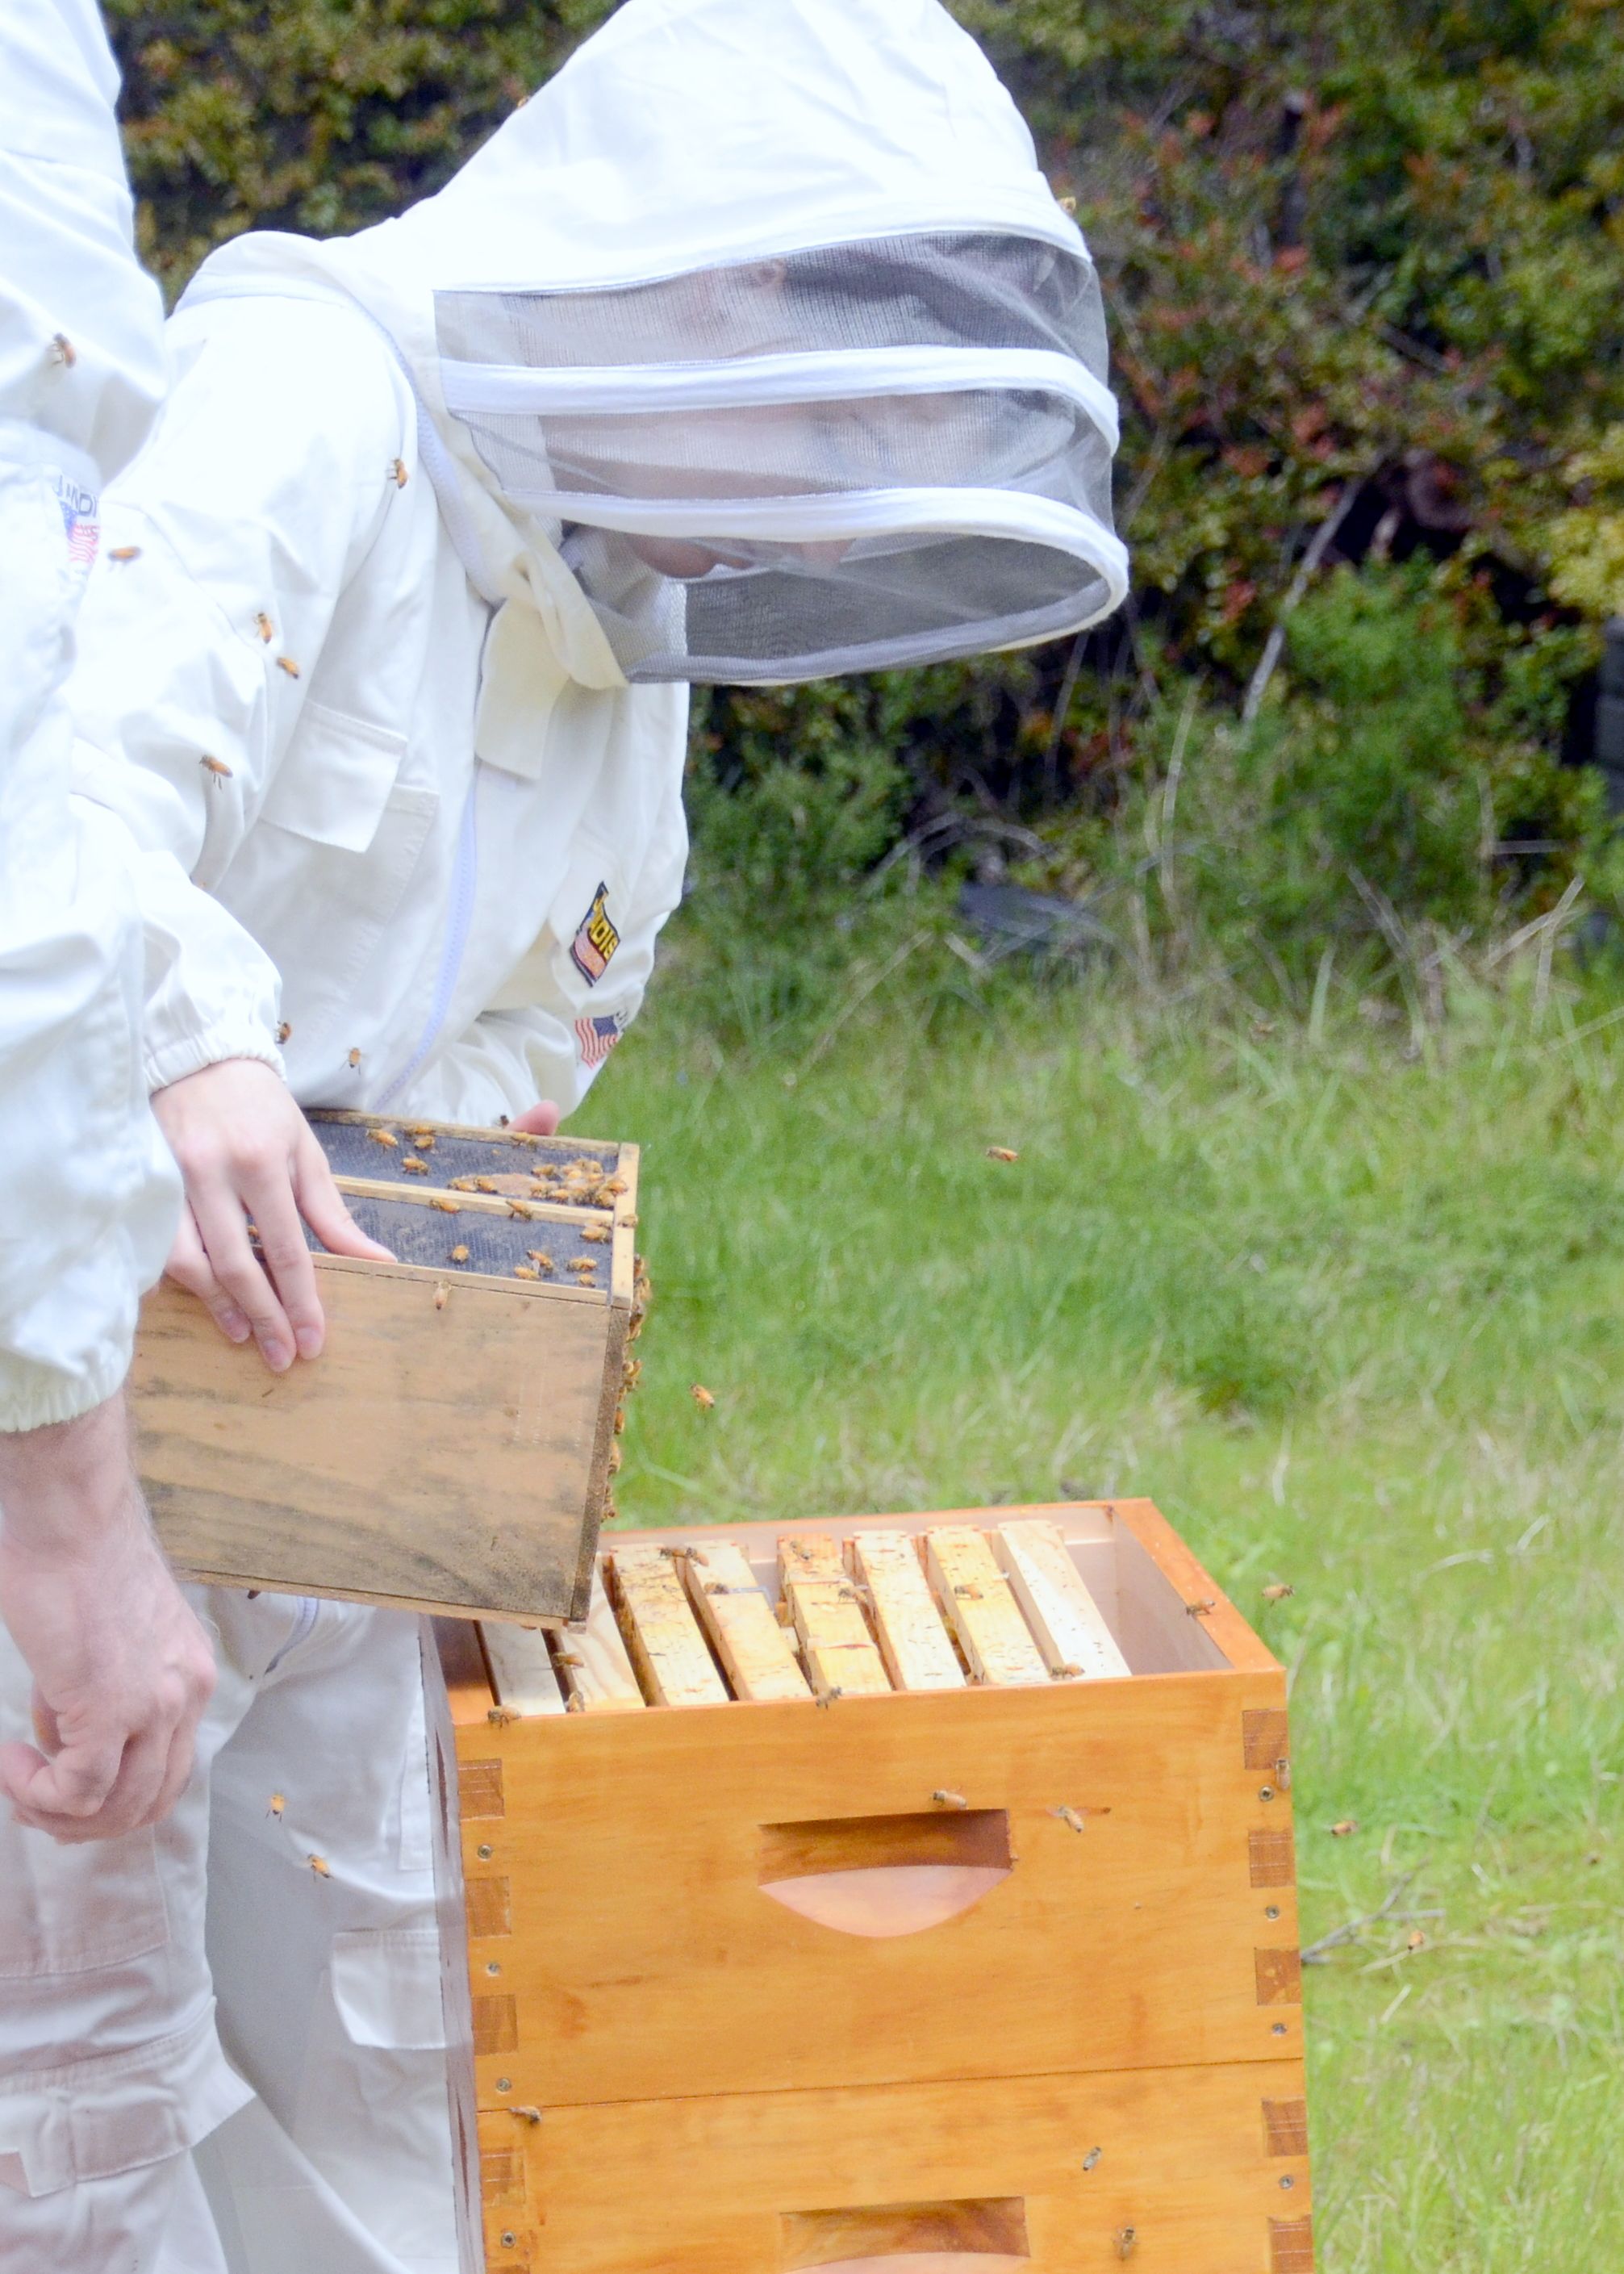
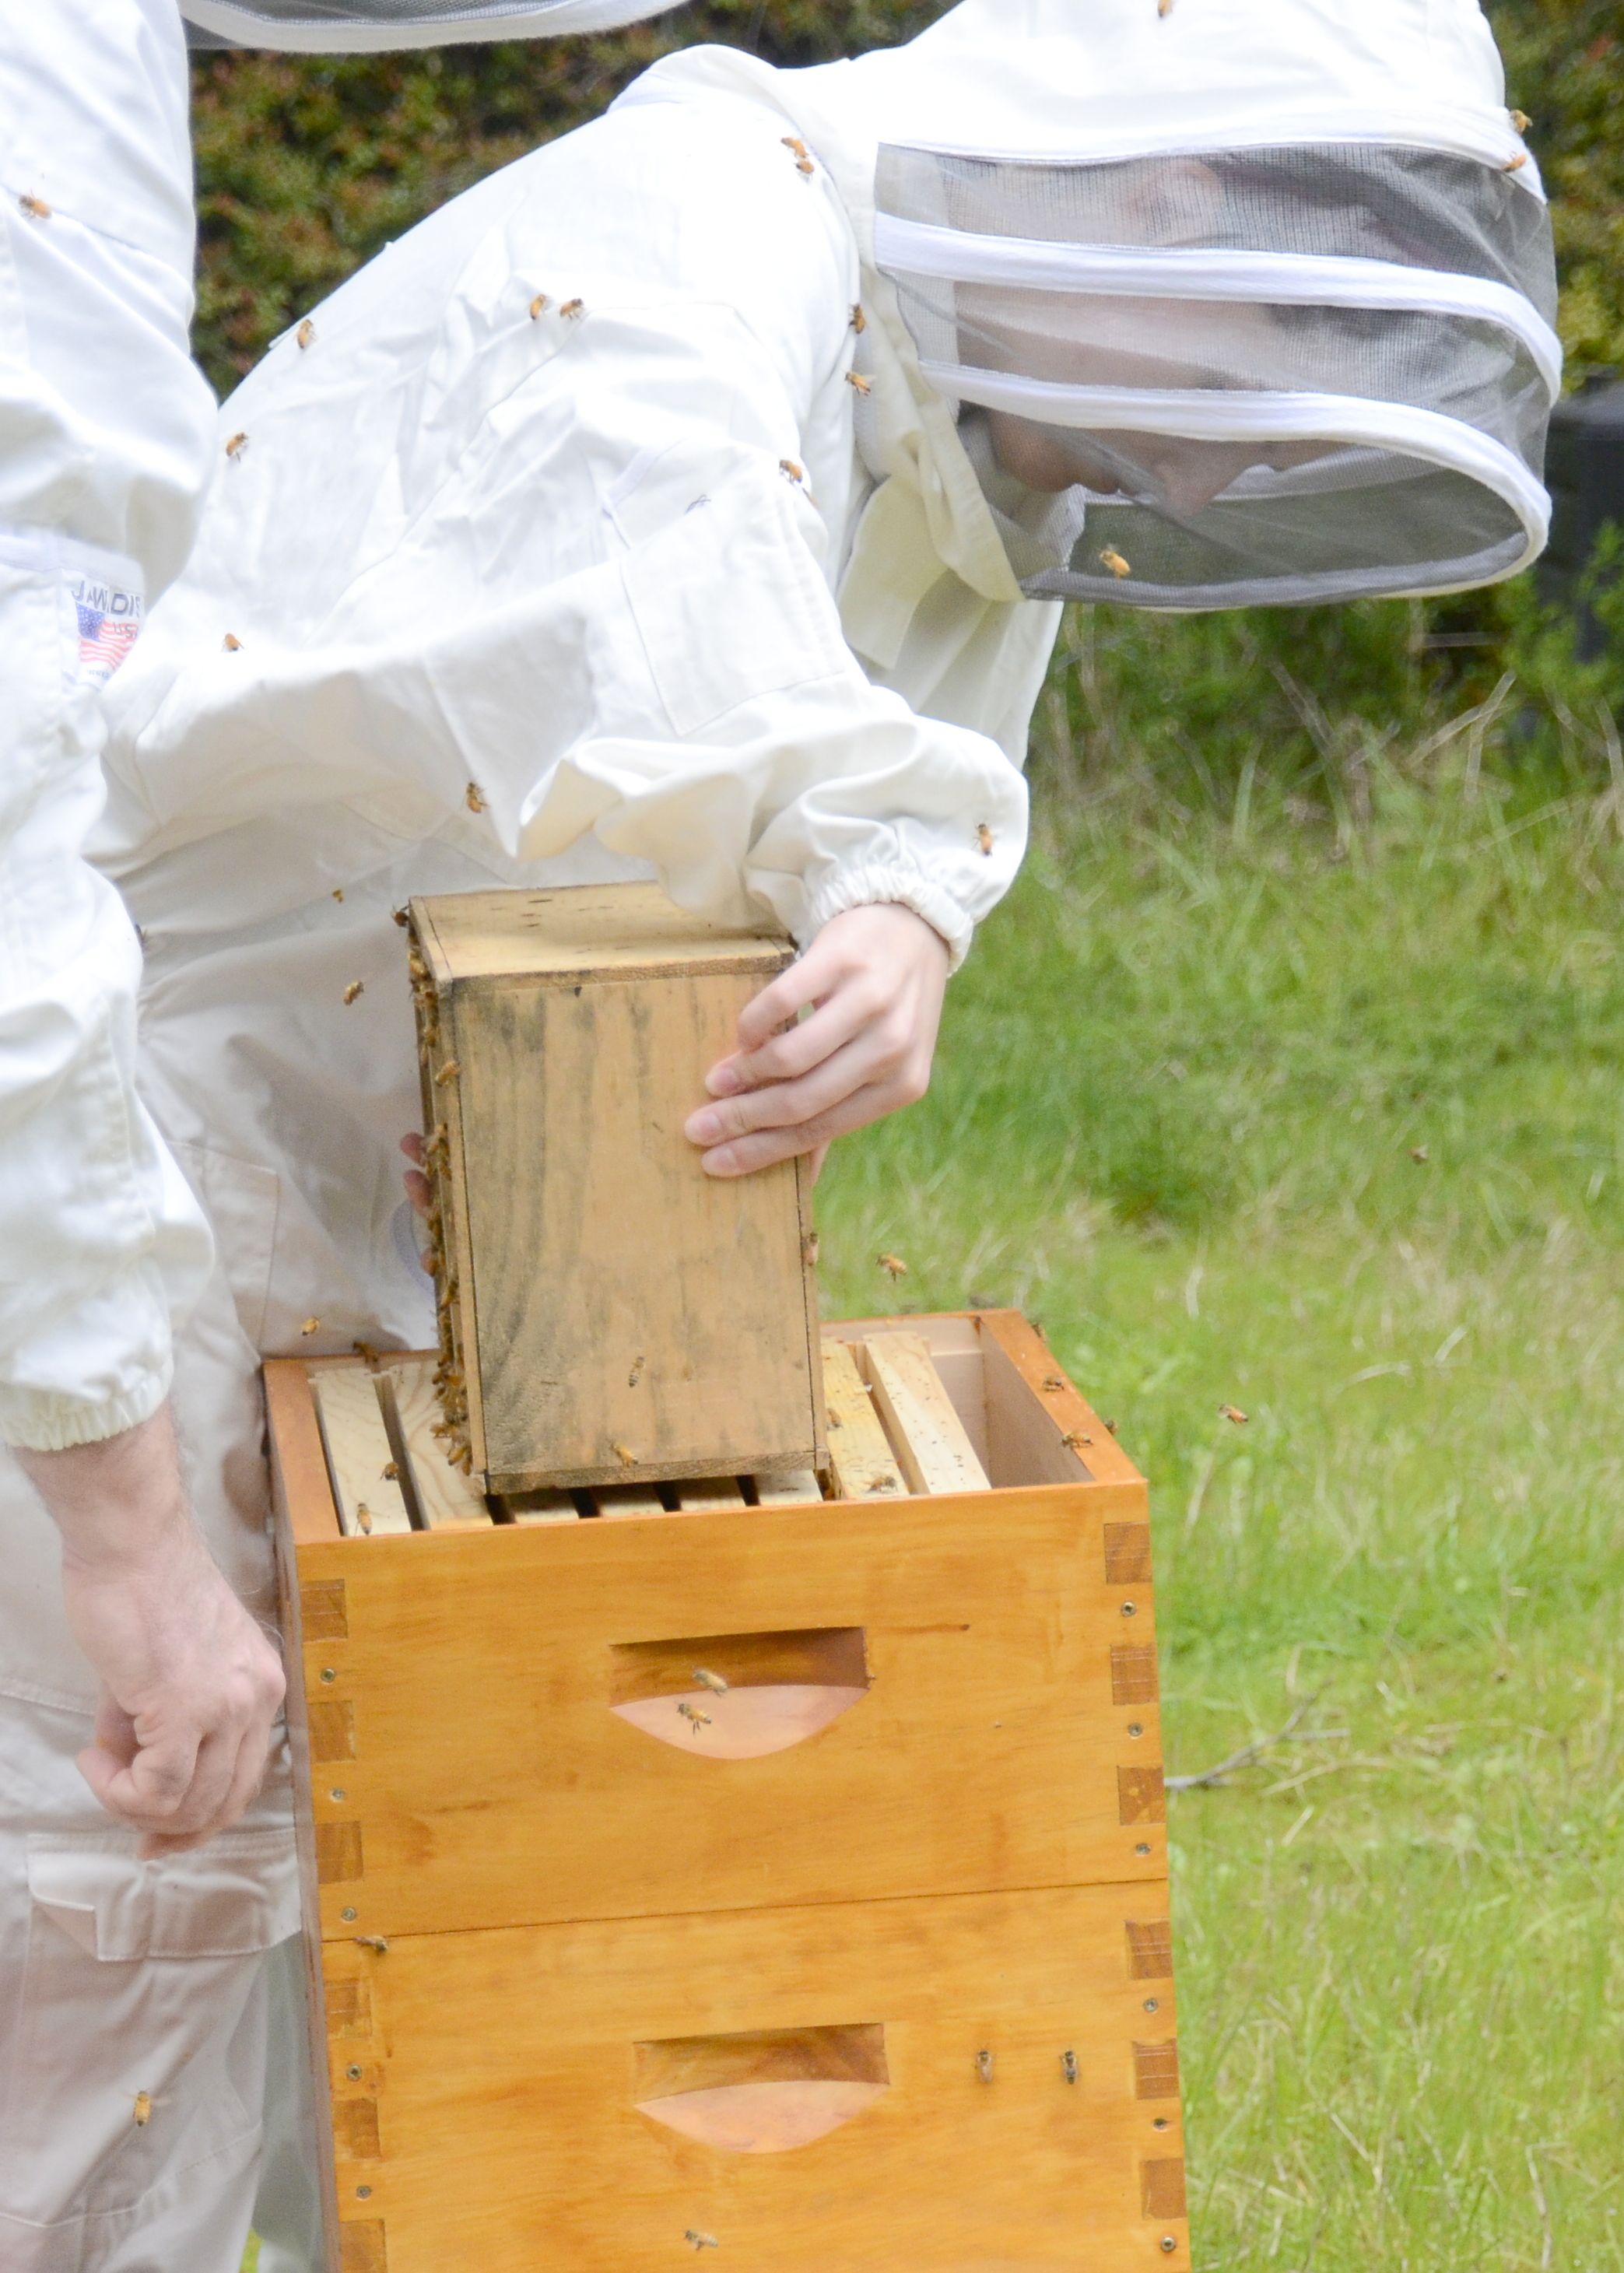
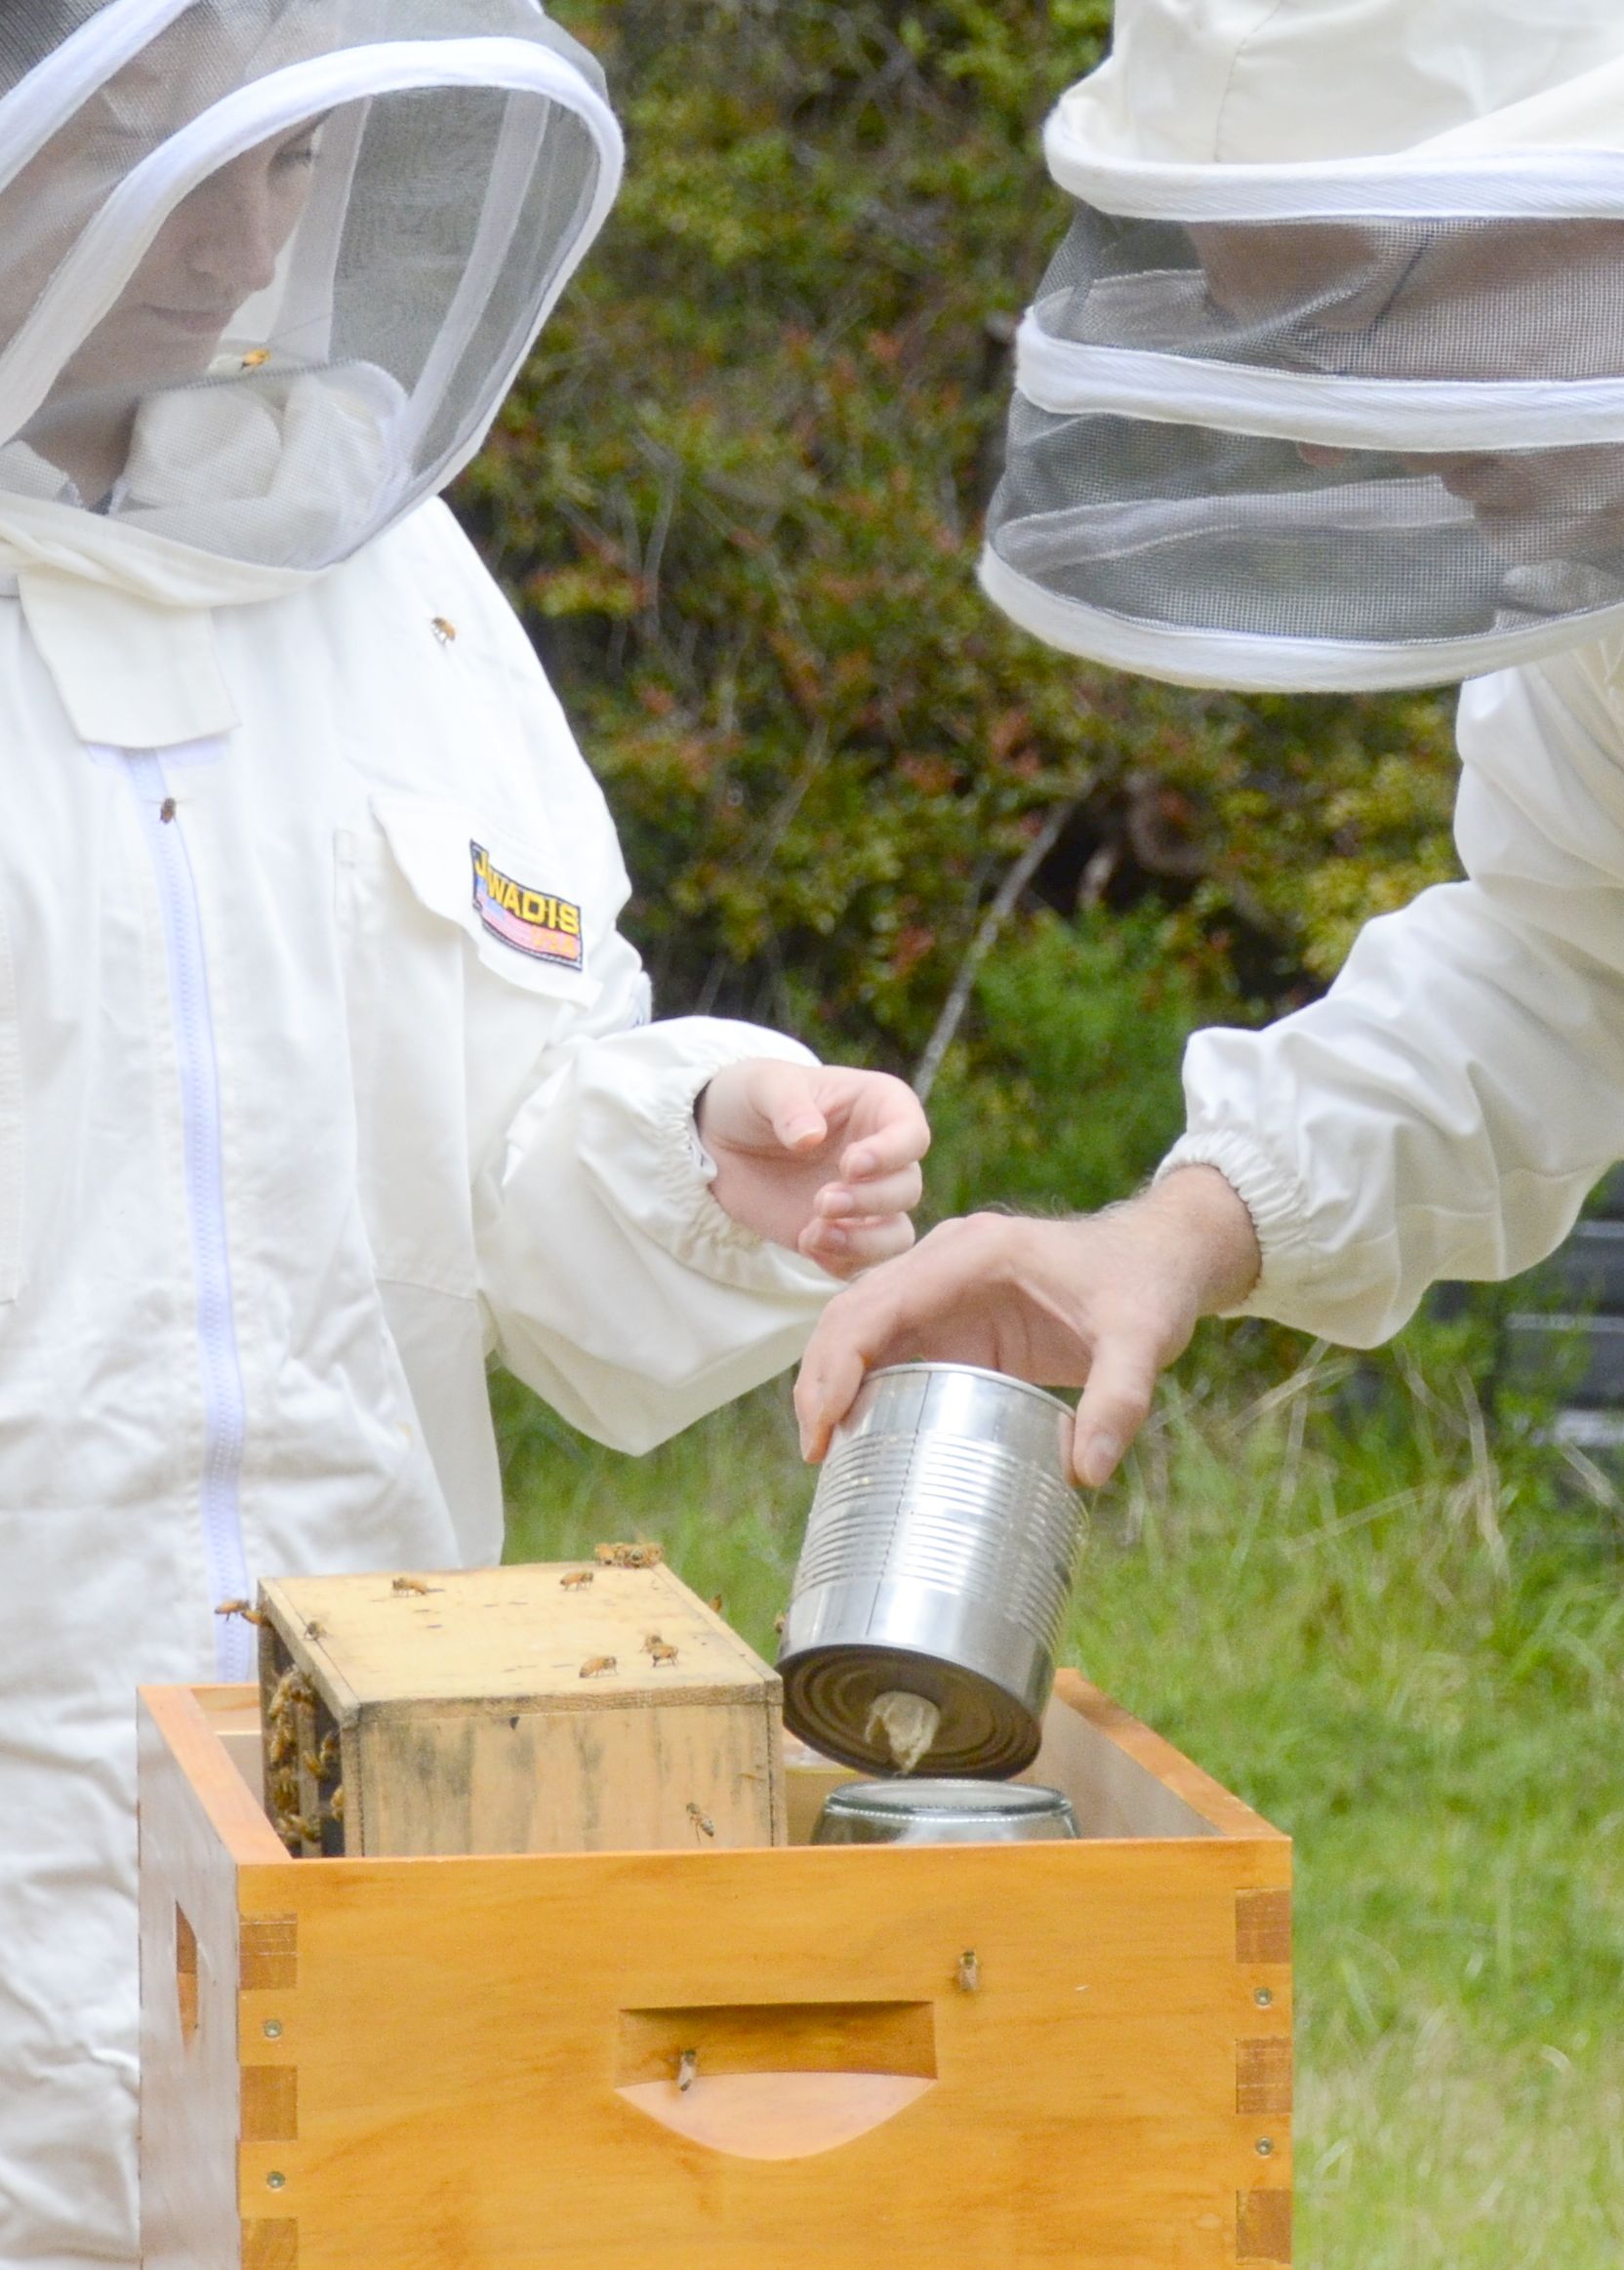
We decided to do what I call “a quiet installation”. Instead of turning the bee package upside down and dumping the bees into their new home, we instead gently turned the package upside down on top of the hive bars after having placed the queen cage between two frames in the middle of the hive. We added two boxes over the travel cage and then put the top on. It starts out looking really tall but once the travel cage is removed we are back to two boxes deep.
After 24 hours all of the bees had migrated out of their travel container and into the hive. Another 24 hours later I checked the queen cage and the marshmallow had been eaten and the queen had been released.
I think this method would work well in bad weather too……Granted, this method is not as dramatic as having a cloud of a thousand bees buzzing around you, but it worked just fine.
The new package of bees
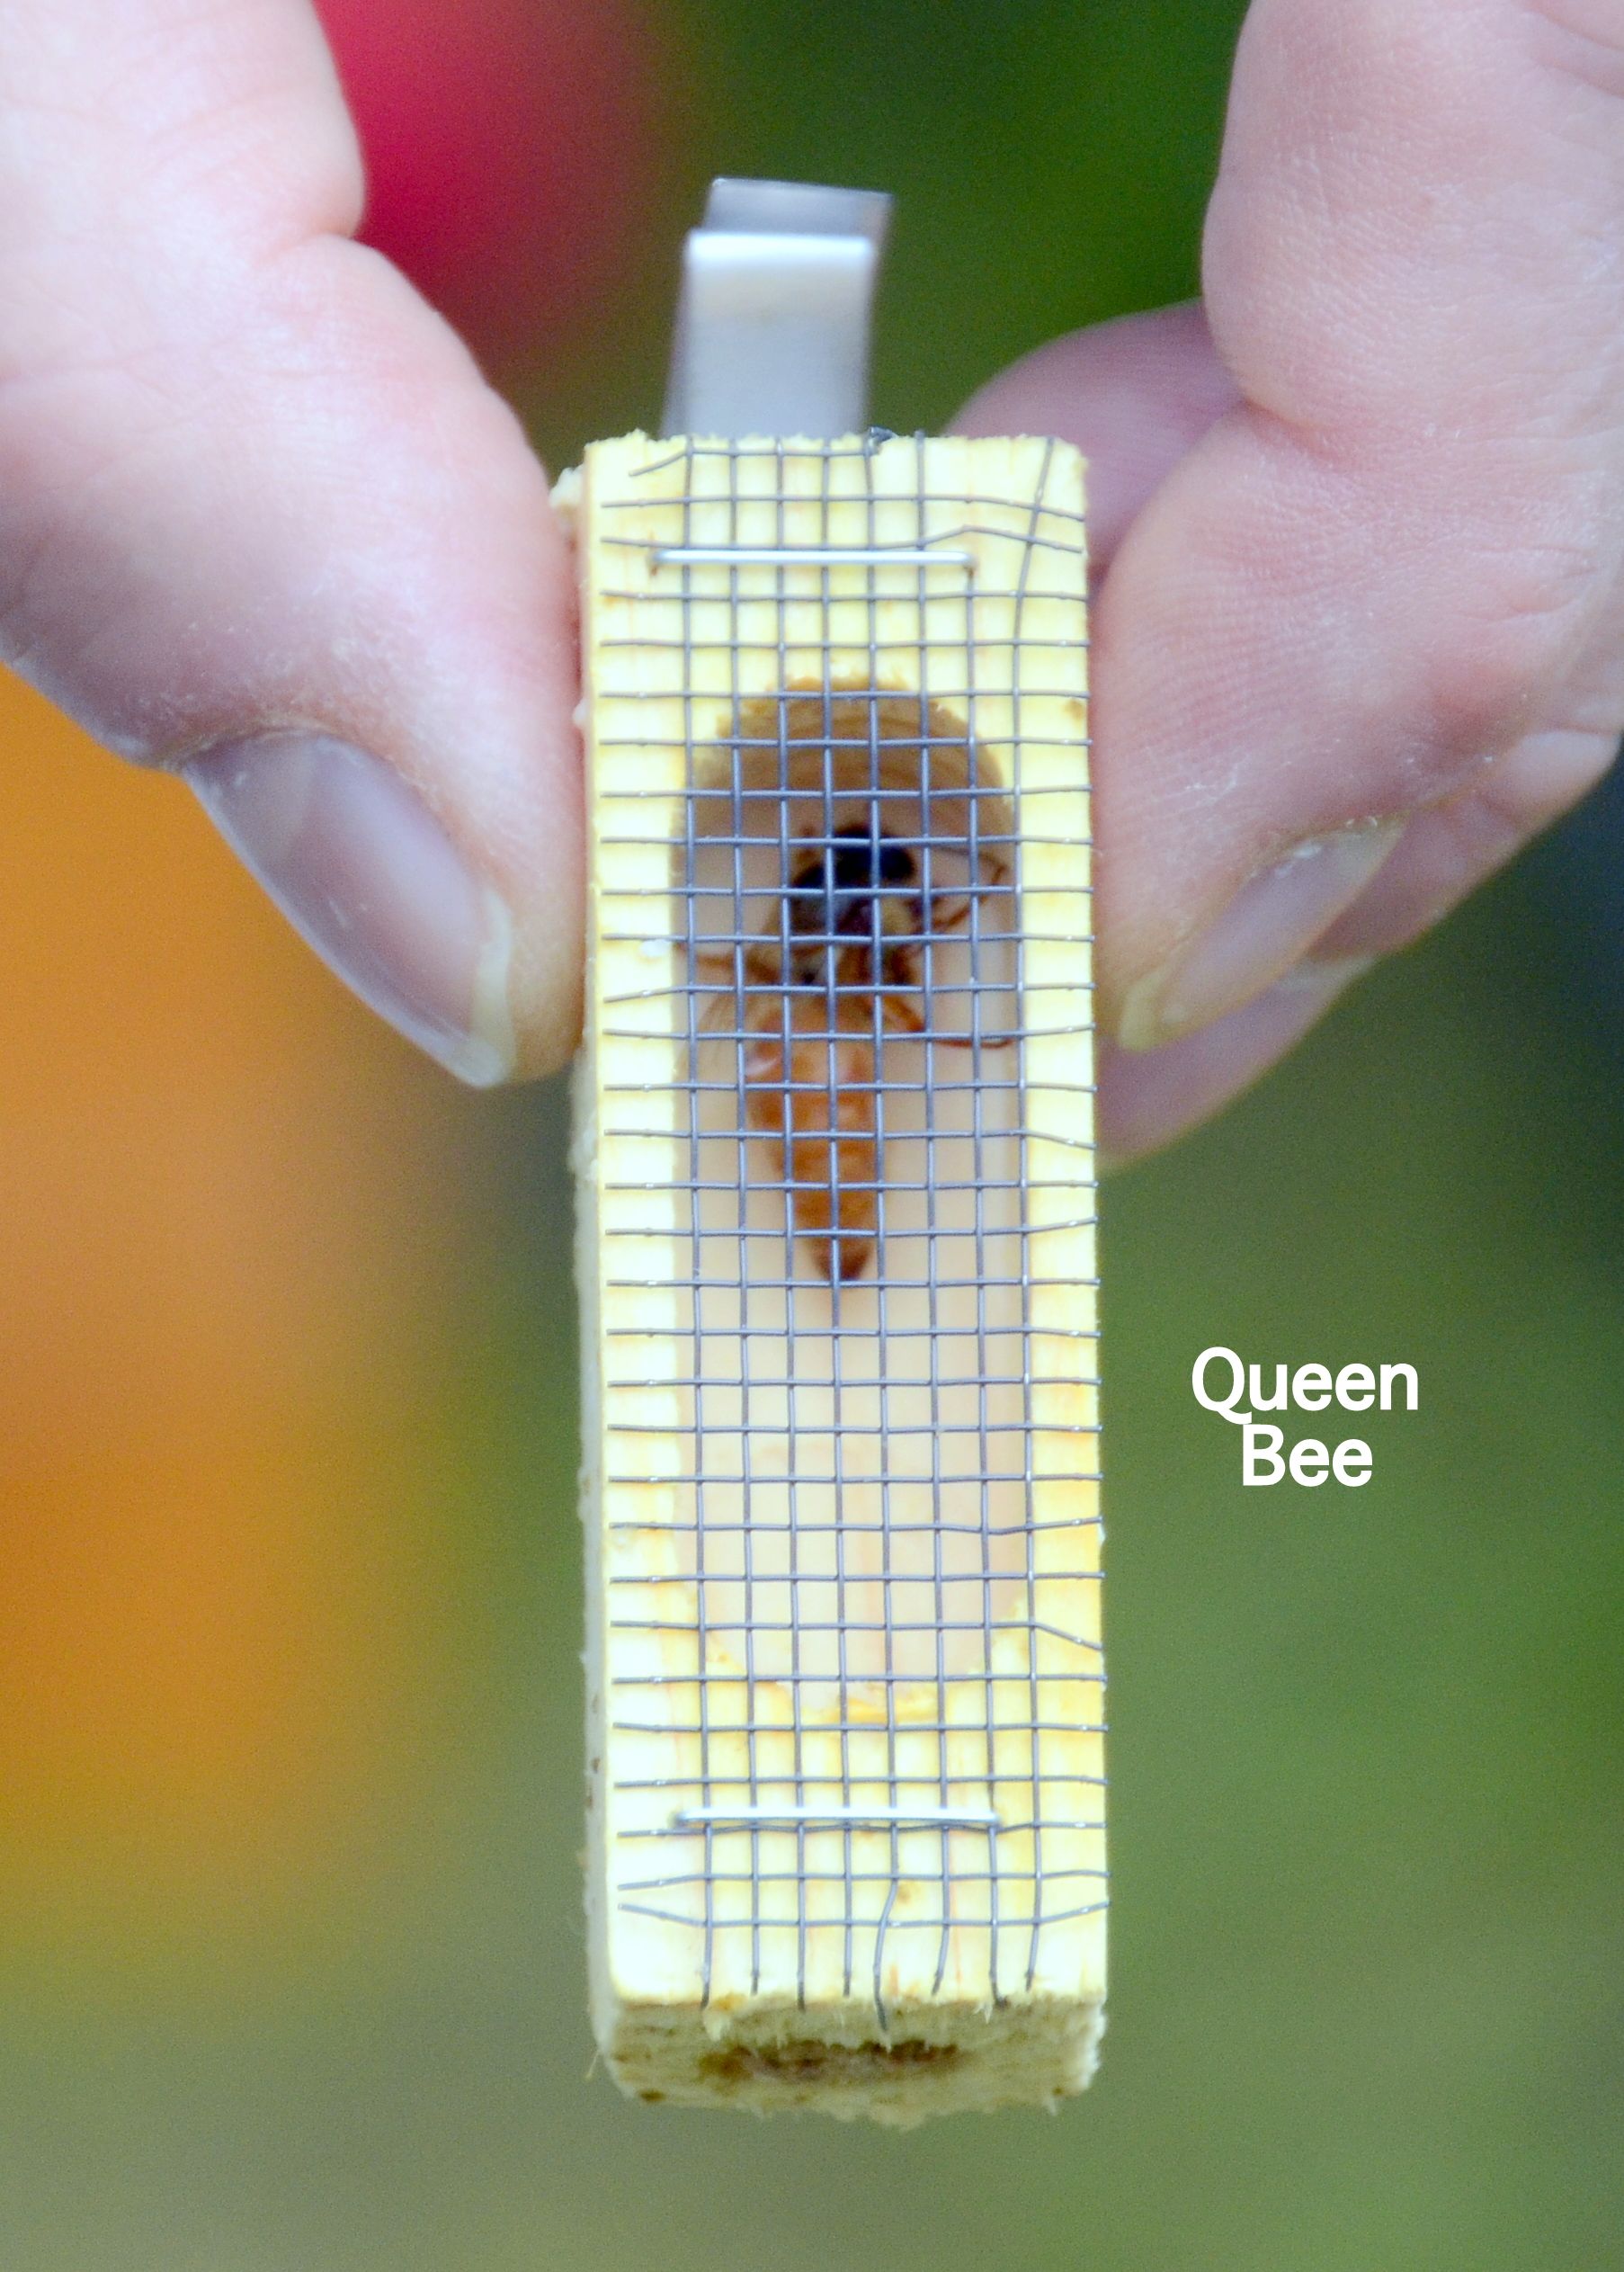
Queen in her travel cage
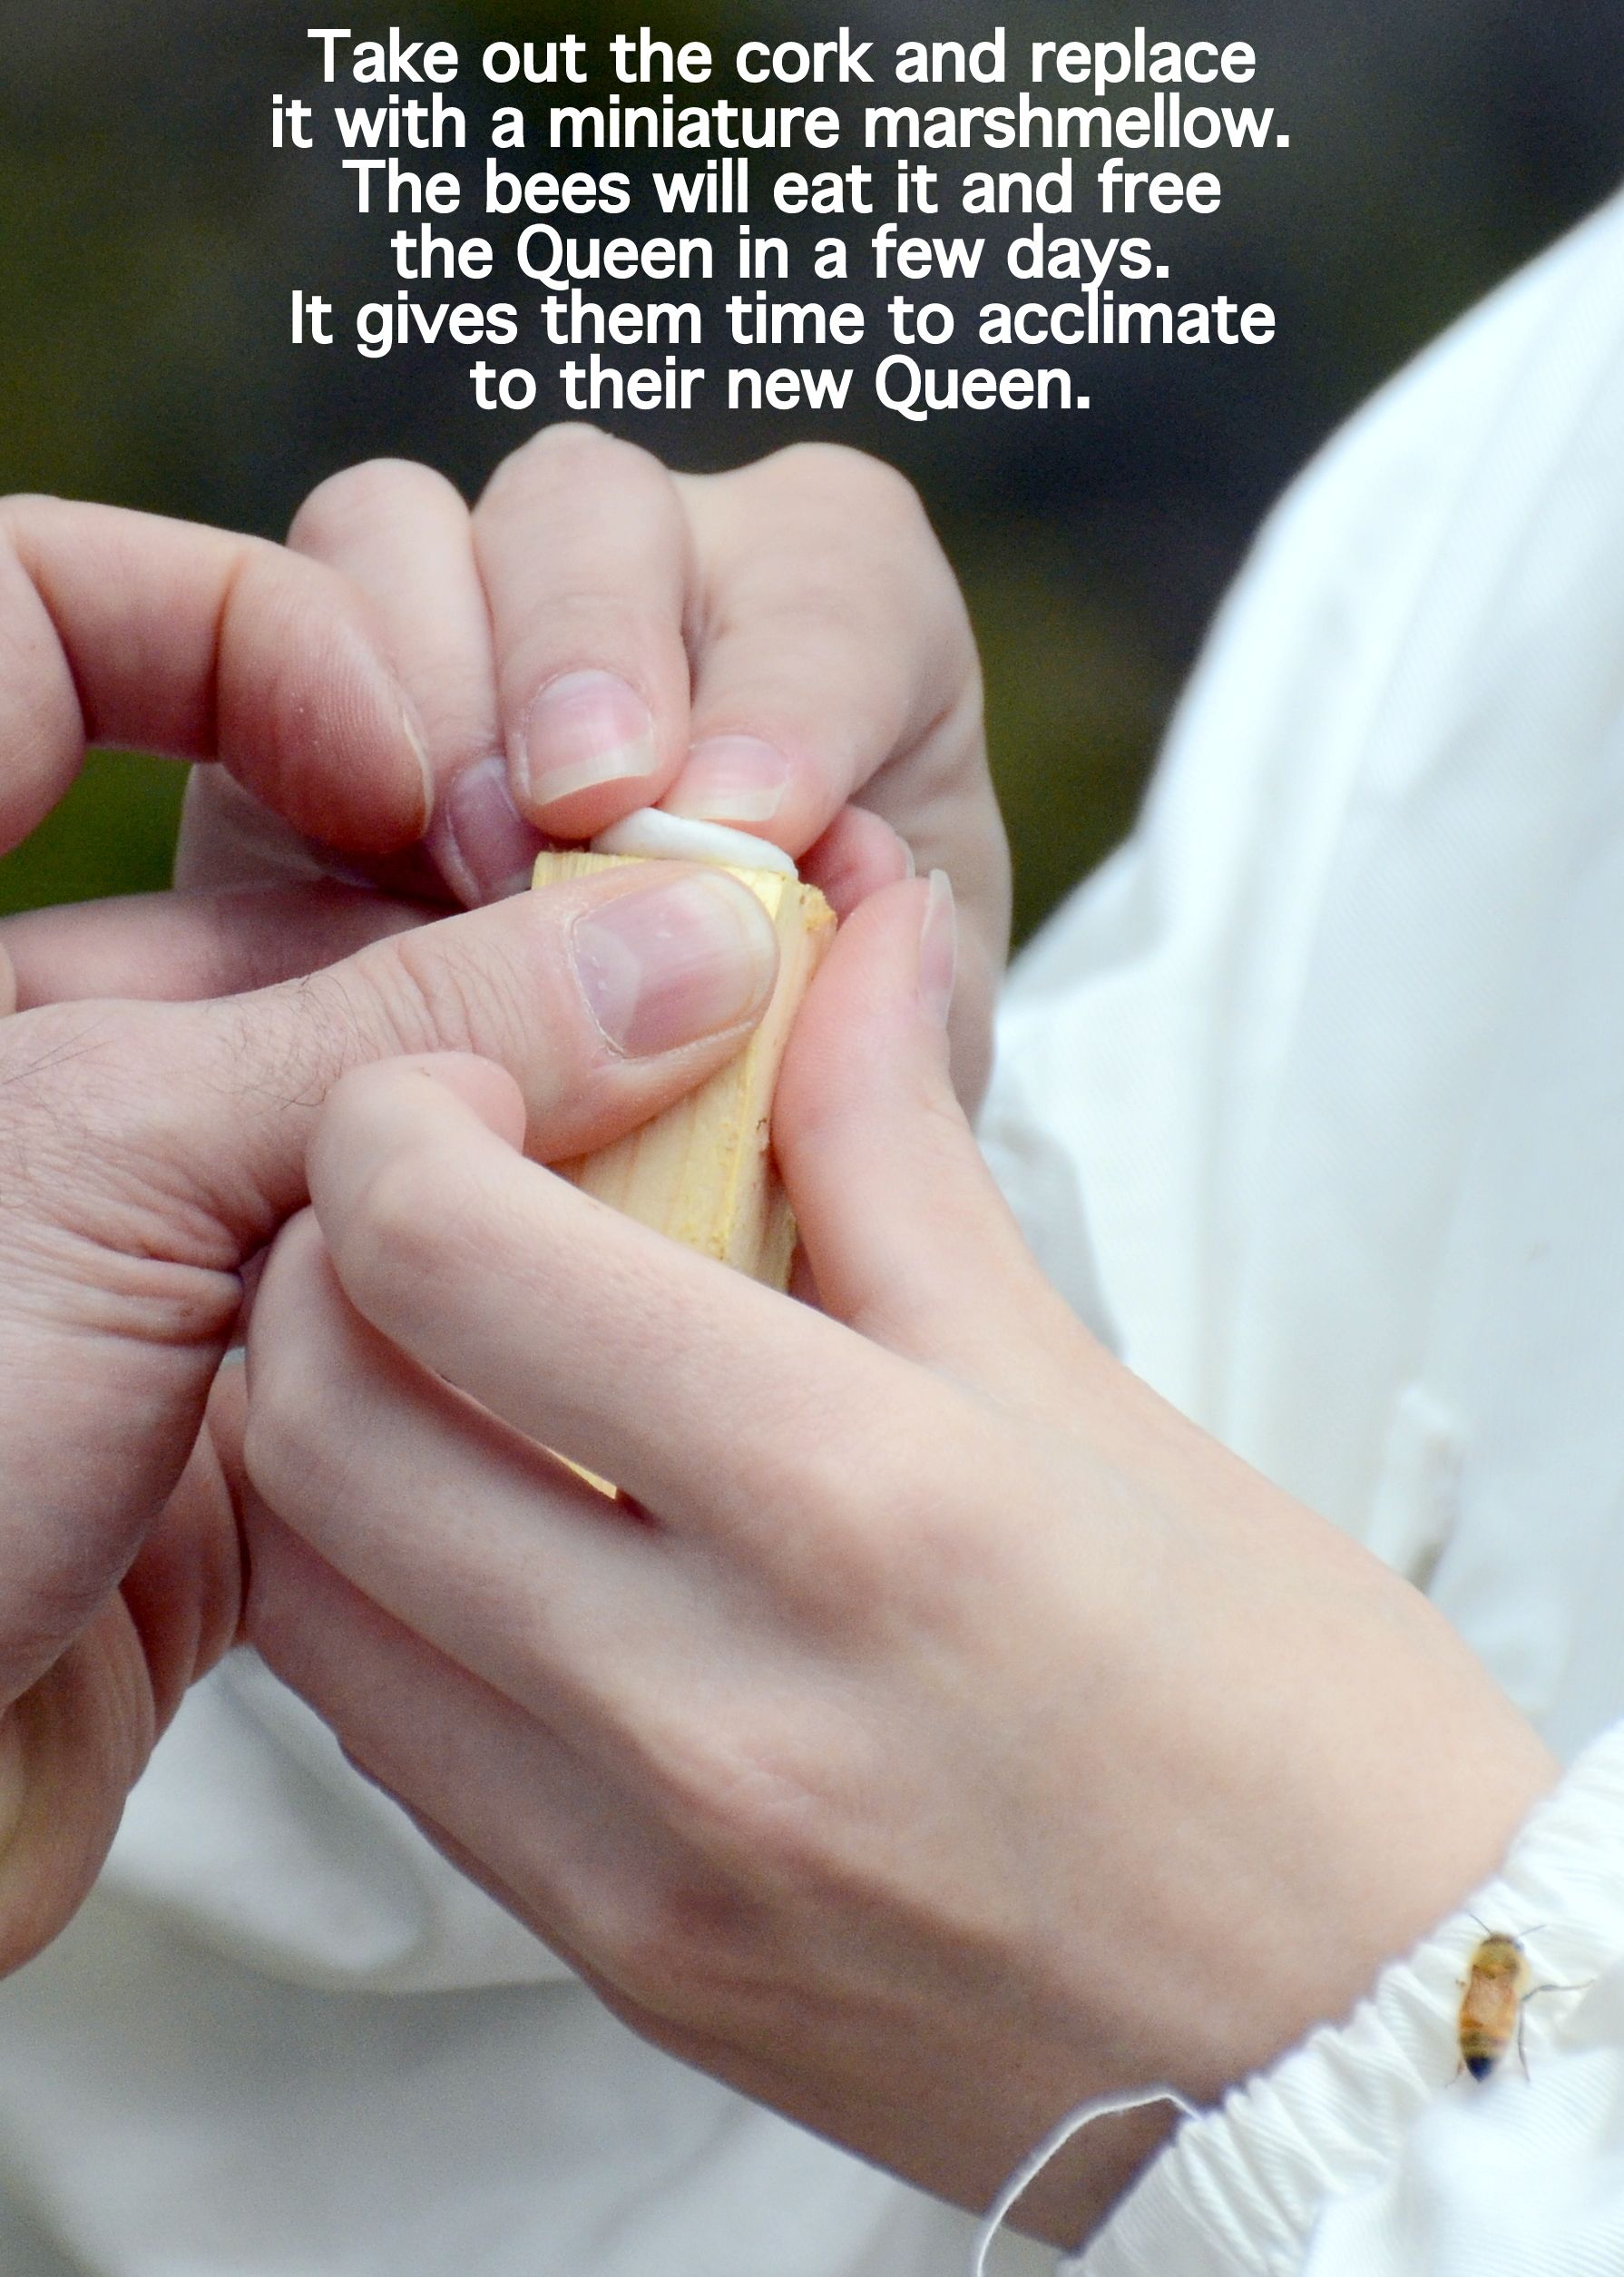
Marshmallow in the end of the queen cage
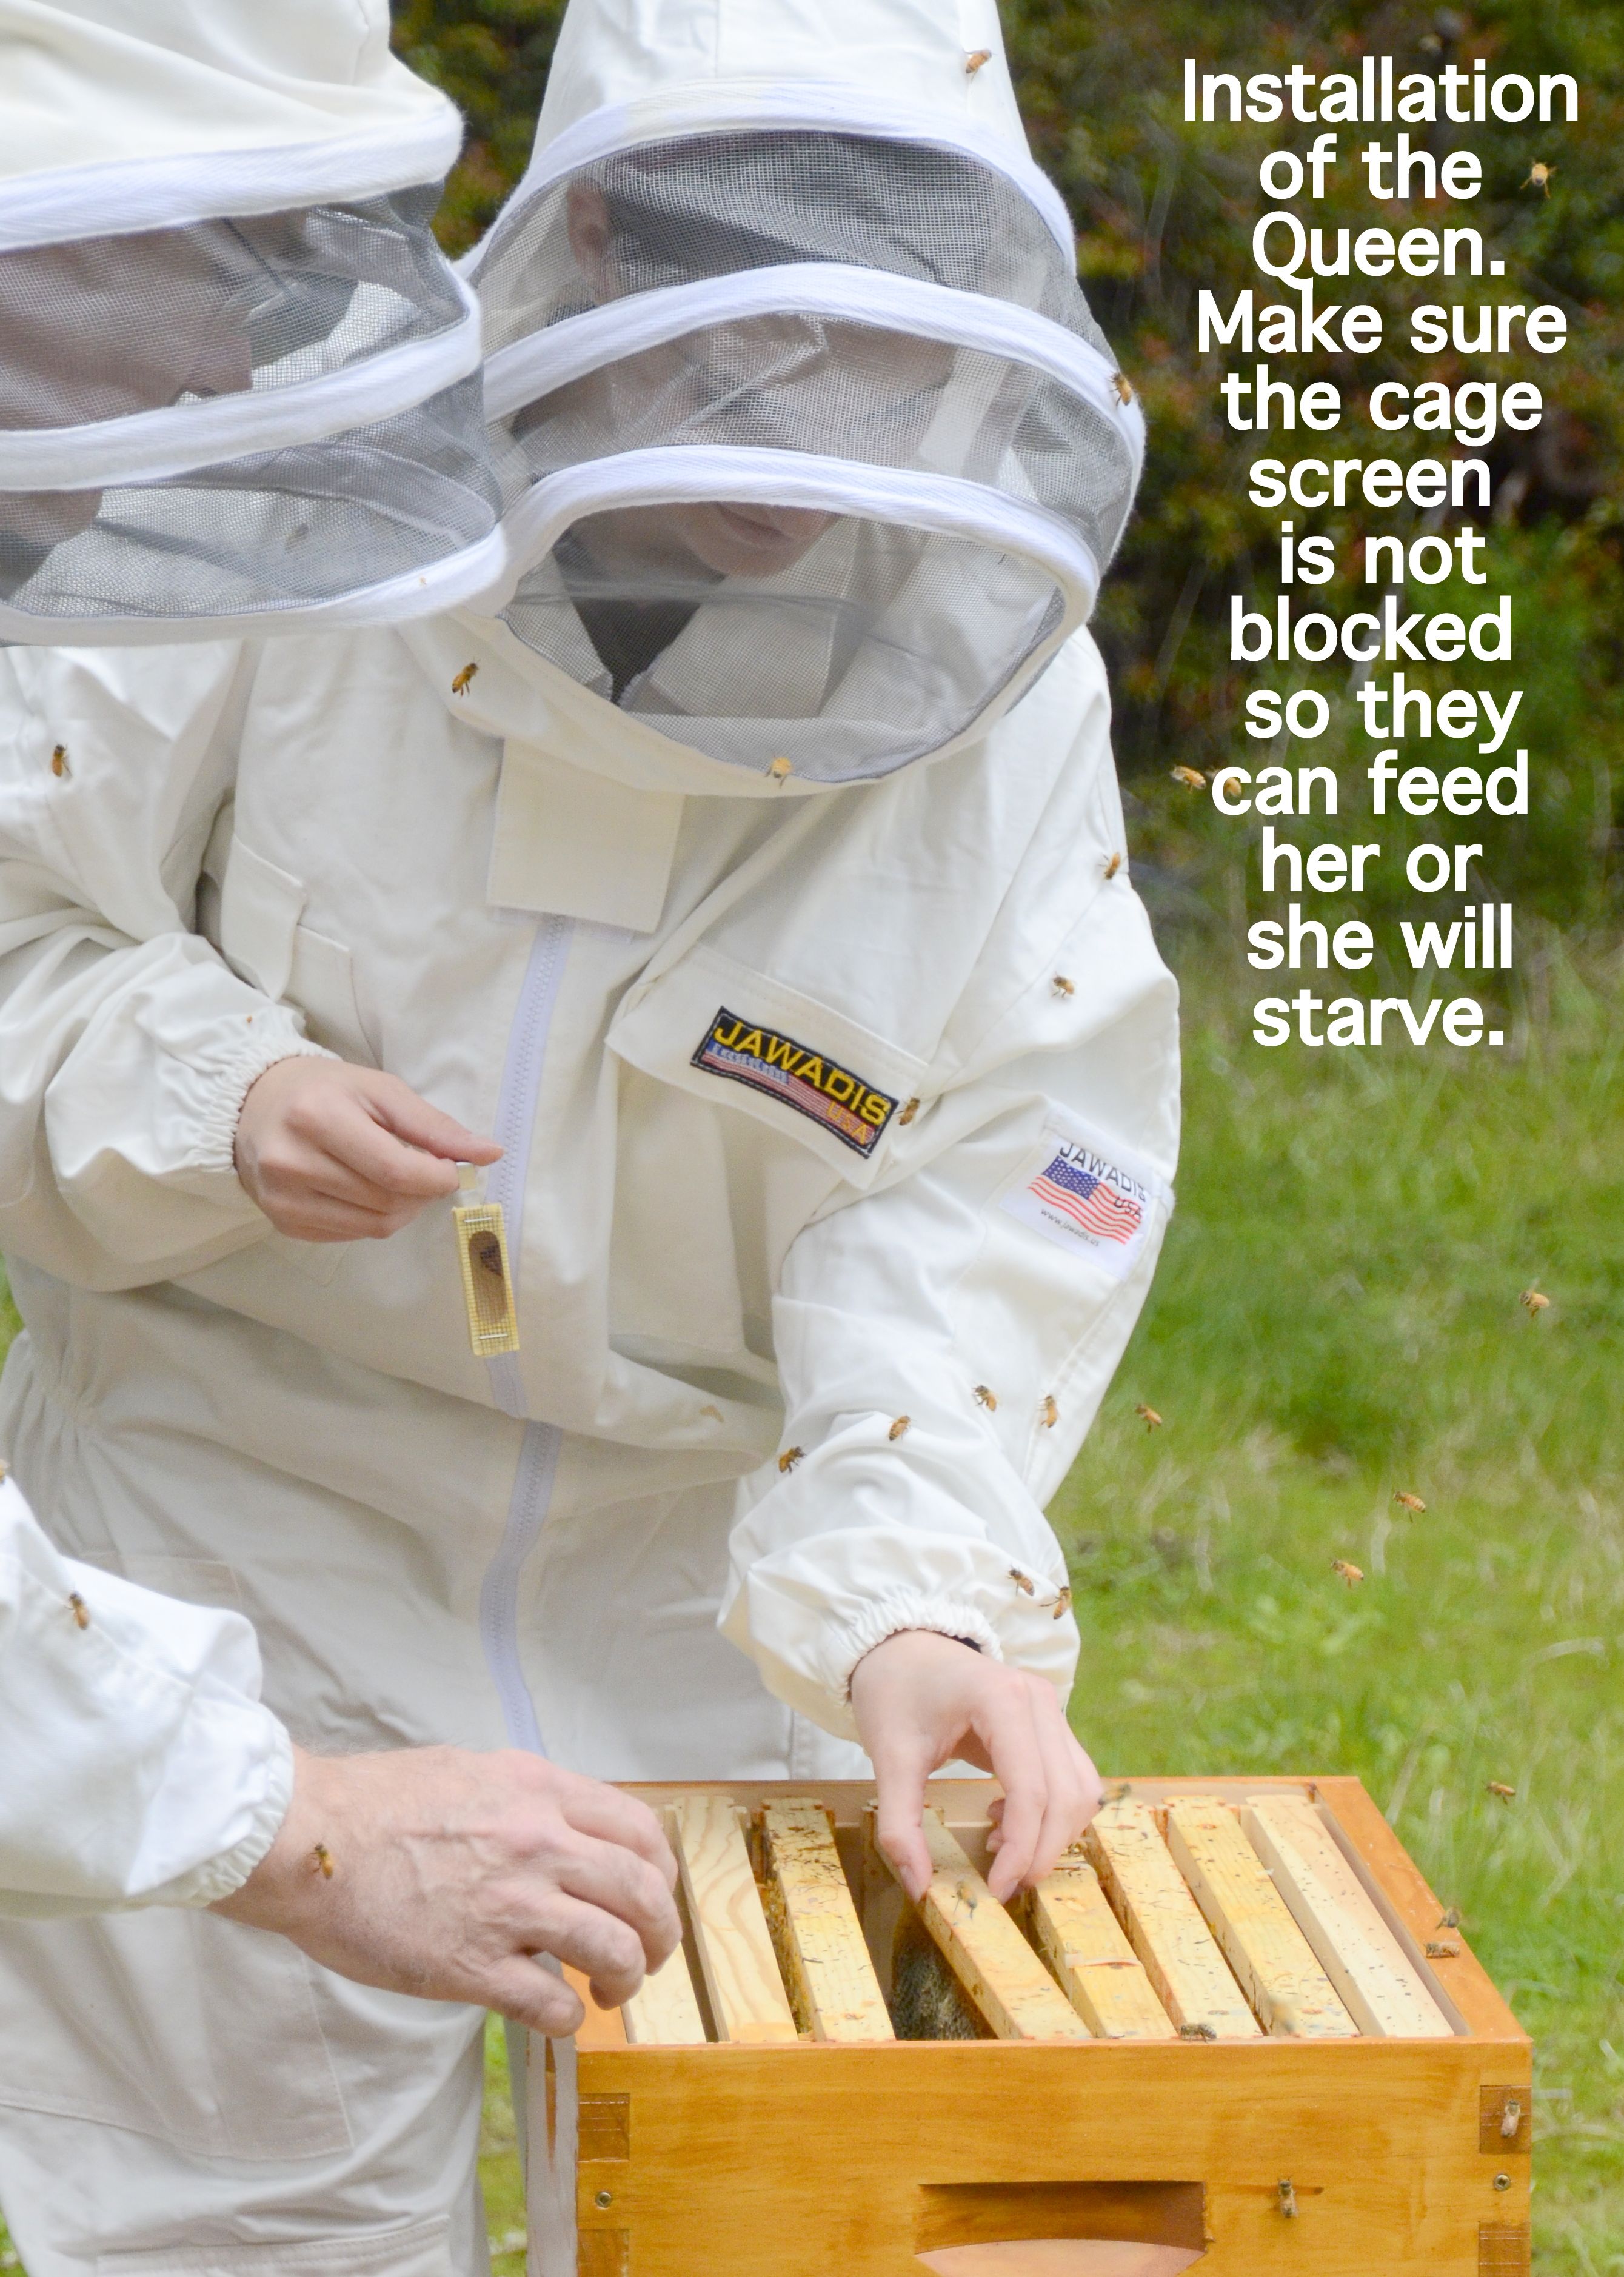
Place queen cage in center
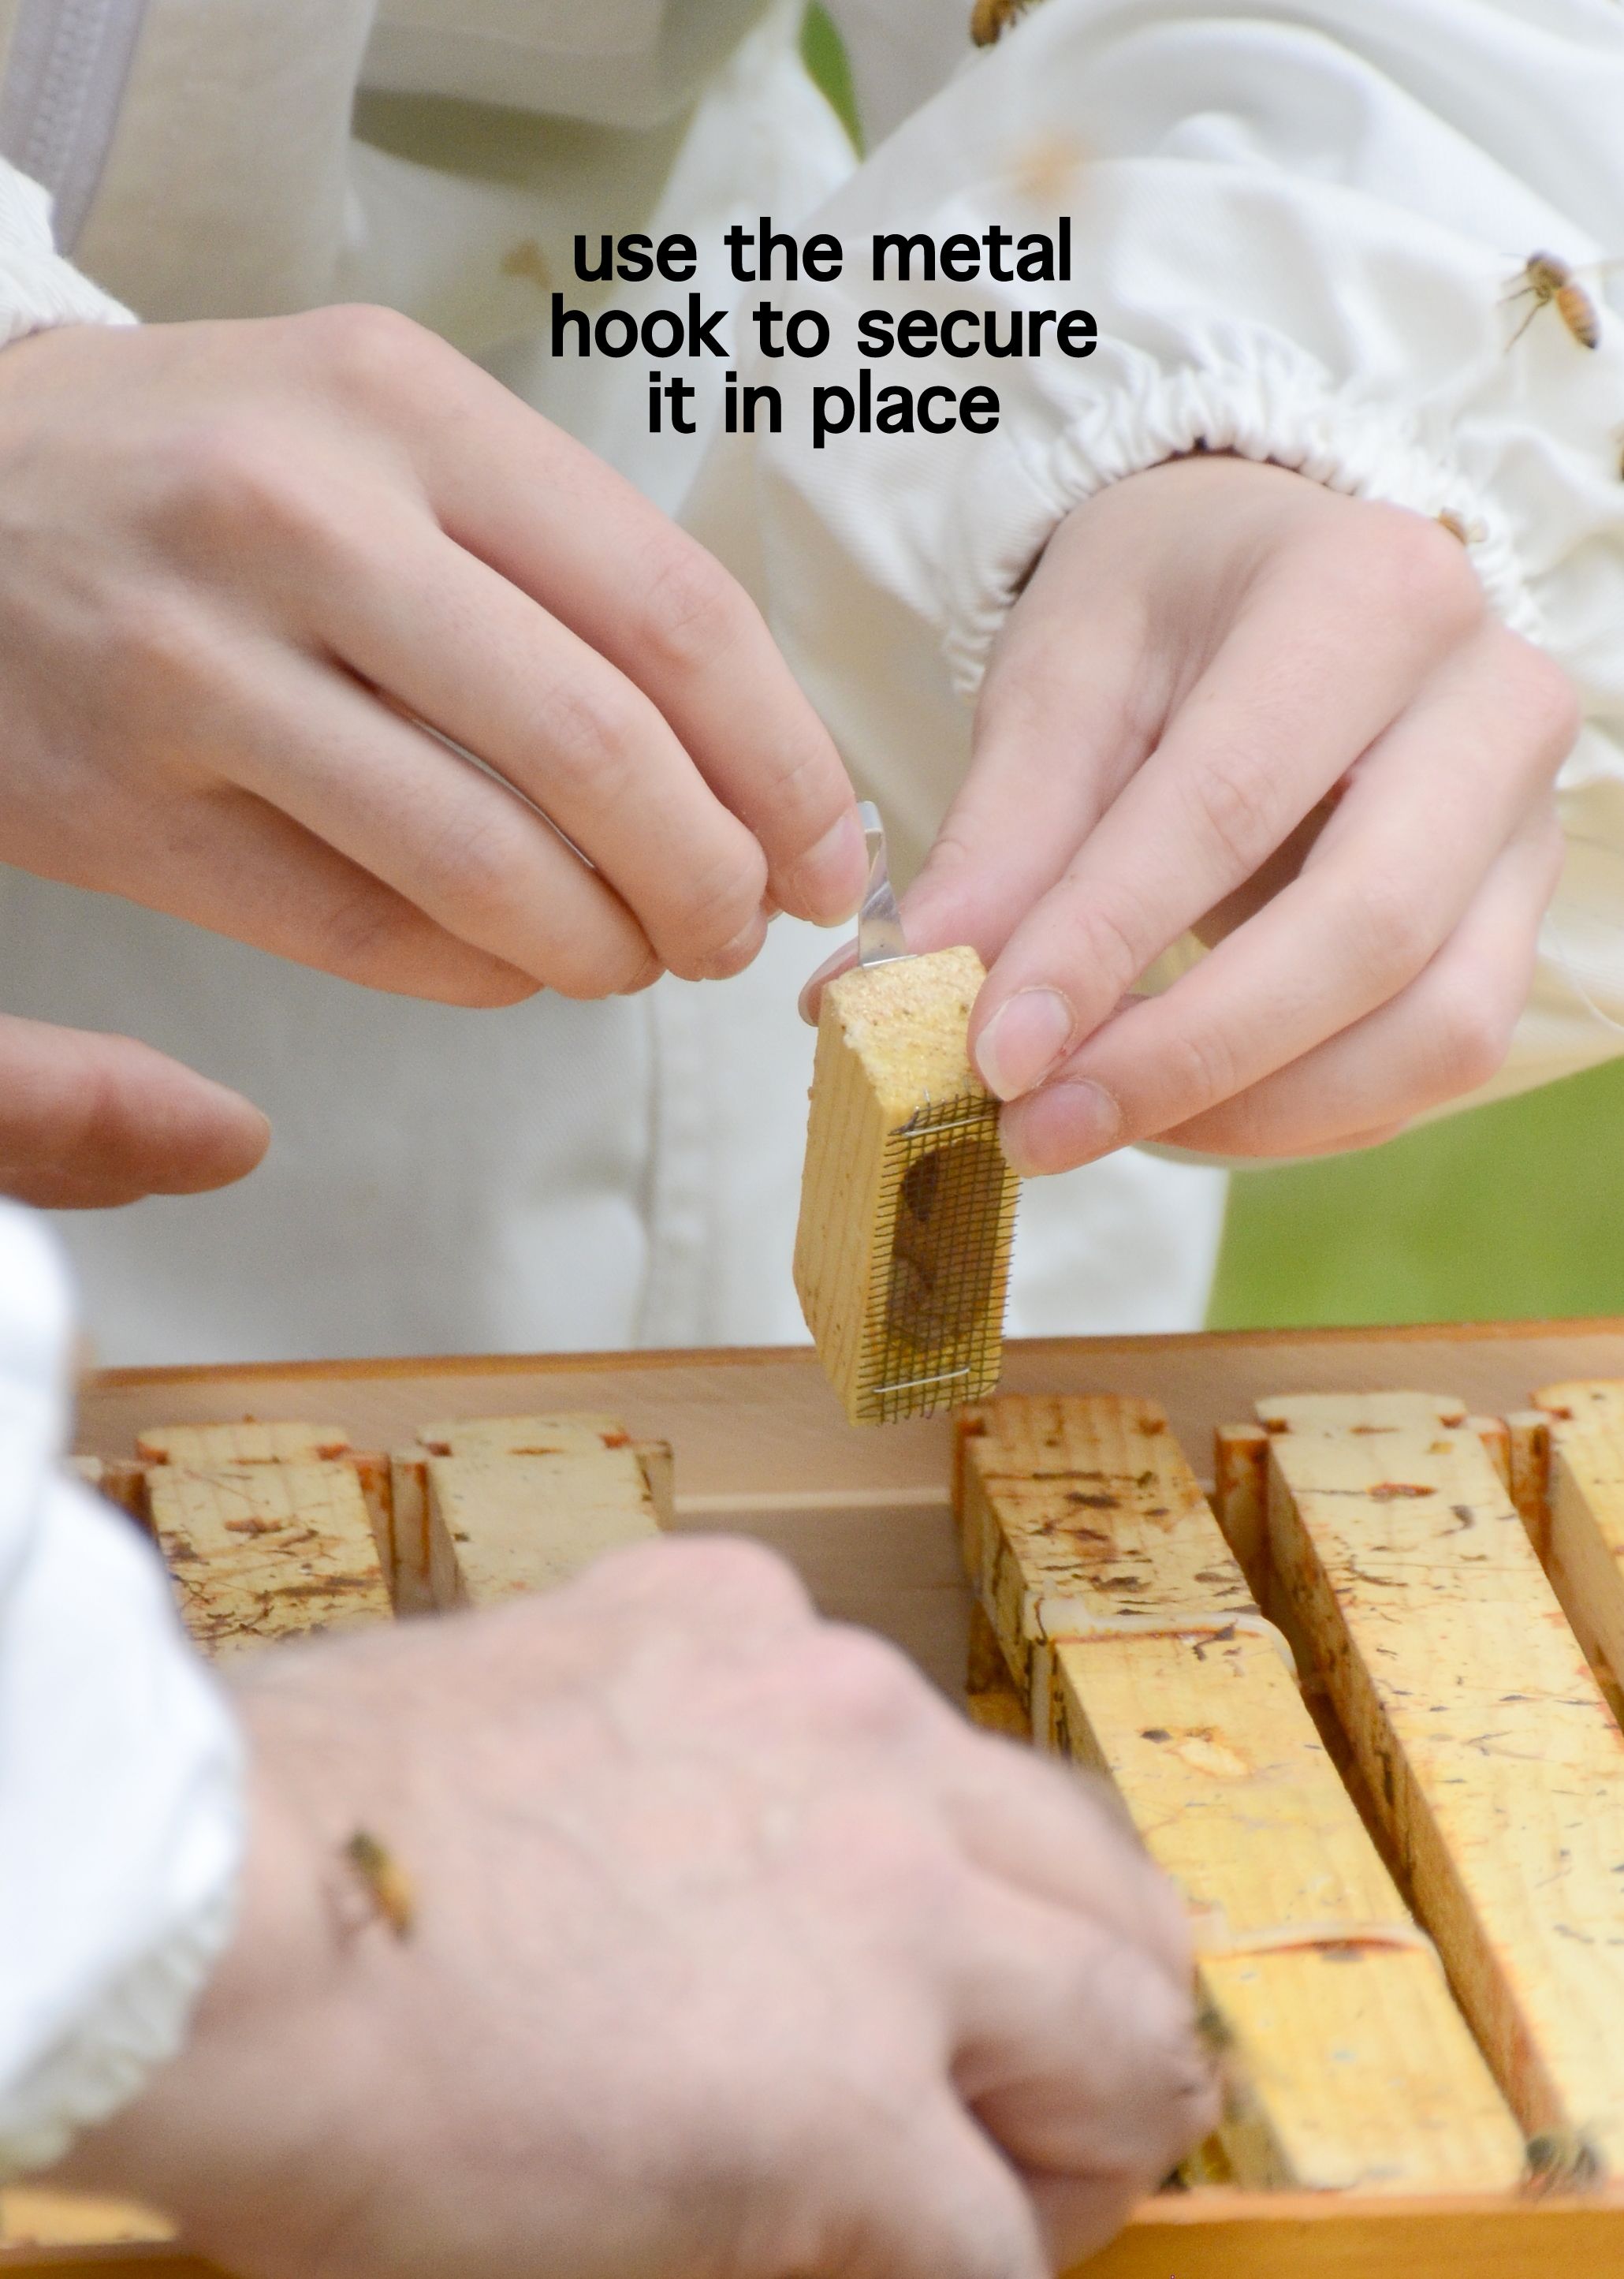
Placing the queen cage between two frames
Turn travel cage over
Gently turning the travel cage over, hole down
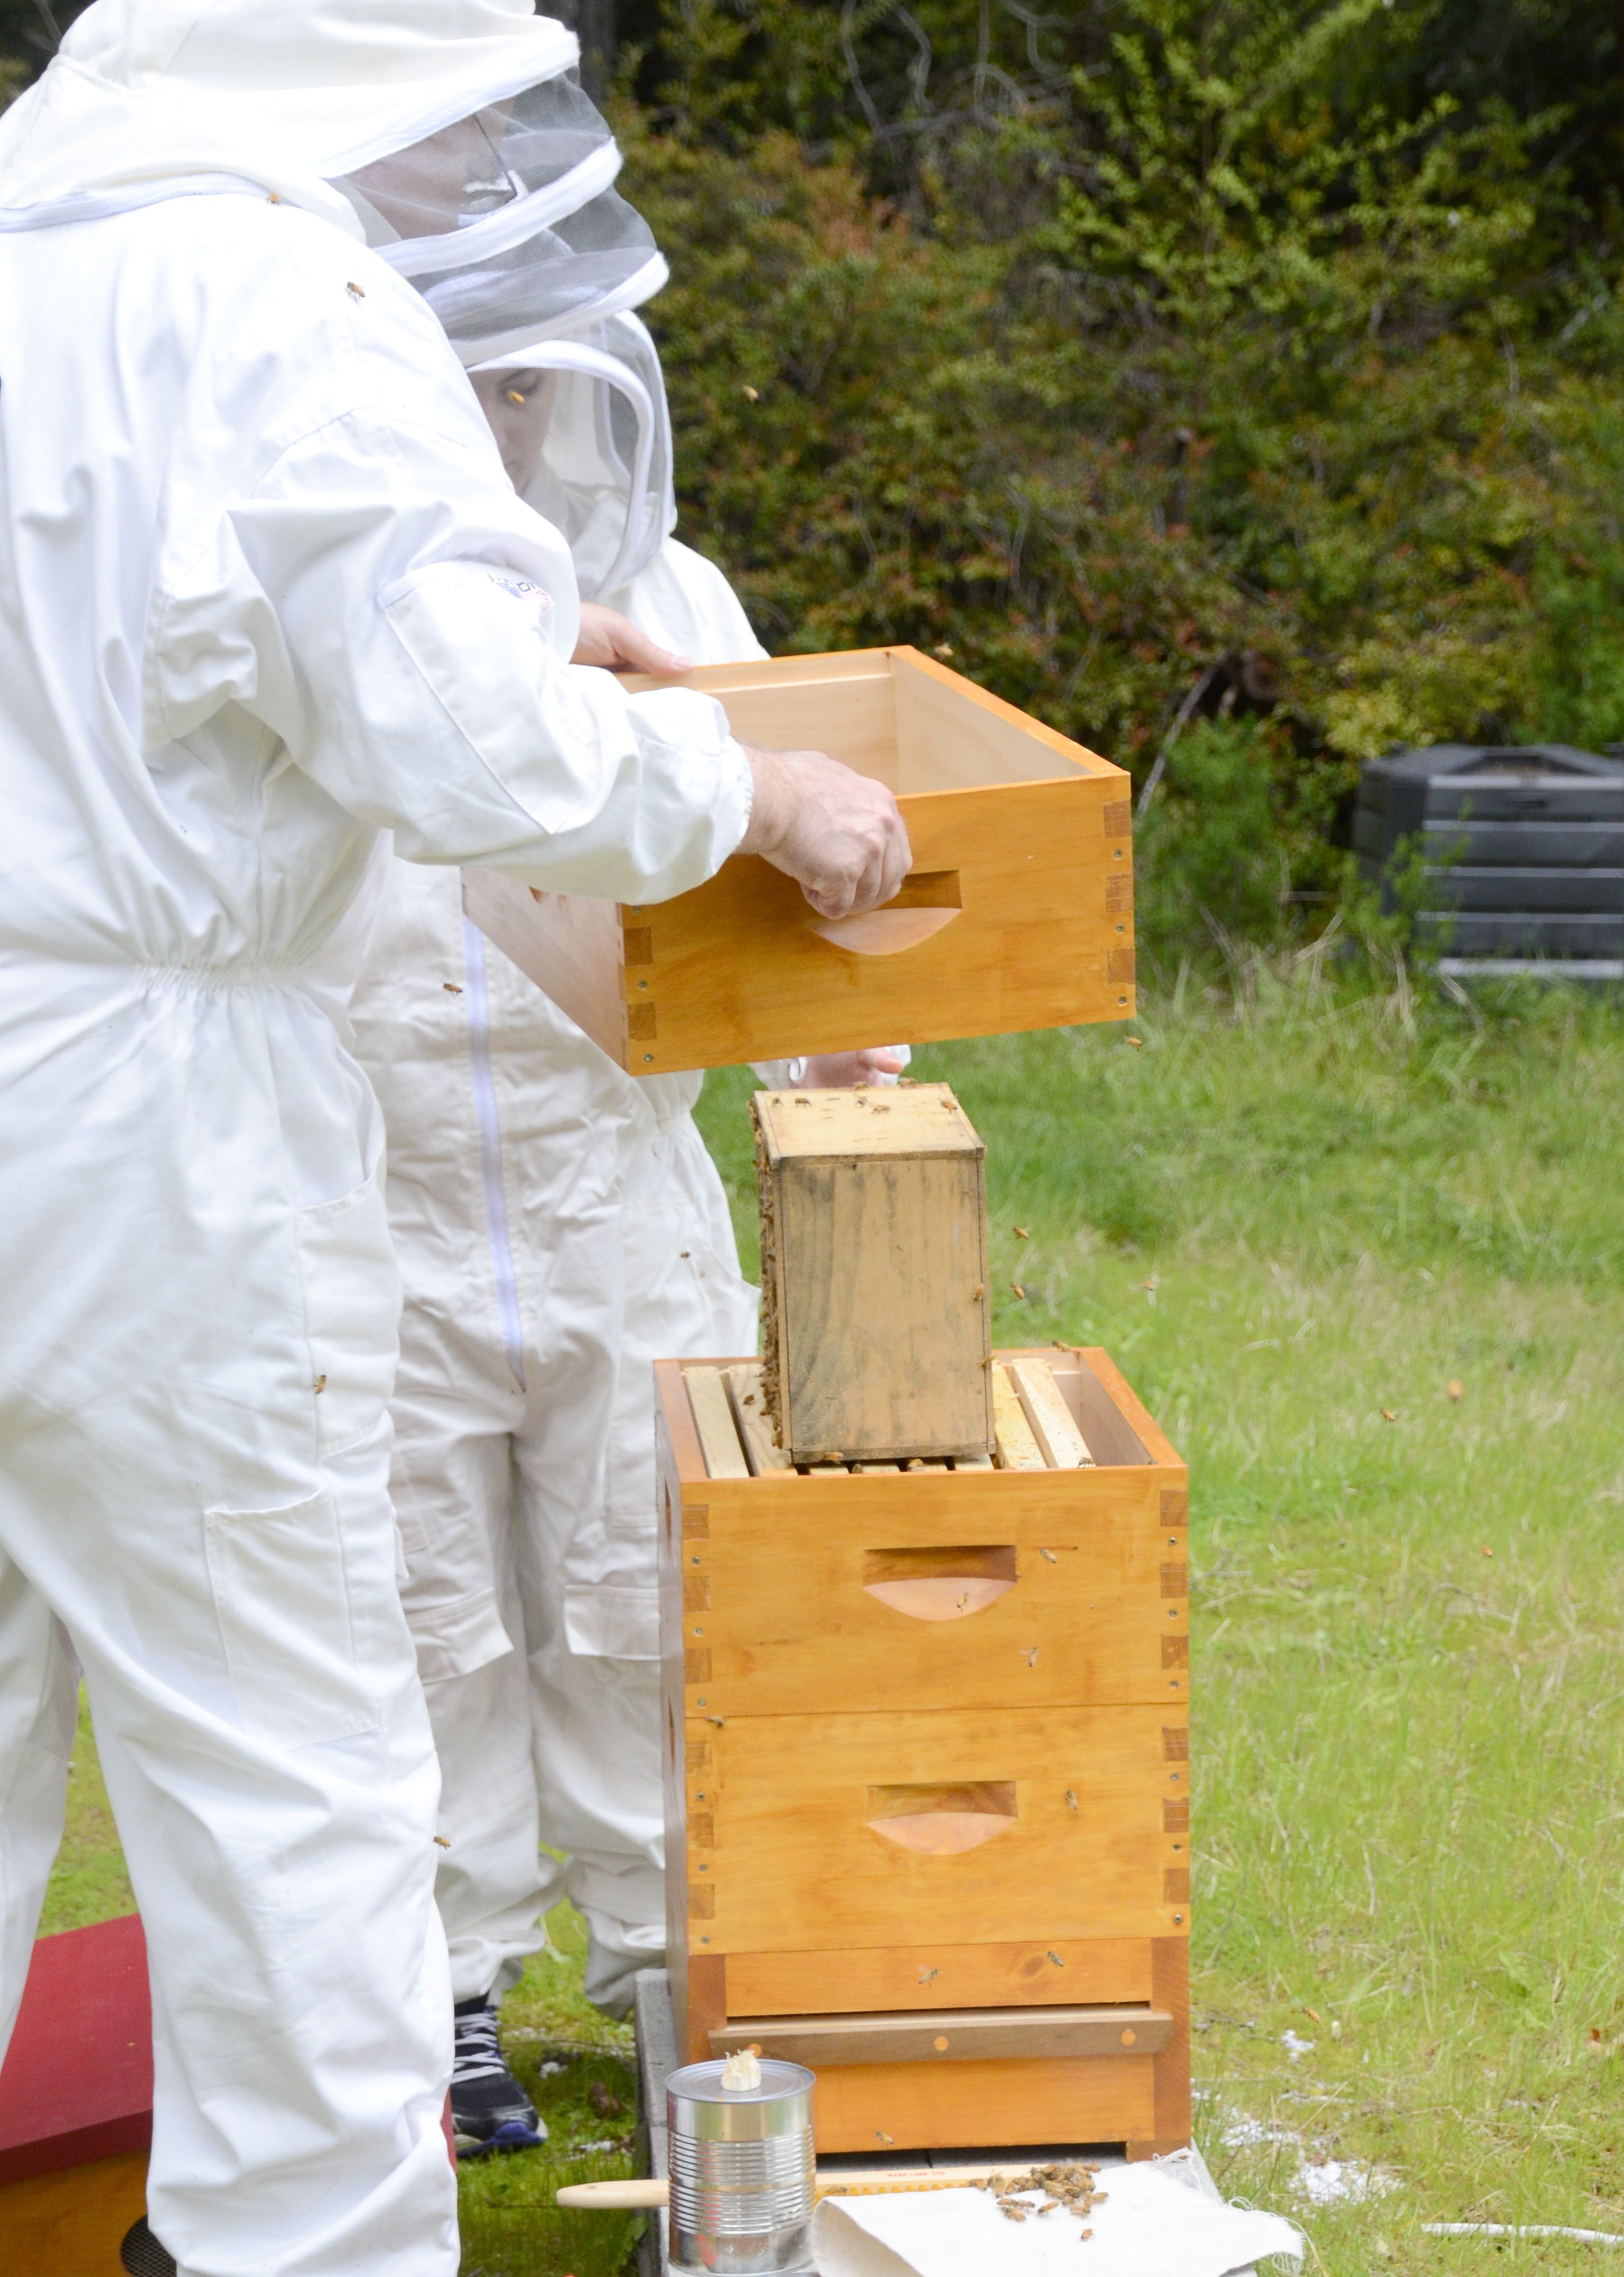
Place an empty over travel cage
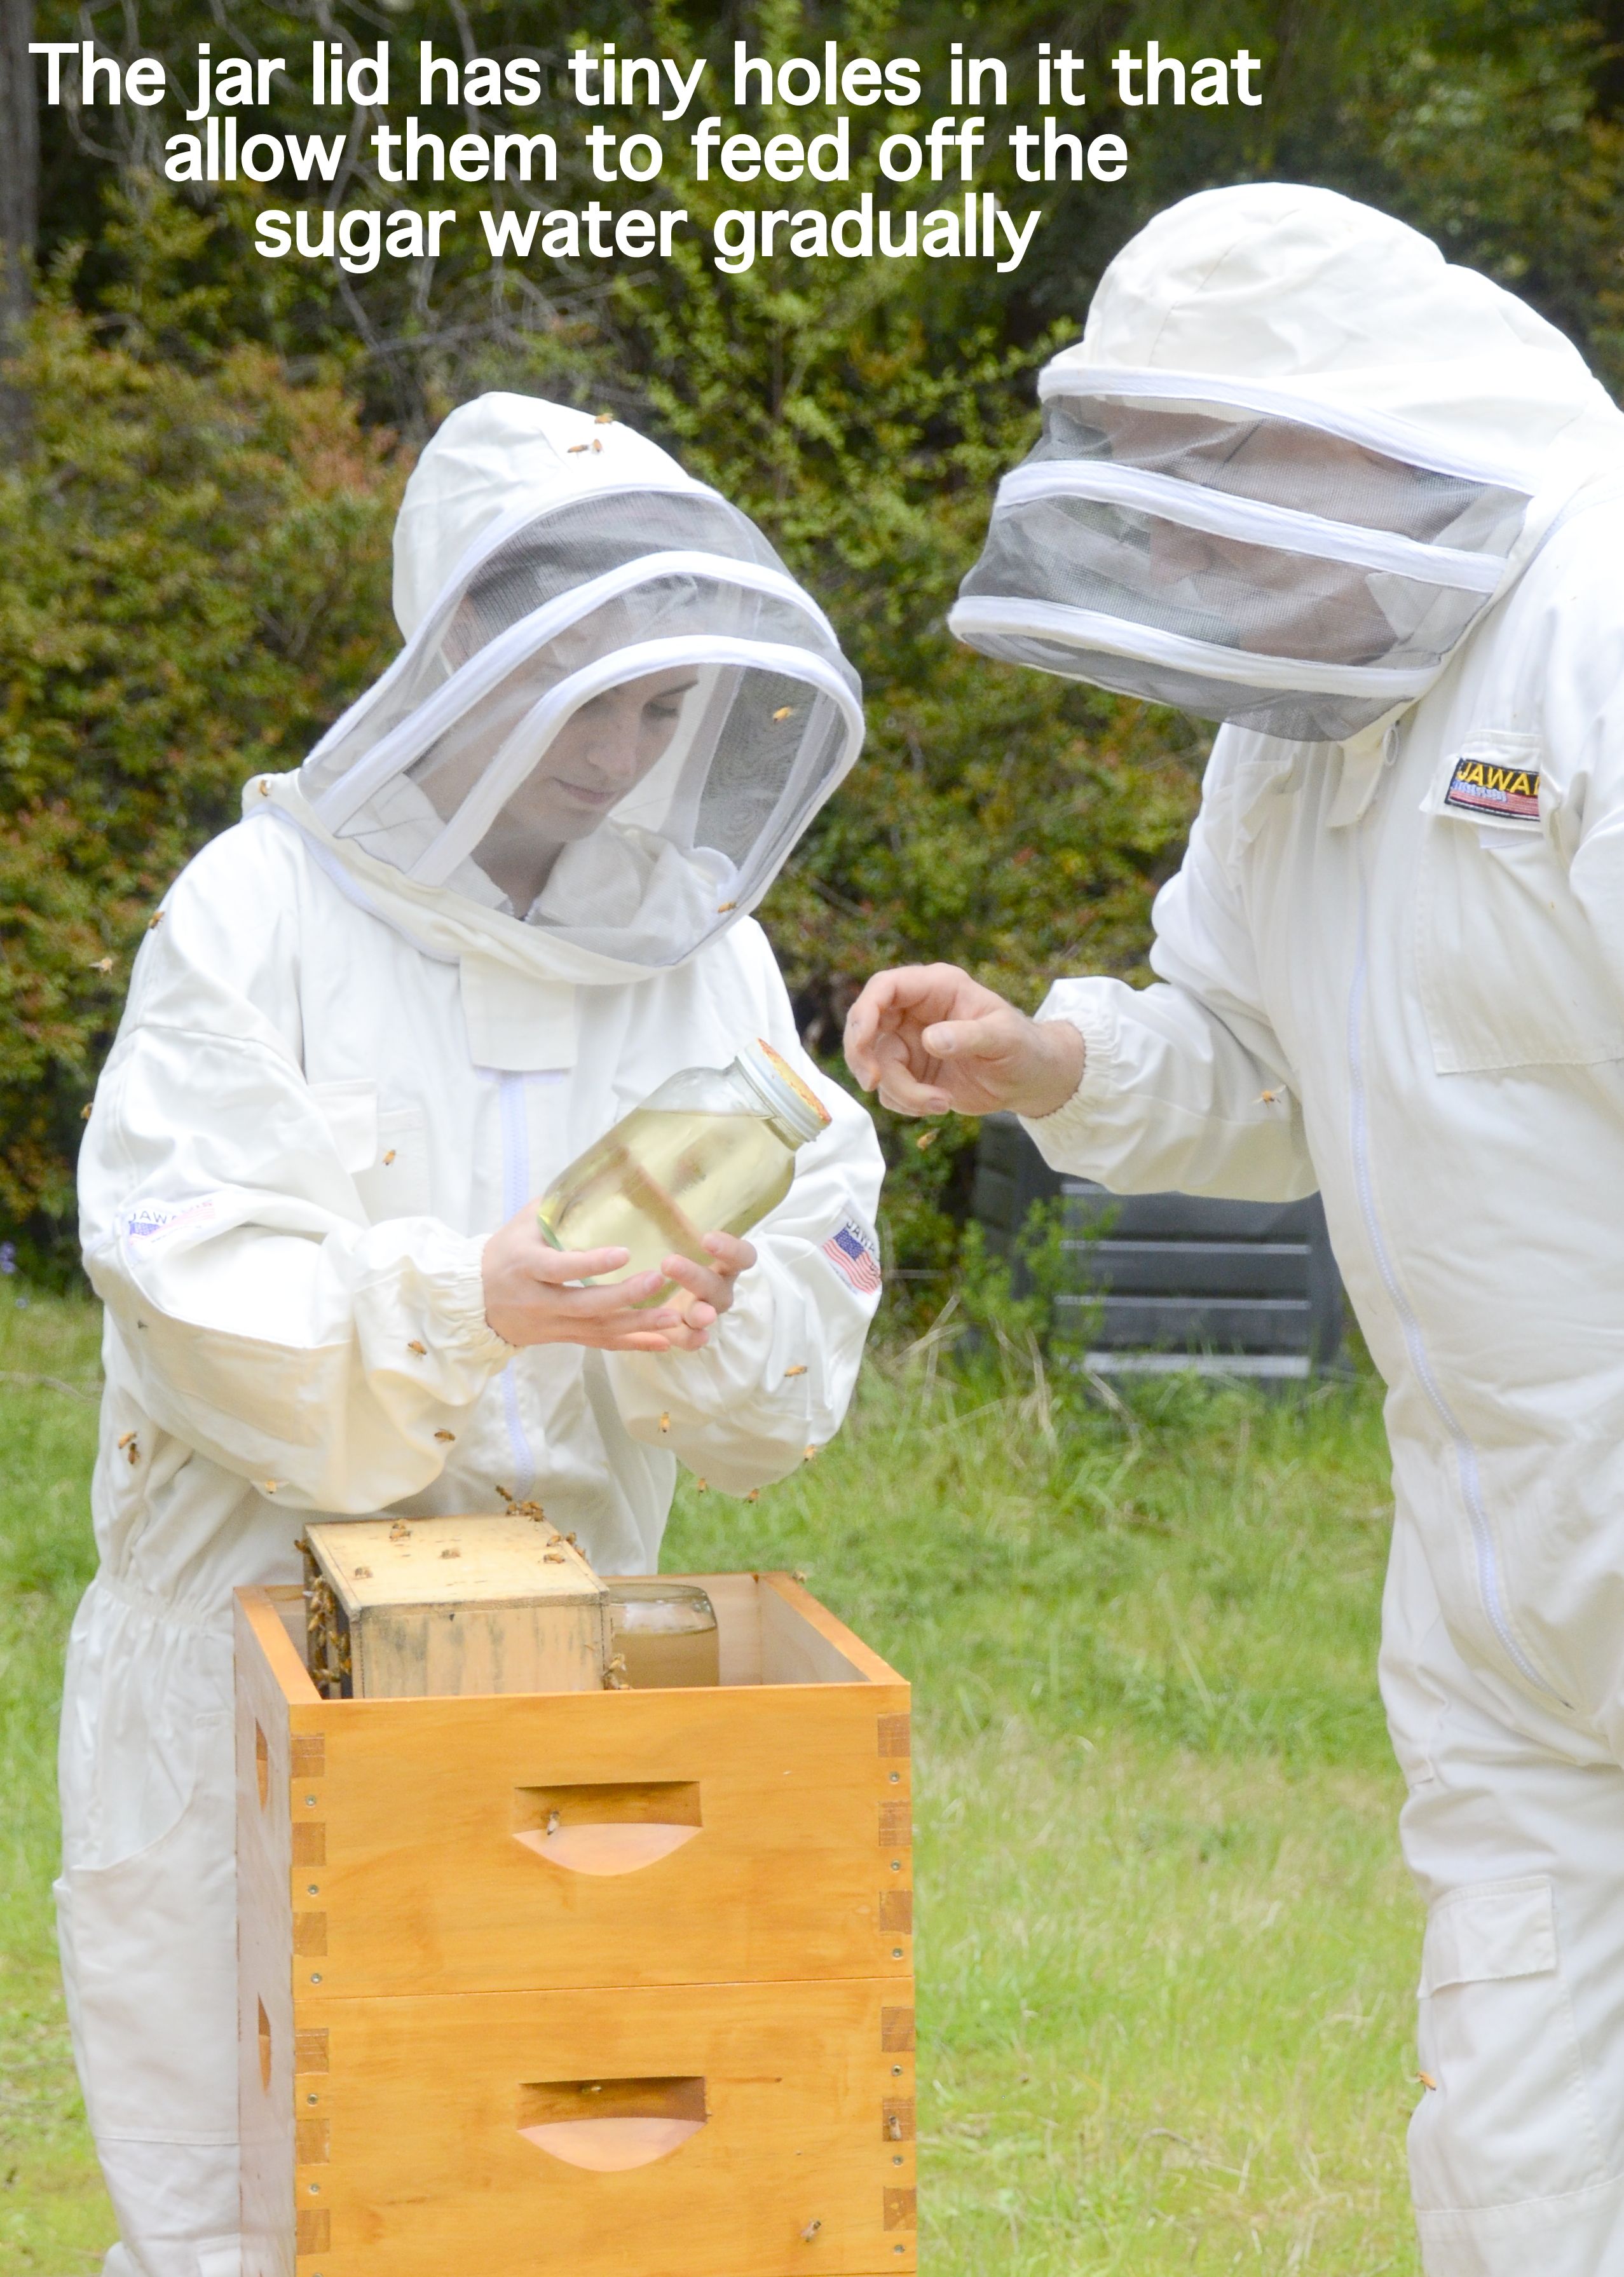
They need plenty of sugar water for now
place jar off to the side
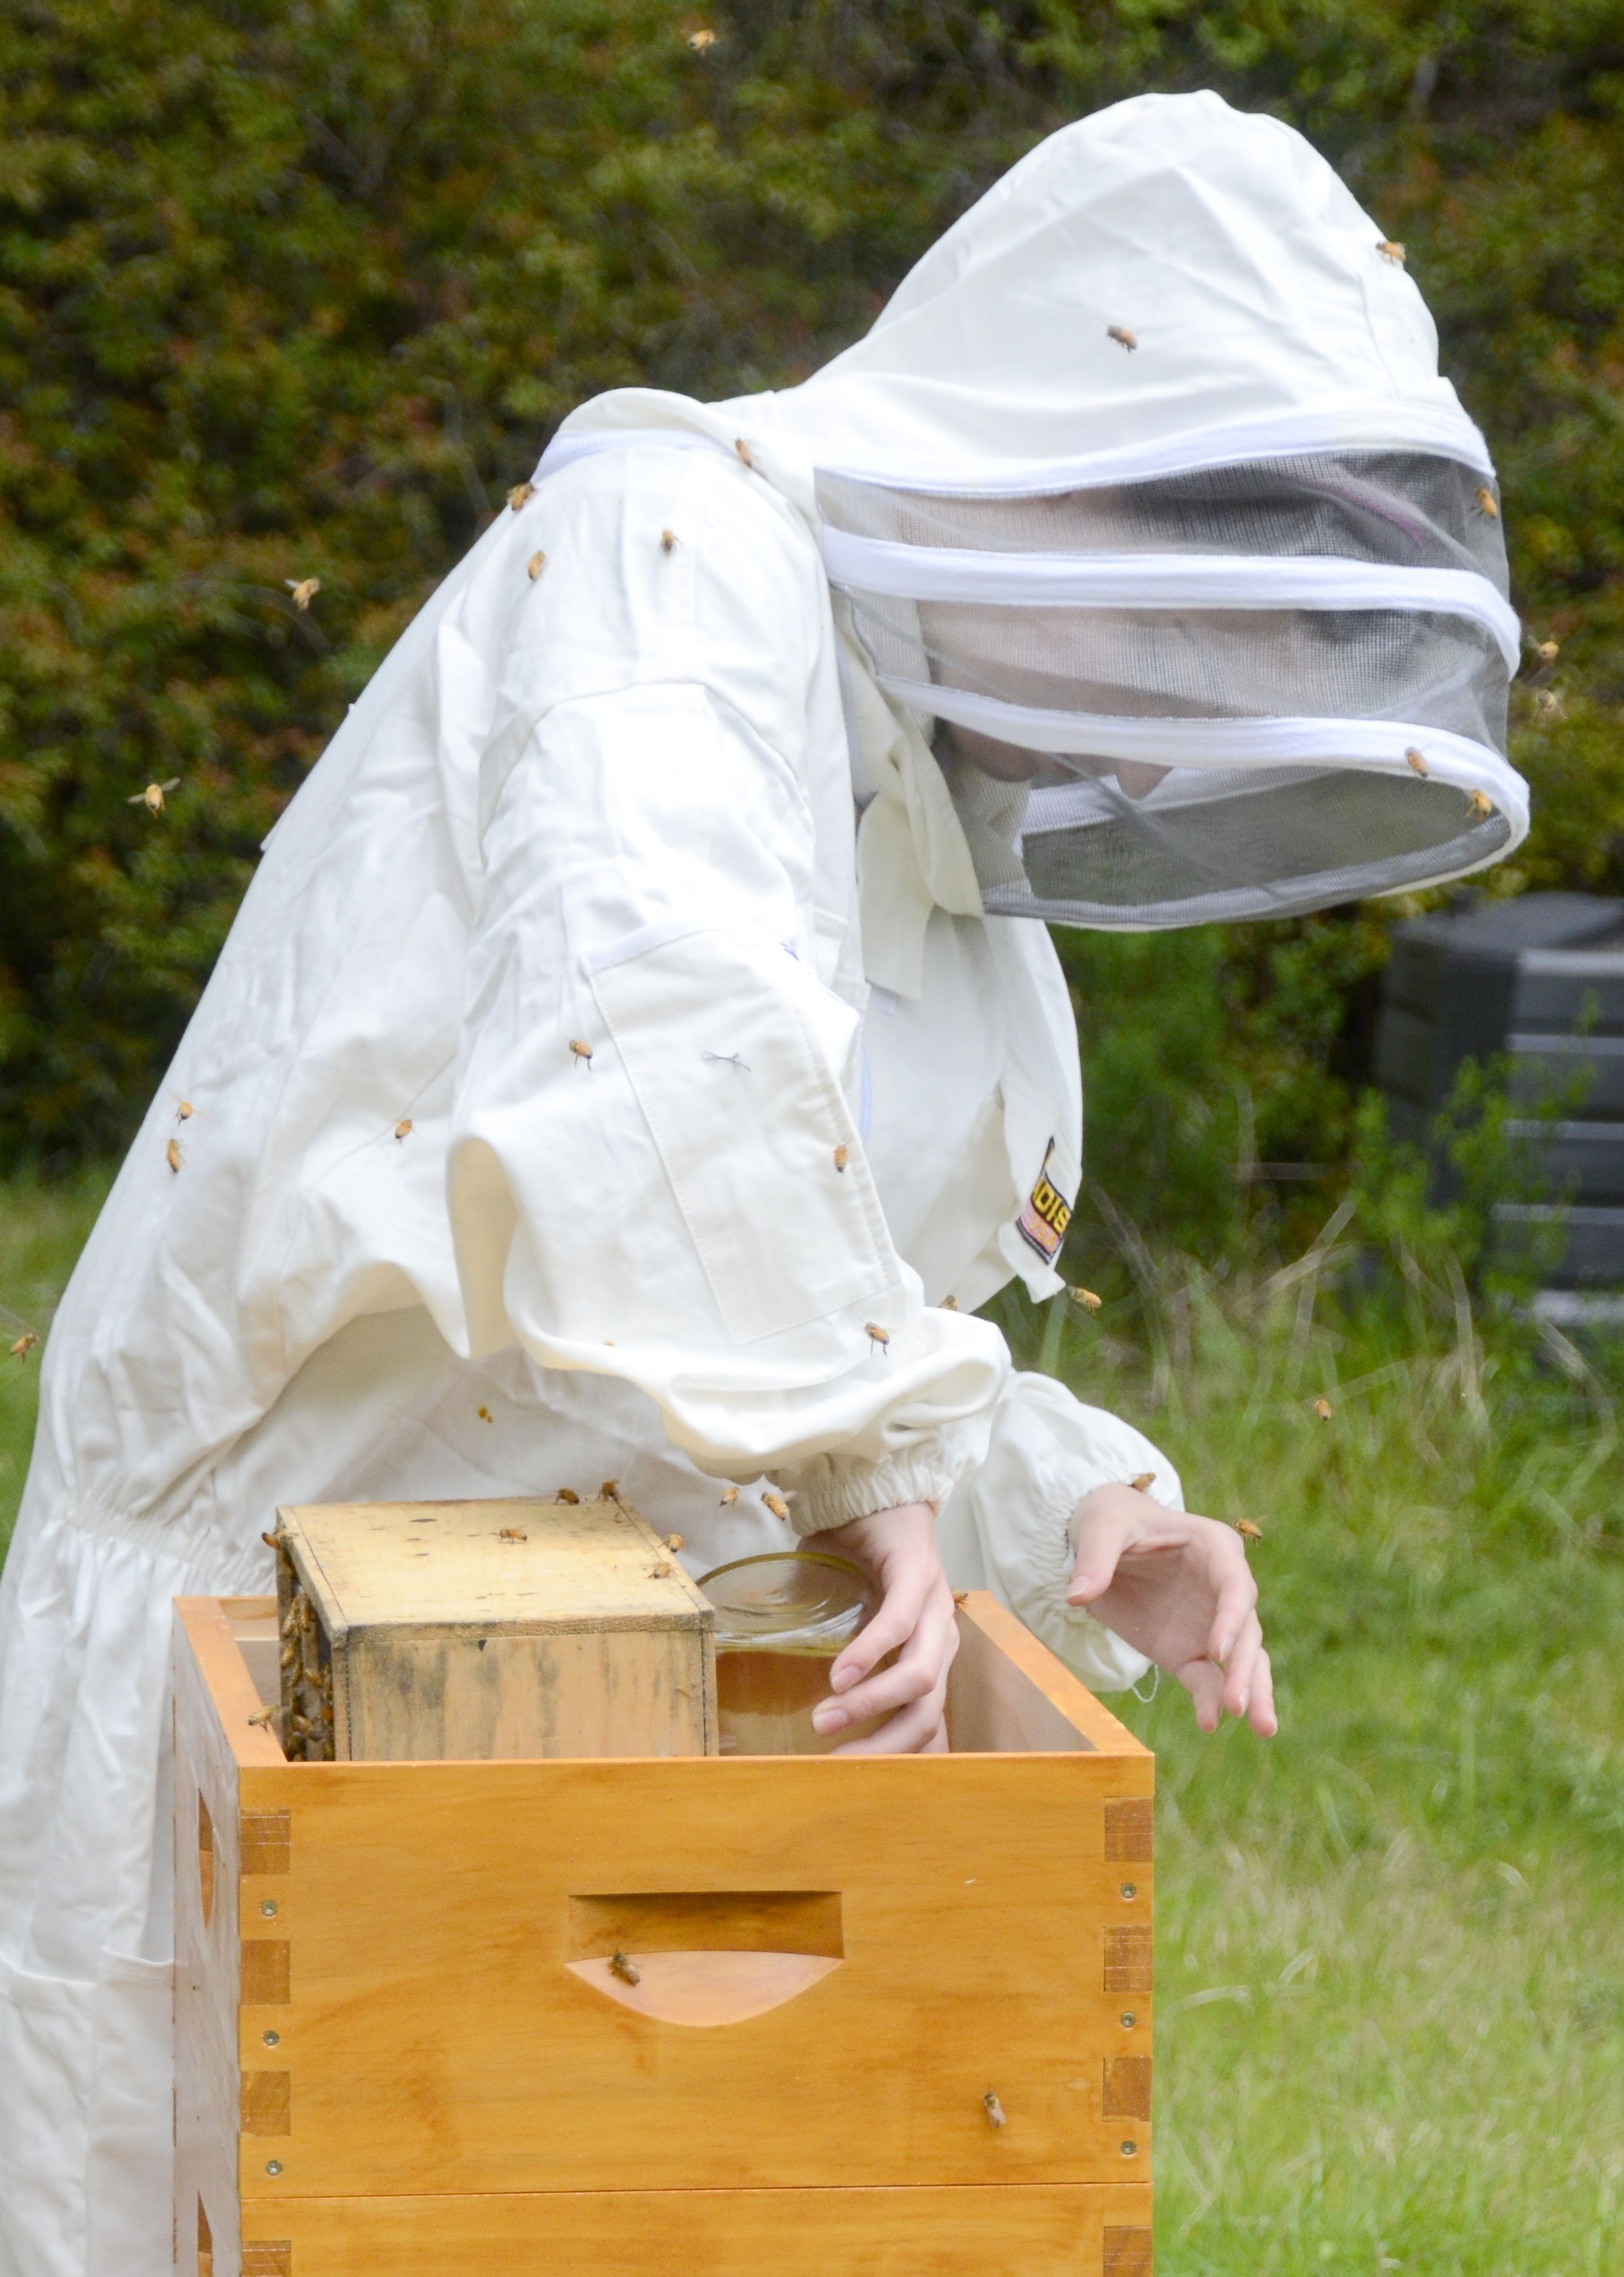
Use up the rest from travel feeder
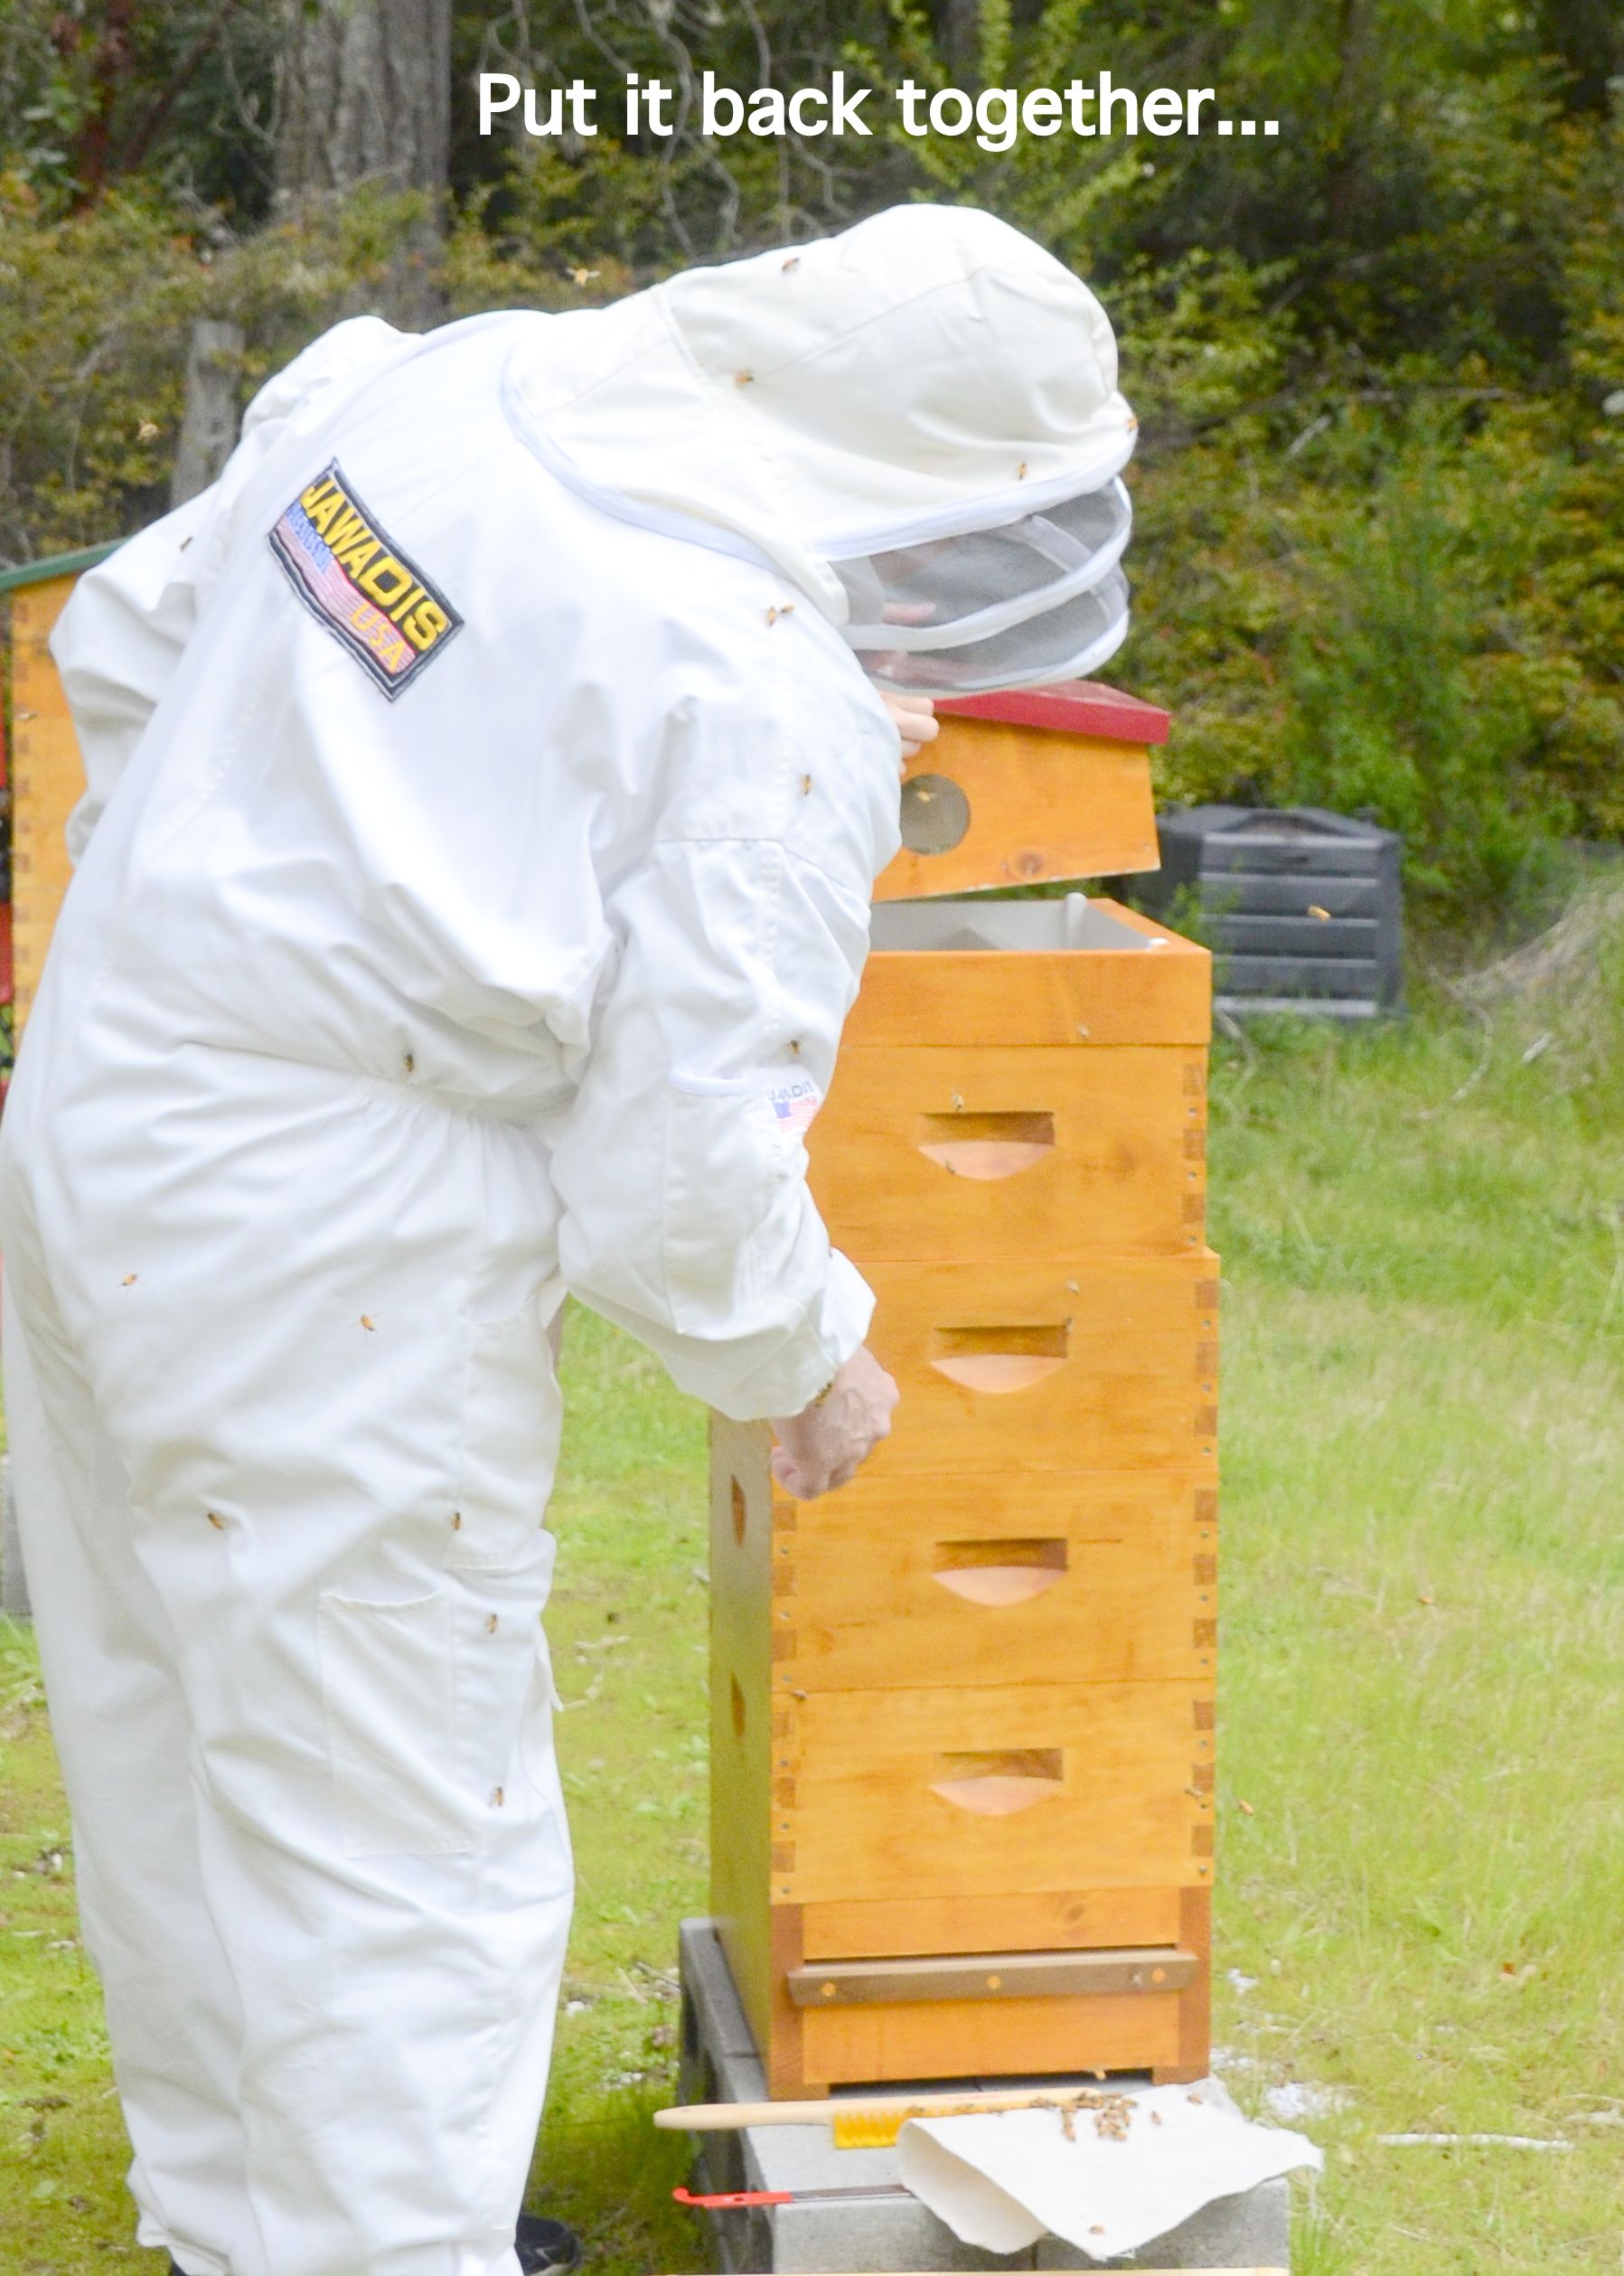
Place the top on
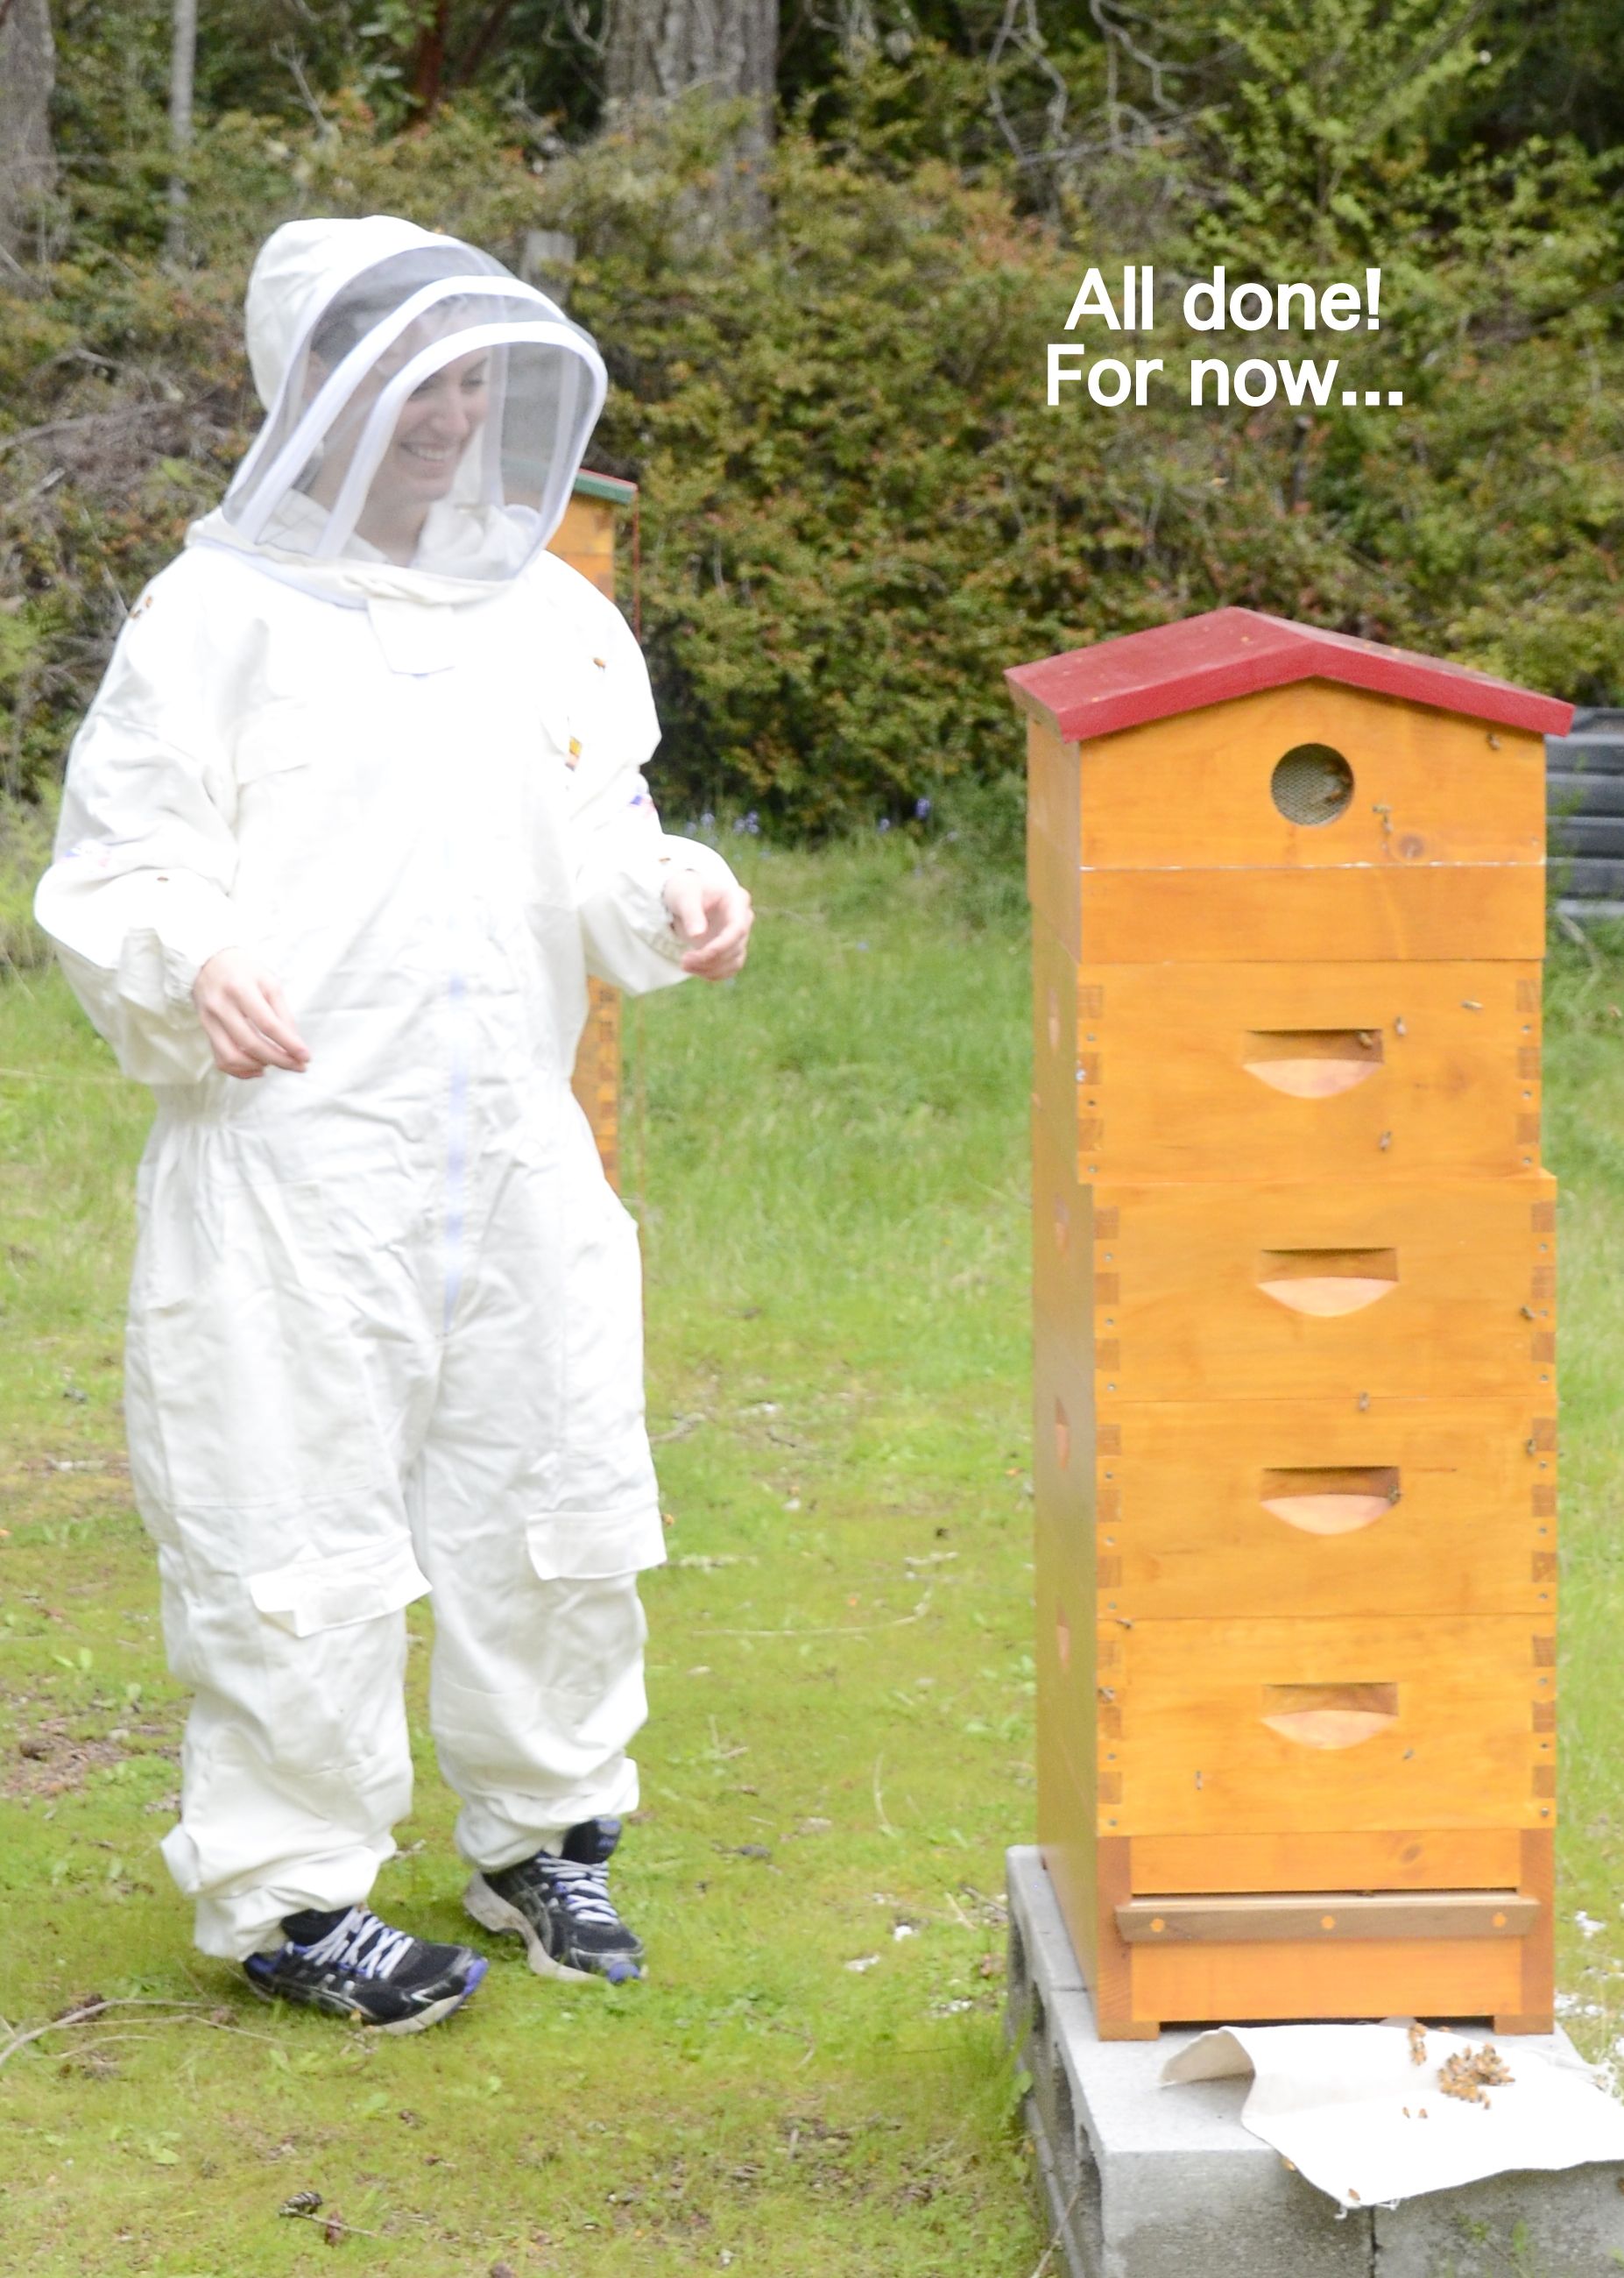
All done for now