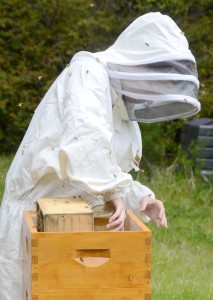
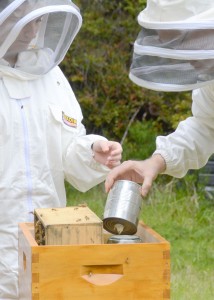
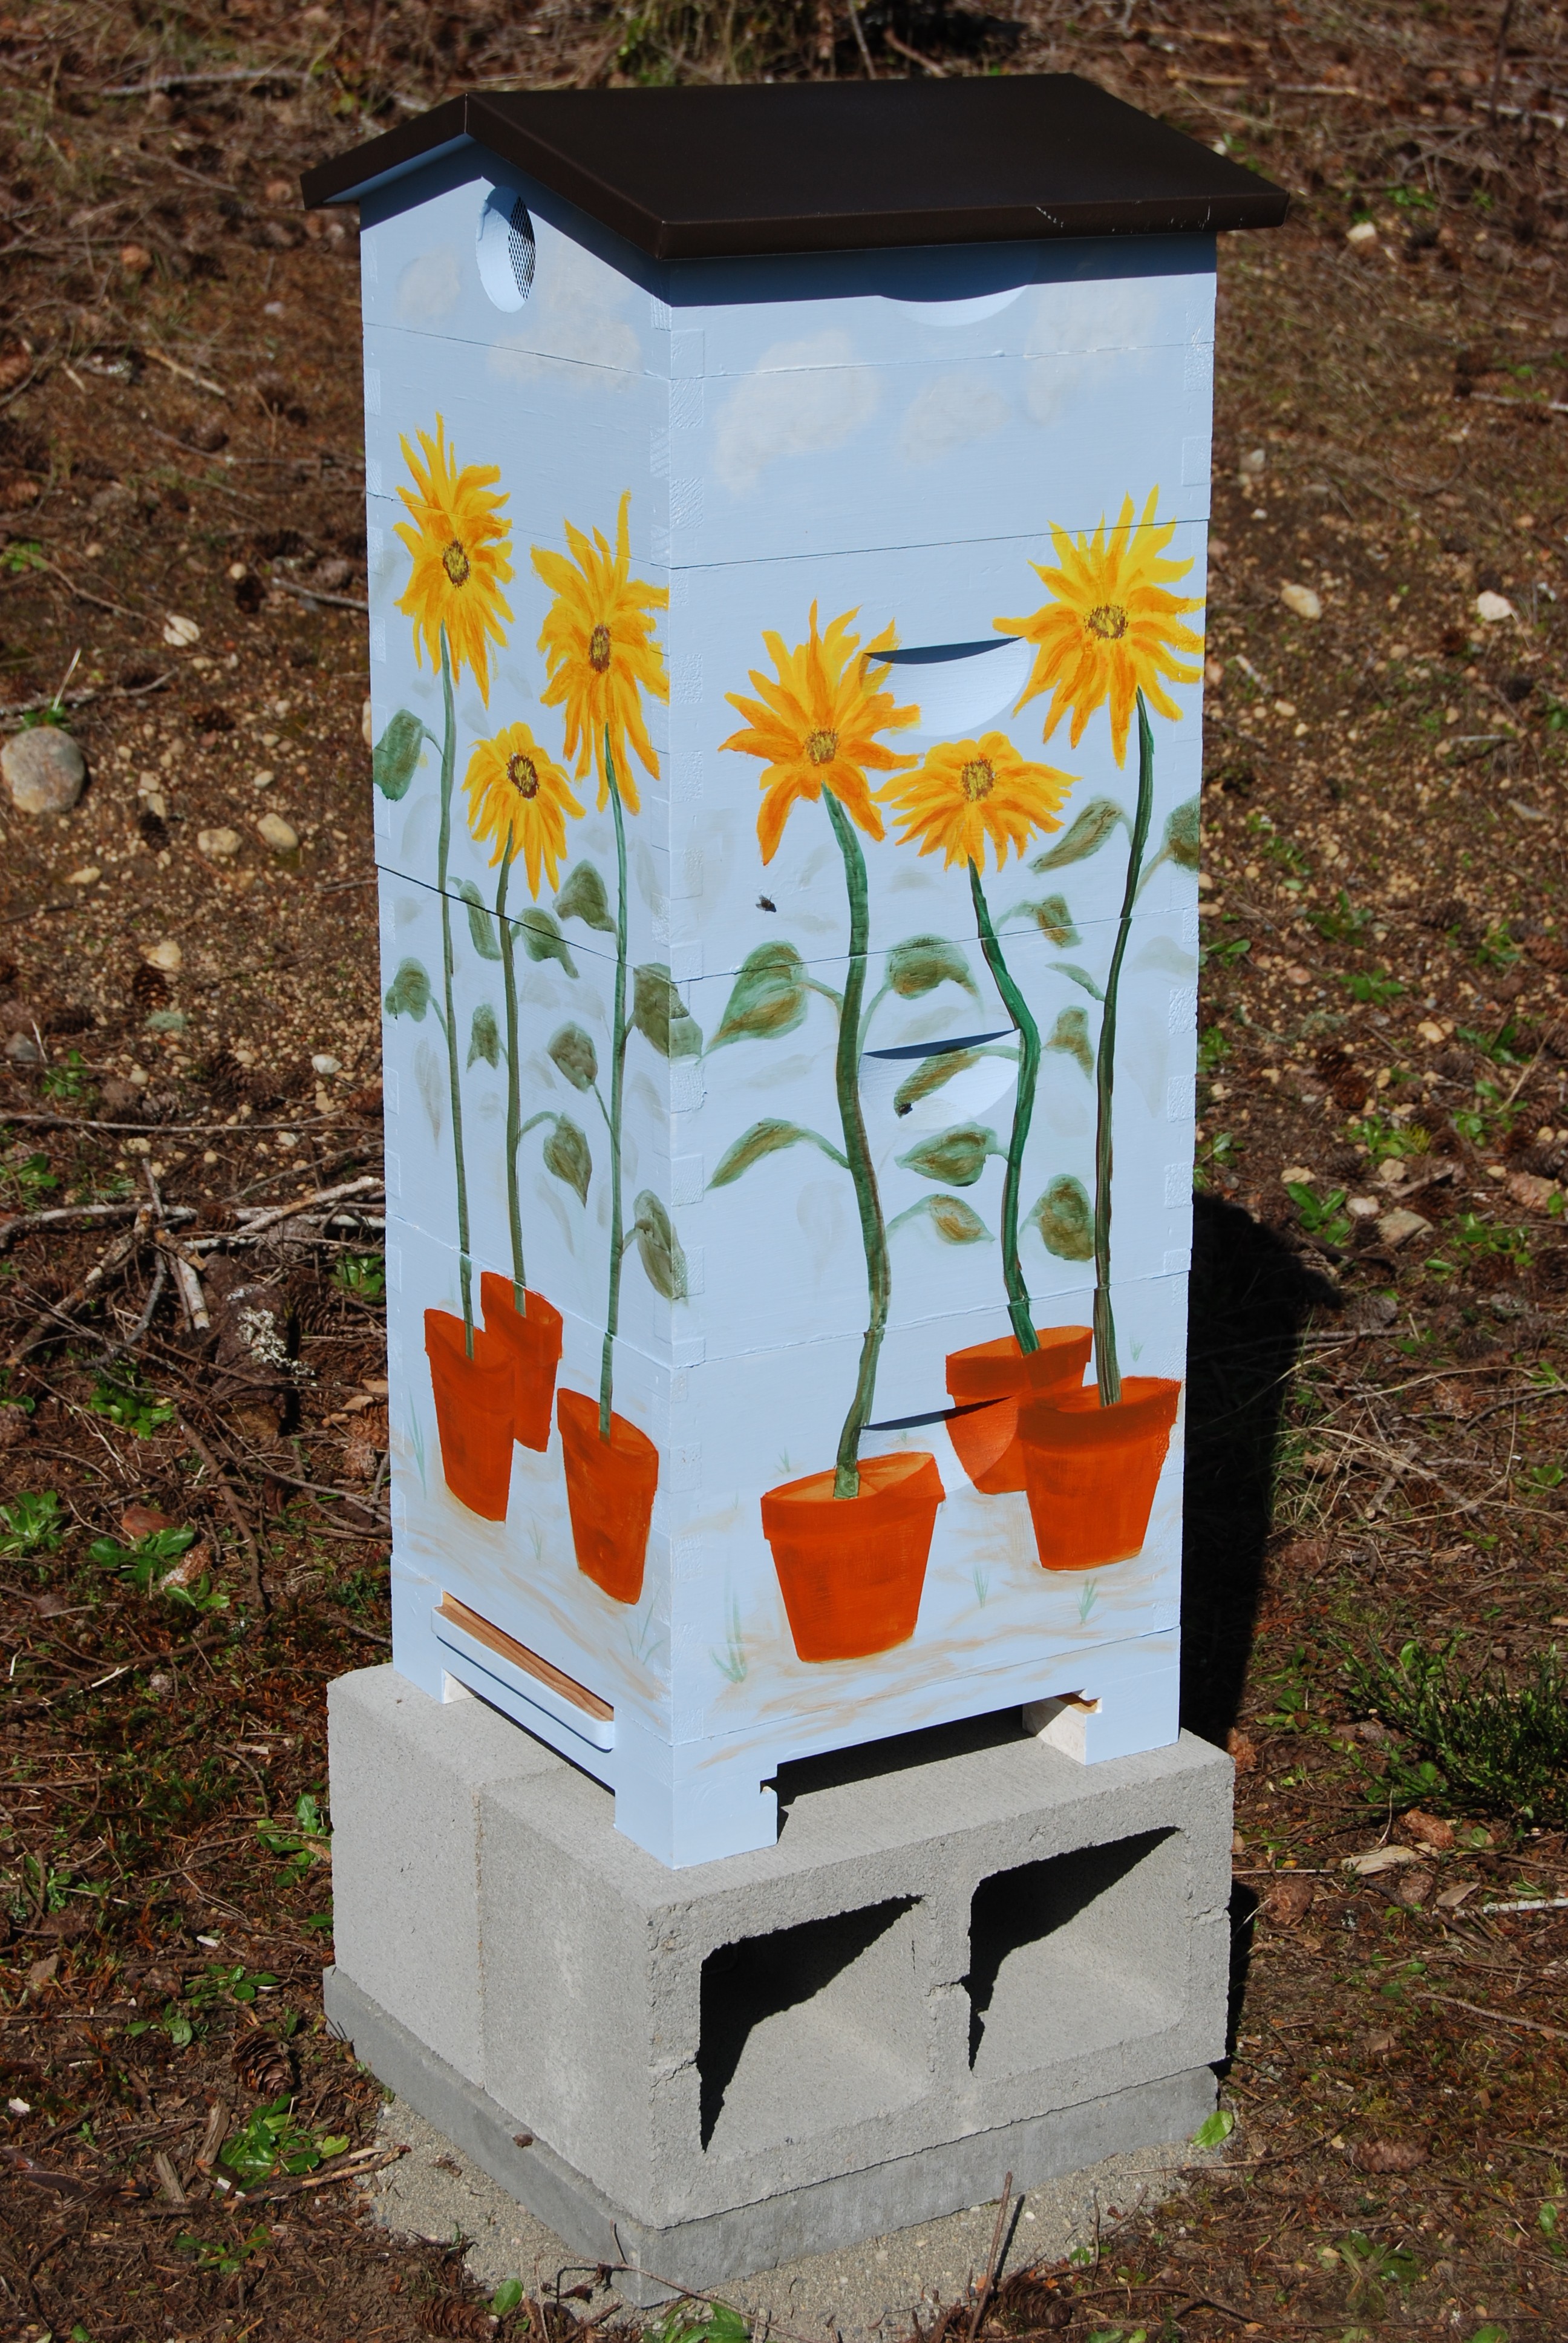
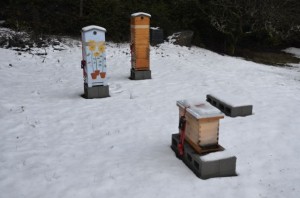
One of many options to treat for Verroa Mites

To treat or not to treat for verroa mites is a big discussion….even bigger is the type of treatment to use. Opinions and judgement run high when a group of beekeepers have this discussion. Some feel that any treatment is a foul against nature, others take it as just part of what it takes to successfully raise bees. The good news is that you get to choose for yourself how you work with your bees. The point that I want to make is that you need to know your options before you can make an informed decision. Choose what is good for you and don’t get too judgy about what others are doing.

Hopguard® II revisited

By Dr. Elina L. Nino, Extension Apiculturist. UC, Davis, reprinted from the current newsletter

Every time I talk to beekeepers here in CA, I hear, “Boy do I wish we had more options for

treating Varroa”. Well, the good news is that this February, California has re-approved Section 18

emergency use of Hopguard® II. Eric Mussen has briefly written about this product in the past,

but a couple of papers that came out last year have prompted me to revisit this topic. Hopguard®

II is basically an “old” product developed by BetaTec Hop Products Inc (developed in

Washington state – Editor) but it has an improved delivery system. The active ingredient is the

Potassium salt of hop beta acids at 16% and yes, these are the same hops you would use for

making beer.

Hopguard® II can be applied to both packages and colonies and since it can’t reach the mites

on brood, the suggested timing of the treatment is when there is minimal brood in the hive so the

mites can’t “hide”. It sounds to me like packaged bees might be an ideal time to treat. If your bees

are already in a hive try to treat early in the season when the brood is just building up or late in

the fall when brood starts tapering off (BUT don’t wait too long as you don’t want your colonies

to succumb to Varroa).

2- or 3-lb packages should be treated by attaching 3 half strips inside a package so they hang

from the top and should remain in the package (with bees, of course) for at least 48 hours. Hives

need to be treated at a rate of 1 strip per 5 frames covered with bees and the treatment should only

be applied in a BROOD CHAMBER. The strips are easy to apply. Just hang them over a frame in

the middle of the brood box. If using 2 strips, the other strip should be placed on a neighboring

frame but 4 inches away from the first one.

Now just a couple of cautionary notes. Even though the product is safe to use during nectar

flow, DO NOT apply it in the honey supers. And please don’t be tempted to use honey or wax

that is in the brood chamber! If the bees do not remove strips after 30 days, you should remove

them from the hives. Hopguard® II can be used up to 3 times per year but it shouldn’t exceed a

total of 6 strips per year per colony (including package and hive application). You need to wear

chemical-resistant gloves when you’re working with the strips and since the material is pretty

sticky you’d probably want to wear them anyway.

So how do all these recommendations fare in the real world? A study by DeGrandi-Hoffman

and colleagues (2014) investigated the effect of Hopguard® on Varroa counts in commercial

colonies established from packages or splits. They used a mathematical model to determine the

timing of Hopguard® applications and at the end they compared Varroa counts predicted by the

model and what they actually found.

To show the timing of the applications I thought it would be best to do this in a table, so here

you go:
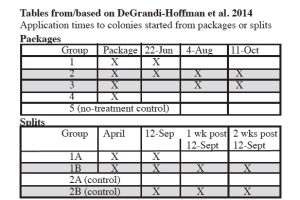
aa Table for Hop Guard2015-03-08_1739

All of the mite counts were done with a sugar-shake method and reported as # mites/100 bees.

For packaged bees, the final mite counts were done after the October treatment and significantly

lower mite counts were recorded for groups 2 and 3. For colonies made from splits, the lowest

mite counts in November were recorded in groups 1B and 2B.

Interestingly, the model predicted a much more effective mite knockdown by the fall than what

was actually seen in the field. The authors hypothesize that these difference might have been due

to various other factors not taken into account by the model or various model parameters not

following what was recorded in the literature, underestimation of initial mite population numbers,

and/or a suboptimal mite removal during sugar-shakes.

So it seems that the most effective mite knock-down was in colonies that received 3 or 4

treatments during the year and particularly important were the late season applications. I do want

to remind you that the California regulation for Hopguard® II states that no more than 6 strips per

colony per year may be used. Because of this you might want to stick with one initial application

earlier in the season and two later in the season if starting from packages, or, if you are splitting

your colonies, you should be able to get away with 3 consecutive applications towards the tail end

of the season, although I would have liked to see the authors take another mite count the

following spring and record colony mortality.

The results of this paper also highlight the importance of using the product when there is no or

little brood or for 3 consecutive weeks to cover the entire brood cycle. Drift between colonies

might play a role in increasing mite numbers in a particular hive. And while you can’t control

what your neighbor does, you should make sure you treat all of your colonies that need the

treatment.

Another word of caution — you don’t want to wait until your mite populations absolutely

explode in the hives in order to treat. A possibility would be to follow an IPM approach by

applying a different miticide around Hopguard® II or, if you have fewer colonies, try utilizing

physical or mechanical control such as use of screened bottom boards, drone comb removal or

creating a break in brood cycle by caging the queen or splitting your colonies. Going with Varroa

resistant/tolerant honey bee stock is yet another possibility so think about it when you’re

purchasing your next batch of queens.

The last thing I wanted to mention is a study by Vandervalk and colleagues (2014) that found

Importance of Water and Good Neighbors to your Apiary

water feeder, bees, beekeeping

Easy inexpensive water feeder

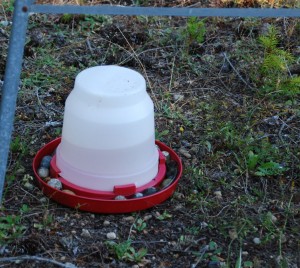
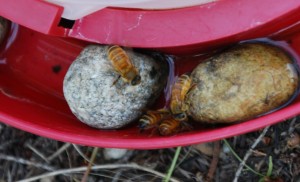
This is the time of year when it gets hot in our area. Availability of water is critical to the health of your bee hives. I found that an easy inexpensive water system involves a simple poultry water bucket that you can get from your local feed store. I find that this small one works great and I just put small rocks in the base to give the bees a place to perch as they get a drink. Because the top is somewhat clear I can see when it is getting low so that I can fill it up again.

Why do bees need water? When bees leave the hive they are collecting several raw materials; nectar, pollen, water and plant resin. Nectar is the carbohydrate, pollen the protein and the resin is turned into propolis and used to seal off the hive from the weather. The pollen, nectar and water are mixed together with bee saliva to form bee bread. The bee bread is what the bees eat and what is fed to developing bees. Many humans also collect and eat bee bread for its reported medicinal properties. Bee bread is comprised of:

55% Carbohydrates, 35% Protein, 3% Minerals & Vitamins, 2% Fatty Acids, 5% other stuff.

So, back to the water, we went on a short vacation. Before leaving I made sure everything was squared away in my apiary. Each hive was strapped down (in case a wind storm came up while I was away), set up a swarm trap, made sure the water bucket was full.

While I was away either it was really hot and the water evaporated….or a racoon or other wild animal drank the water. In any event when I came back the first thing I noticed was that the bucket was dry.

A few days after having filled up the watering can I noticed that there were no bees drinking from it. Earlier in the year I would always see a dozen or so bees at a time getting a drink….but now nothing…..odd.

A week or so later I was talking with my bee friendly neighbor across the fence. She noted that she loved seeing my bees drinking from a plant saucer that they have near a window at her house. I was at first concerned that my thirsty bees might be intruding, but she reassured me that both she and her husband liked watching them and that they happily kept the saucer full.

bees drinking water

Bee water park

So….two morals to the story; 1) Always keep an ample supply of water close by for your bees. In this case I was lucky, had it been a swimming pool or deck fountain even the best of neighbors might not be happy. 2) Keep your neighbors happy about your bees. Keep them informed when you are going to be getting them and let them know how they are doing…and of course they should always get the first of the honey when you collect it.

Bees going into their new beehive

A quiet bee installation

April 20th was bee day at Stedman Bee Supplies in Silverdale. The members of our bee club, West Sound Beekeepers Association, were out in force, helping to carry bee packages, answering questions and doing live bee installation demonstrations throughout the day…..a bunch of busy bees.

This year I ordered 1 package of bees to bring me back up to two hives. The Italians came in the earliest so I got those. With our short season even two or three weeks can make a big difference.

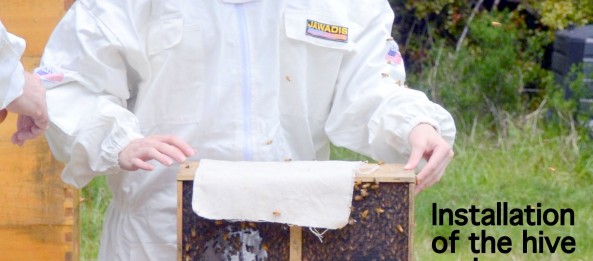
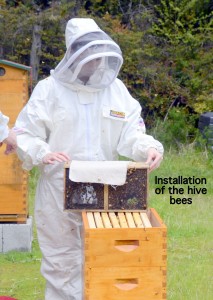
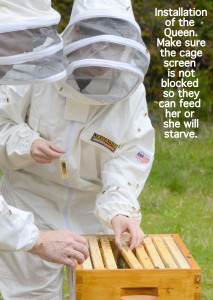
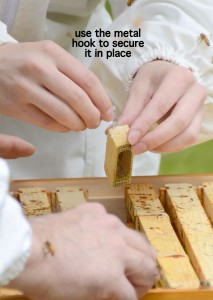
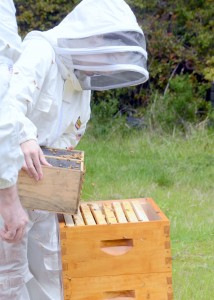
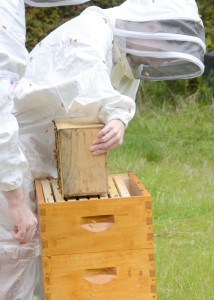
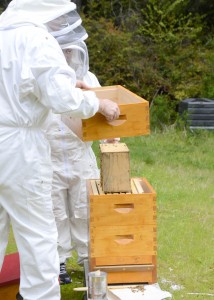
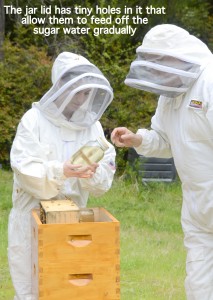
We decided to do what I call “a quiet installation”. Instead of turning the bee package upside down and dumping the bees into their new home, we instead gently turned the package upside down on top of the hive bars after having placed the queen cage between two frames in the middle of the hive. We added two boxes over the travel cage and then put the top on. It starts out looking really tall but once the travel cage is removed we are back to two boxes deep.

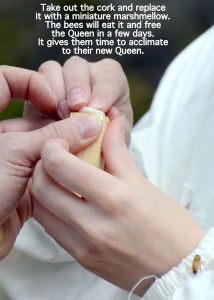
After 24 hours all of the bees had migrated out of their travel container and into the hive. Another 24 hours later I checked the queen cage and the marshmallow had been eaten and the queen had been released.

I think this method would work well in bad weather too……Granted, this method is not as dramatic as having a cloud of a thousand bees buzzing around you, but it worked just fine.

Bees going into their new beehive

The new package of bees

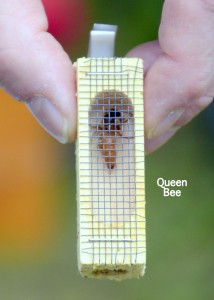
queen bee, Italian queen bee

Queen in her travel cage

queen cage, putting marshmallow in queen cage

Marshmallow in the end of the queen cage


Place queen cage in center

Place queen cage in center

Queen bee in her cage

Placing the queen cage between two frames

Turn travel cage over

Turn travel cage over


installing a package of bees into hive

Gently turning the travel cage over, hole down

Place an empty over travel cage

Place an empty over travel cage

feeding your bees, sugar water for bees, beehives

They need plenty of sugar water for now


place jar off to the side

place jar off to the side

Use up the rest from travel feeder

Use up the rest from travel feeder

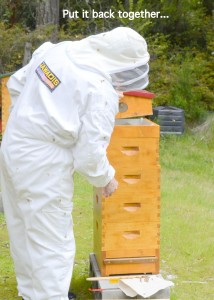
Place the top on

Place the top on


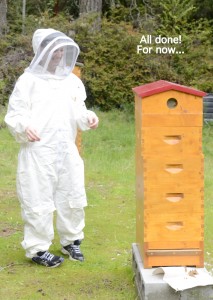
Langstroth western beehive

All done for now


The Distance a Bee Travels

It is truly amazing how far a bee will travel to find pollen, nectar, water and propolis. They will travel 3 to 5 miles in search of sustenance for their hive. When you have a bee hive you can’t think of what is blooming in your yard….rather you need to think what is in bloom in your part of the countryside. I live in Seabeck WA and as you can see my bees travel quite a bit of our zip code.

A 3 mile travel distance creates a 6 mile in diameter circle around your hives. A 3 mile radius covers 18,110 acres of ground. A farmer would be proud to be able to cover that many acres and as you know the honey bee is the fraction of the size of a human.

Warre bee hive in Seabeck WA

Keeping the Beekeeper alive through the winter

We are in the middle of winter and have been in a cold spell. Dry days and clear nights have lead to temperatures in the teens and 20’s. I’ve used a flash light to look in the windows of the two warre hives to check on the bees. Green roof hive is looking good but I’m afraid flowers hive might be dead. I can see the bees all clustered together but no movement at all. Also seeing quite a bit of furry mold on the comb. The nuc is still a mystery as I don’t want to open it up to check….I hate this part of beekeeping.

At our bee club meeting last night we had the discussion about overwintering our bees. One lady suggested that perhaps it would be a good idea to move the hives into a warmer, protected area like a carport or shed. While this sounds good it was pointed out that what is really better for the bees in general is to let the stronger ones survive the winter then try to graft some queens from this stock. In this way we are promoting bees that are stronger and that can deal with winter in the Northwest.

Three things affect our bees in this area

  1. Food
  2. Moisture
  3. Wind

If each of these are kept in check the bees should make it.

My goals for this year:

Have at least 2 of my 3 hives survive.

If my nuc survives move it into an 8 frame western

Capture one swarm

Graft a queen from my healthiest hive

End the season with 3 or 4 full hives and 1 or 2 nucs

I do have quite a bit of work to do on equipment. I need to build the nuc boxes I bought from Brushy Mountain when they had their sale and I also need to build a lot of frames so that I’m ready to stock the western, and I hope to build a jig that will help me to glue and nail straight frames……Can’t wait for the next day that is in the 40’s so I can take a closer look at the hives….Til then all I can do is worry.

Honey bees in the snow

Beehive, beekeeping, seabeck, bees, honeybees, overwintering bees

Bee hives like snow

It is December in Seabeck Washington. While our winters are very moderate compared to much of the country we do get snow from time to time. We just had two days of snow and our neck of the woods had over 10 inches. The days now are upper 30s and might get into the mid 40s this next week, the nights are in the lower 30s….in any case the snow will not last long.

A friend asked me today about the bees. What do they do when it snows? Do they hibernate?

This is the 6 million dollar discussion. How do you get the bees through the winter. This is the crux of what so many beekeepers struggle with each year. It is not unusual to have a 30 to 50% loss each year.

The bees do not hibernate. I consider hibernation like a sleep state. Bees remain active throughout the winter. They generate heat with the same muscles they use to fly. They flex or pump their mucsels in such a way that they maintain a core temperature of about 89 to 97 degrees F.

During warm weather bees come and go from the hive. Collecting and returning with pollen, nectar  water or sap. They also leave for cleansing flights as they do not defecate in their hive.

At about 64 degrees F the bees begin to cluster, that is collect closely together to preserve heat. There are two basic parts of the cluster; the core which uses its muscles to create the heat and the outer layer that acts as insulation for the core. As temperatures drop the cluster tightens. The bees rotate from the inner part of the cluster to the outer, taking turns generating the heat. The energy they use is fueled by the honey they eat or the sugar the beekeeper has given them if they do not have sufficient honey stored.

The queen slows down egg laying and stops all together for a short time all to preserve energy and make it through the winter. Some think that the winter solstice is what keys the queen to begin to slowly build up the brood again.

Beekeepers in areas with harsher winters may actually wrap their hives to better insulate them, making it easier on the bees. The typical advice when it snows is to leave the snow on the top of the hives, it acts as an insulator.

My goal now is to just check them on warmer days and ensure they have plenty of sugar….and hope I don’t suffer the 30 to 50% loss that others have.

Thank you Lee for this great question.


Resource for information in this post came from here: http://www.capabees.com/main/files/pdf/winteringpdf.pdf

Preparing your beehives for winter and building sugar boards

As I approach my first winter in beekeeping the biggest hurdle yet to overcome is keeping my bees alive throughout the winter. Even the most experienced beekeepers struggle with this. So I’ve set some milestones for myself and will go into this season on purpose…so that if I completely blow it I’ll at least know what not to do next year.

My goal: have all 3 hives alive on April 1, 2013.

Going into the winter it is important to have plenty of stores for the bees. Ideally I’d like to have about 50 pounds of honey in the comb so that the bees have plenty to eat. It is also important to have a low verroa mite load so that the bees have a good chance of making it.

I checked my hives a few weeks ago and as usual…good news and bad news. The good news is that I seem to have a low mite count. In one hive I have 25 mites that dropped in a 24 hour period and on the other only 14. My target was less than 24 mites per 24 hour period….I think I’m good on this issue.

On stores…..not so much. Very little honey in the comb. 2 to 3 frames in one and less than that in the other. The nuc has maybe one full frame of honey.

My plan of action based on my hive inspection:

1) no mite treatment

2) Feed sugar water through Oct then switch to sugar and pollen patties.

The reason you cannot feed sugar water all winter is because the ambiant moisture is so high the bees would not be able to store the sugar water in the comb and then get it down to below 18% humidity. Anything above 18% and it will spoil giving the bees dysentery.

Above is a video showing how I built the sugar boards. A nice 1 day project to improve the chances your bees will survive the winter.